# How to localize Angular app with angular-i18n and Localazy
**We live in a fast-developing IT era. There are many and many applications - web, mobile, desktop - being released/updated every day. I optimistically assume that most application creators would like to impact the world (and spread application usage worldwide).**
That means that in most cases, translating an app is inevitable. [Localizing](https://localazy.com/dictionary/localization) an application is indeed a real challenge. Luckily, thanks to Localazy, we can localize with ease, effectivity and blazing speed.
Localazy features a pro-active review process, highly accurate [translation memory](https://localazy.com/dictionary/translation-memory) supported by community-shared translations, and a simple, very intuitive UI. Thanks to that, managing translation strings, even with open-source projects where anybody can contribute (with varying quality), is a piece of cake 🍰.
Together, in this article, we will make a demo app showing **how to [localize an Angular app](https://localazy.com/angular)** using Localazy. We’re going to use Angular 11 to create the demo app, although this approach is applicable for **Angular version 9 (included) and newer** with minimal variance.
## 🙄 TL;DR
* set up an [Angular](https://angular.io/) project
* install `@angular/localize` package
* prepare templates for translations
* extract a source language file using `ng extract-i18n` command
* sign up for [Localazy](https://localazy.com/register)
* install Localazy [CLI](https://localazy.com/docs/cli/installation)
* create `localazy.json` file in project root and fill in the [configuration](https://localazy.com/docs/cli/quick-start-json)
* upload extracted language files by running `localazy upload`
* in Localazy, add any language(s), translate, review…
* update your project of new locales with `localazy download`
* update `angular.json` to support multiple locales
* serve the app
You can [download the repository](https://github.com/localazy/angular-i18n-example) with this example project at GitHub.
## ⭐ Set up a new Angular project
### Setting up
Let’s create a new angular project at any desired location. Open a terminal and run the following command:
```shell
ng new angular-i18n-localazy-demo
```
For demonstration purposes and to keep our project simple and focused mainly on localization, choose not to add *Angular routing*. Also, use *CSS stylesheet format*.

To make sure that the project initiation finished without any issues, run `serve` command in the project folder:
```shell
ng serve --open
```
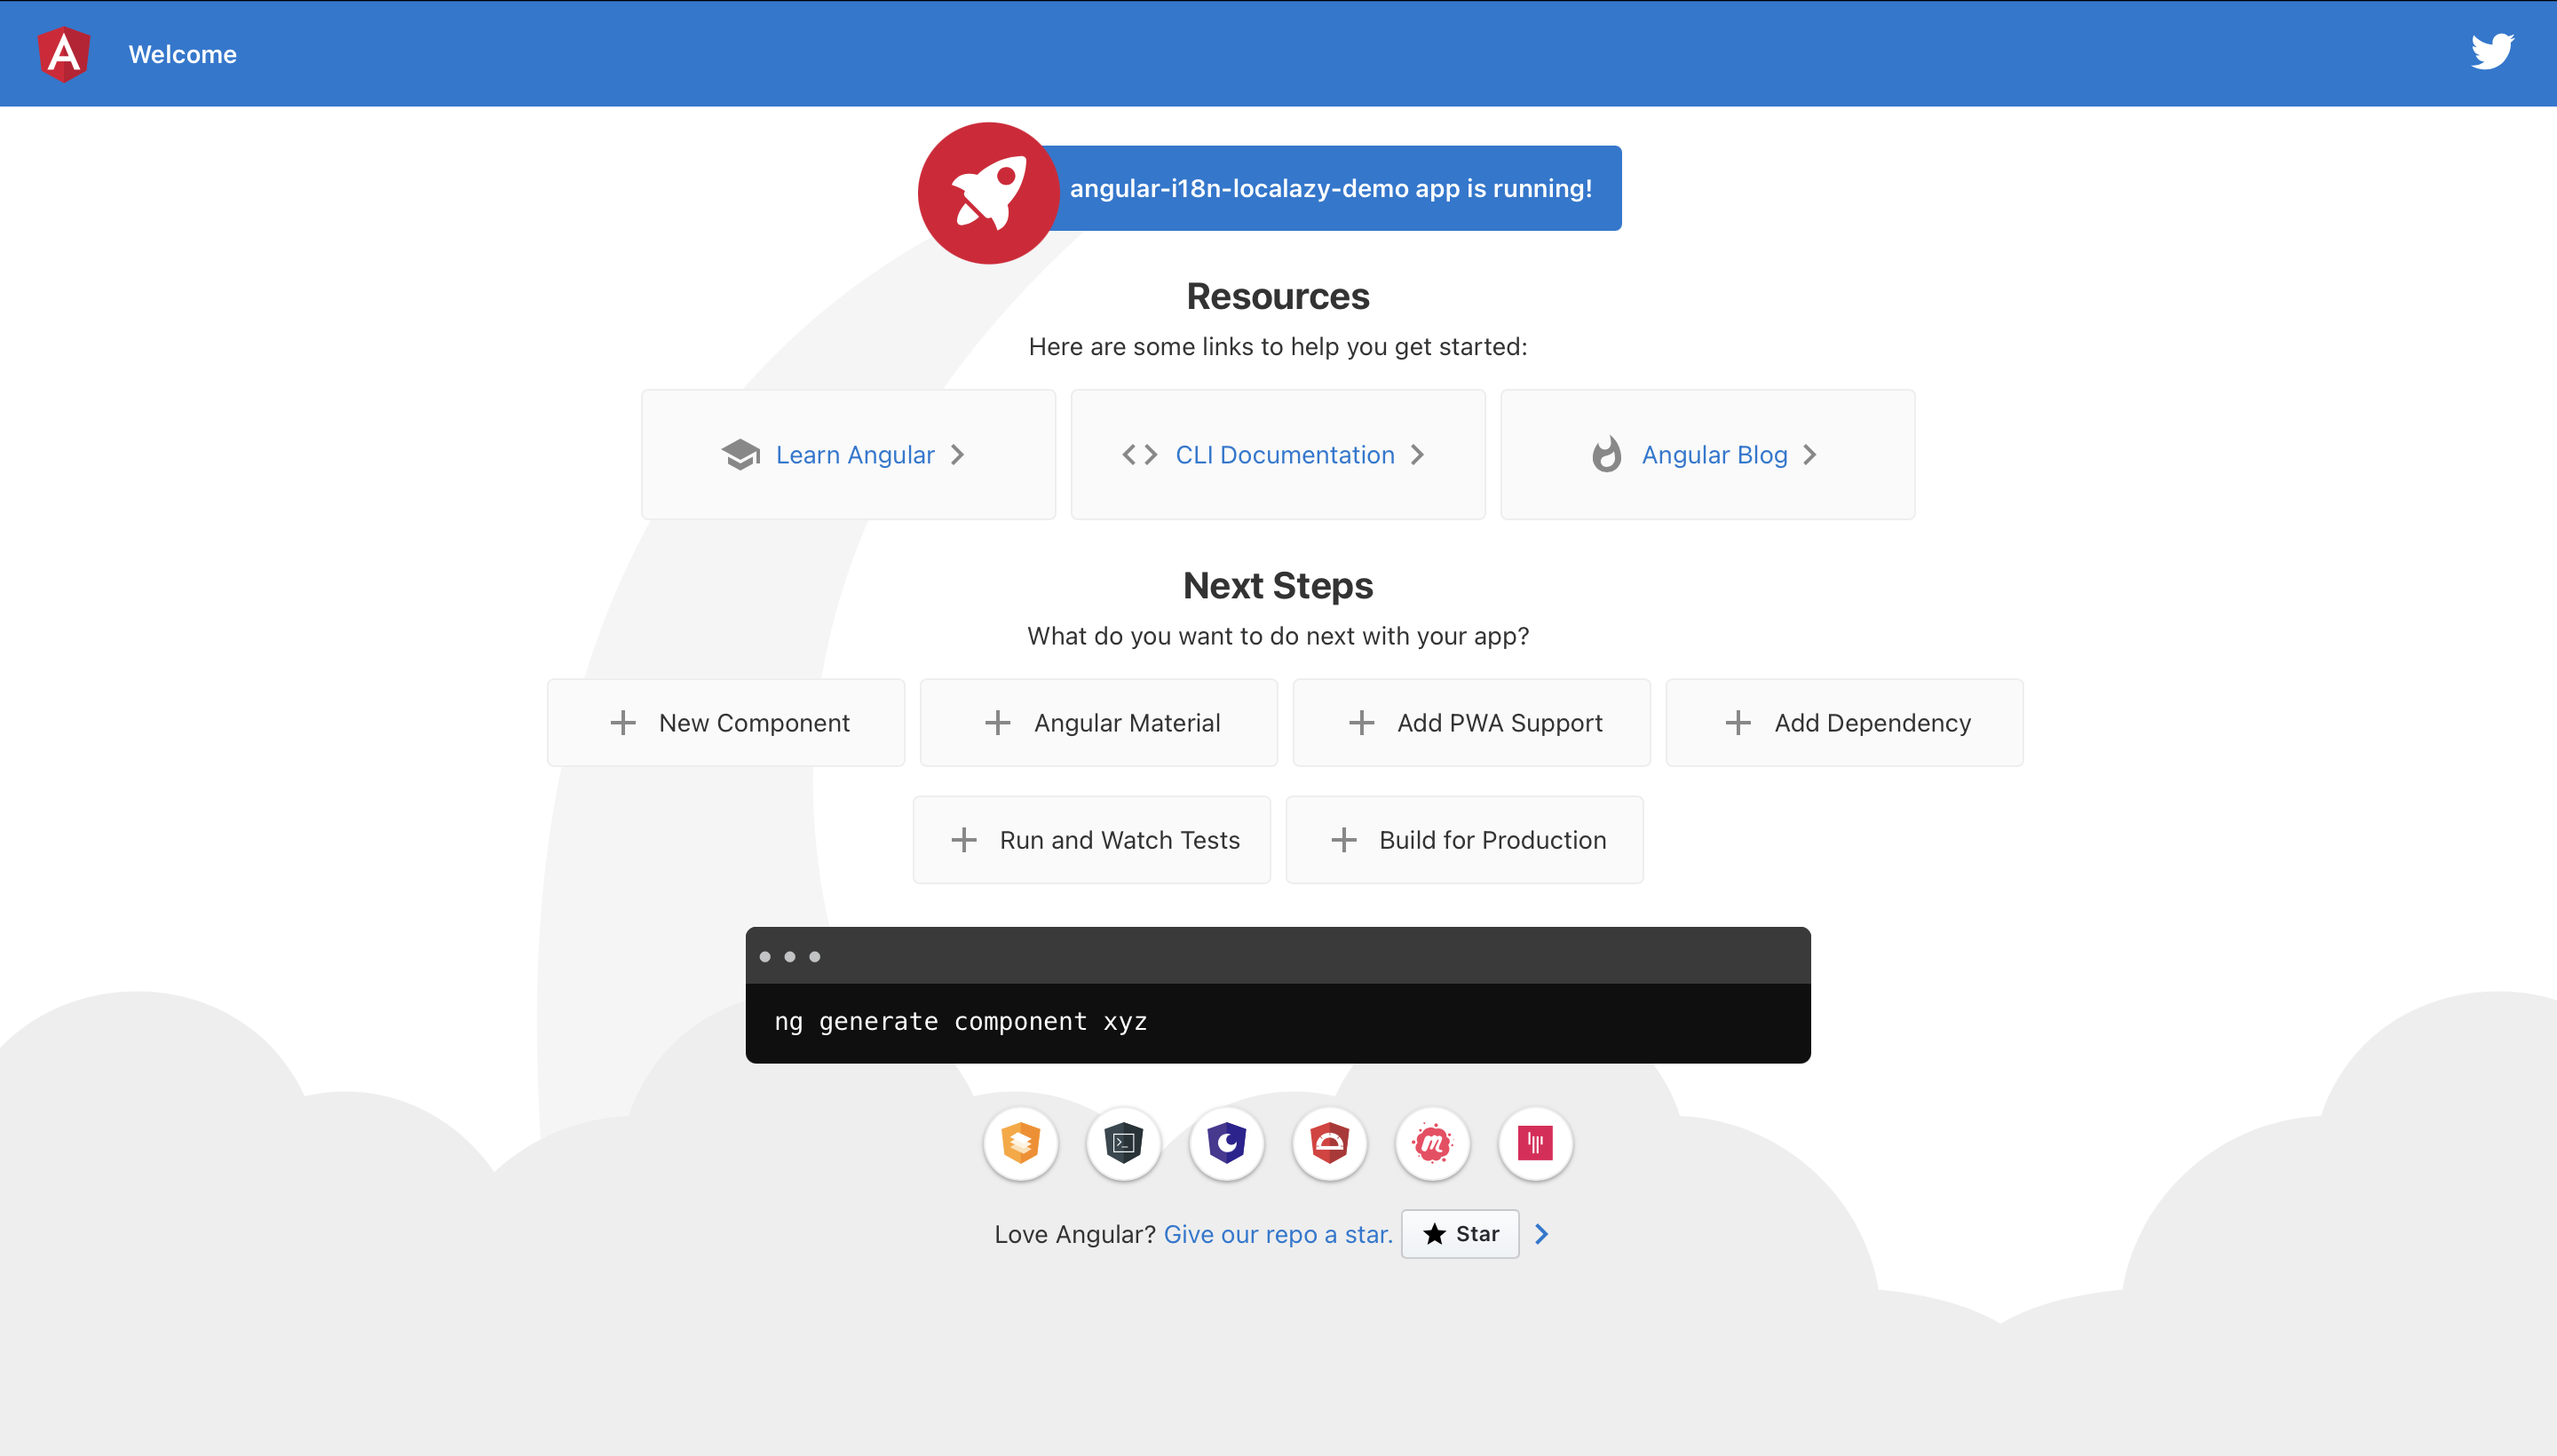
The command above should open a browser window with the application running. Everything went well; let’s stop the server for now and install an `@angular/localize` package.
### Adding the localization package
```shell
ng add @angular/localize
```
This package was introduced in Angular 9 and adds [internationalization](https://localazy.com/dictionary/internationalization) support to an app. You can find detailed information about the internationalization in [Localazing your app](https://angular.io/guide/i18n) section of the official Angular documentation.
Note that if the `@angular/localize` is not installed, the Angular CLI may end up with an error when you try to build a localized version of the app.
## 🔧 Preparing templates for translations
Our project structure should follow a standard Angular project structure. We’ll do some work on our `app` component template. The `app.component.html` file placement is shown in the tree below.
```shell
.
├── src
│ ├── app
│ │ ├── app.component.css
│ │ ├── app.component.html
│ │ ├── app.component.spec.ts
│ │ ├── app.component.ts
│ │ └── app.module.ts
│ .
.
```
Open the file and replace its content with our very basic boilerplate.
```html
`{{ title }}`
```
To translate our templates, we need to prepare the text for a translator by marking translation subjects with `i18n` tag. To discover a piece of power that Localazy offers, let’s define some strings we would like to translate.
1. Static text message
```html
Hello there! We're thrilled that you've decided to use Localazy for translating your app!
```
2. Text not for display
```html
I am free, wrapped just by the body element
```
3. Element attributes
```html
Can we also translate this? Awesome!
```
Angular localization supports using `i18n-`*attribute* with any attribute of any element. This groups translation subjects with the same meaning. You can find more detailed information on this topic in [Mark element attributes for translations](https://angular.io/guide/i18n#mark-element-attributes-for-translations) section.
4. Plurals
```html
Updated
{minutes, plural, =1 {one minute ago} other {{{ minutes }} minutes ago}}
```
Different languages abide by diverse pluralization rules. Following these rules is one of the most demanding tasks when localizing apps. For instance, English has pretty straightforward rules. A word can have either singular or plural form (also knows as *“one”* and *“other”*). Czech language, however, is quite complicated as it distinguishes *“one”*, *“few”* and *“other”* forms. You can get familiar with the list of possible forms for common world languages on [Language Plural Rules](https://unicode-org.github.io/cldr-staging/charts/37/supplemental/language_plural_rules.html) of [Unicode Common Locale Data Repository (CLDR)](http://cldr.unicode.org). **The best thing is that Localazy covers the entire specification automatically!**
The code snippet above respects CLDR rules and, therefore, will be parsed in Localazy. If we wouldn’t respect the rules, we do not lose a phrase, don’t worry. It will be transferred to Localazy and kept as-is.
To better demonstrate the *Plurals* behaviour in the app, add an input to change the `minutes` component property value using the two-way data binding.
Firstly, we need to import `FormsModule` into our `app.module.ts` file and add it into the `imports` section of `@NgModule`. Otherwise compilation errors will occur. Modify the file so it looks like this:
```js
import { BrowserModule } from '@angular/platform-browser';
import { NgModule } from '@angular/core';
import { FormsModule } from '@angular/forms';
import { AppComponent } from './app.component';
@NgModule({
declarations: [
AppComponent
],
imports: [
BrowserModule,
FormsModule,
],
providers: [],
bootstrap: [AppComponent]
})
export class AppModule { }
```
Then add `minutes` property into component (`app.component.ts` file). Because we will use one other property named `user` in our next string resource example, we can define it as well.
```js
import { Component } from '@angular/core';
@Component({
selector: 'app-root',
templateUrl: './app.component.html',
styleUrls: ['./app.component.css']
})
export class AppComponent {
title: string = 'angular-i18n-localazy-demo';
minutes: number = 0;
user: string = 'localazy';
}
```
Finally, add the input into template including two-way binding.
```html
```
After compiling the project, we should be able to change rendered information regarding *“updated”* section dynamically.
5. Drop-down List
```html
The author is {{ user }}
```
For similar reasons as in the previous example, we may add a `selectbox` to switch between the options easier. A code is already included in the snippet above.
This is how our `app.component.html` file should look like:
```html
{{ title }}
Hello there! We're thrilled that you've decided to use Localazy for translating your app!
```
## 📋 Extracting a source language file
Our template is prepared and ready to be translated. Now we need to define a source language in `angular.json` project config file. Open the file and add:
```json
...
"projects": {
"angular-i18n-localazy-demo": {
...
"i18n": {
"sourceLocale": "en",
},
...
}
}
```
To assure that we have a correct setup, a `sourceLocale` value should be equal to Localazy project’s source language code (in our case *“en”*).
Next, we use the Angular CLI command to extract the marked text in the template into the source language file. Open a terminal window in the project root directory and run:
```shell
ng extract-i18n --output-path src/locale --out-file en.xliff --format=xlf2
```
This command creates `en.xliff` file in `./src/locale` directory.
## 🚩 Integration with Localazy
This is a part where the real fun begins. In any project, we certainly do not want to handle things that can be automated, manually. Manual approach is error-prone, boring and takes a long time. And localization is undoubtedly one of the things that can be automated.
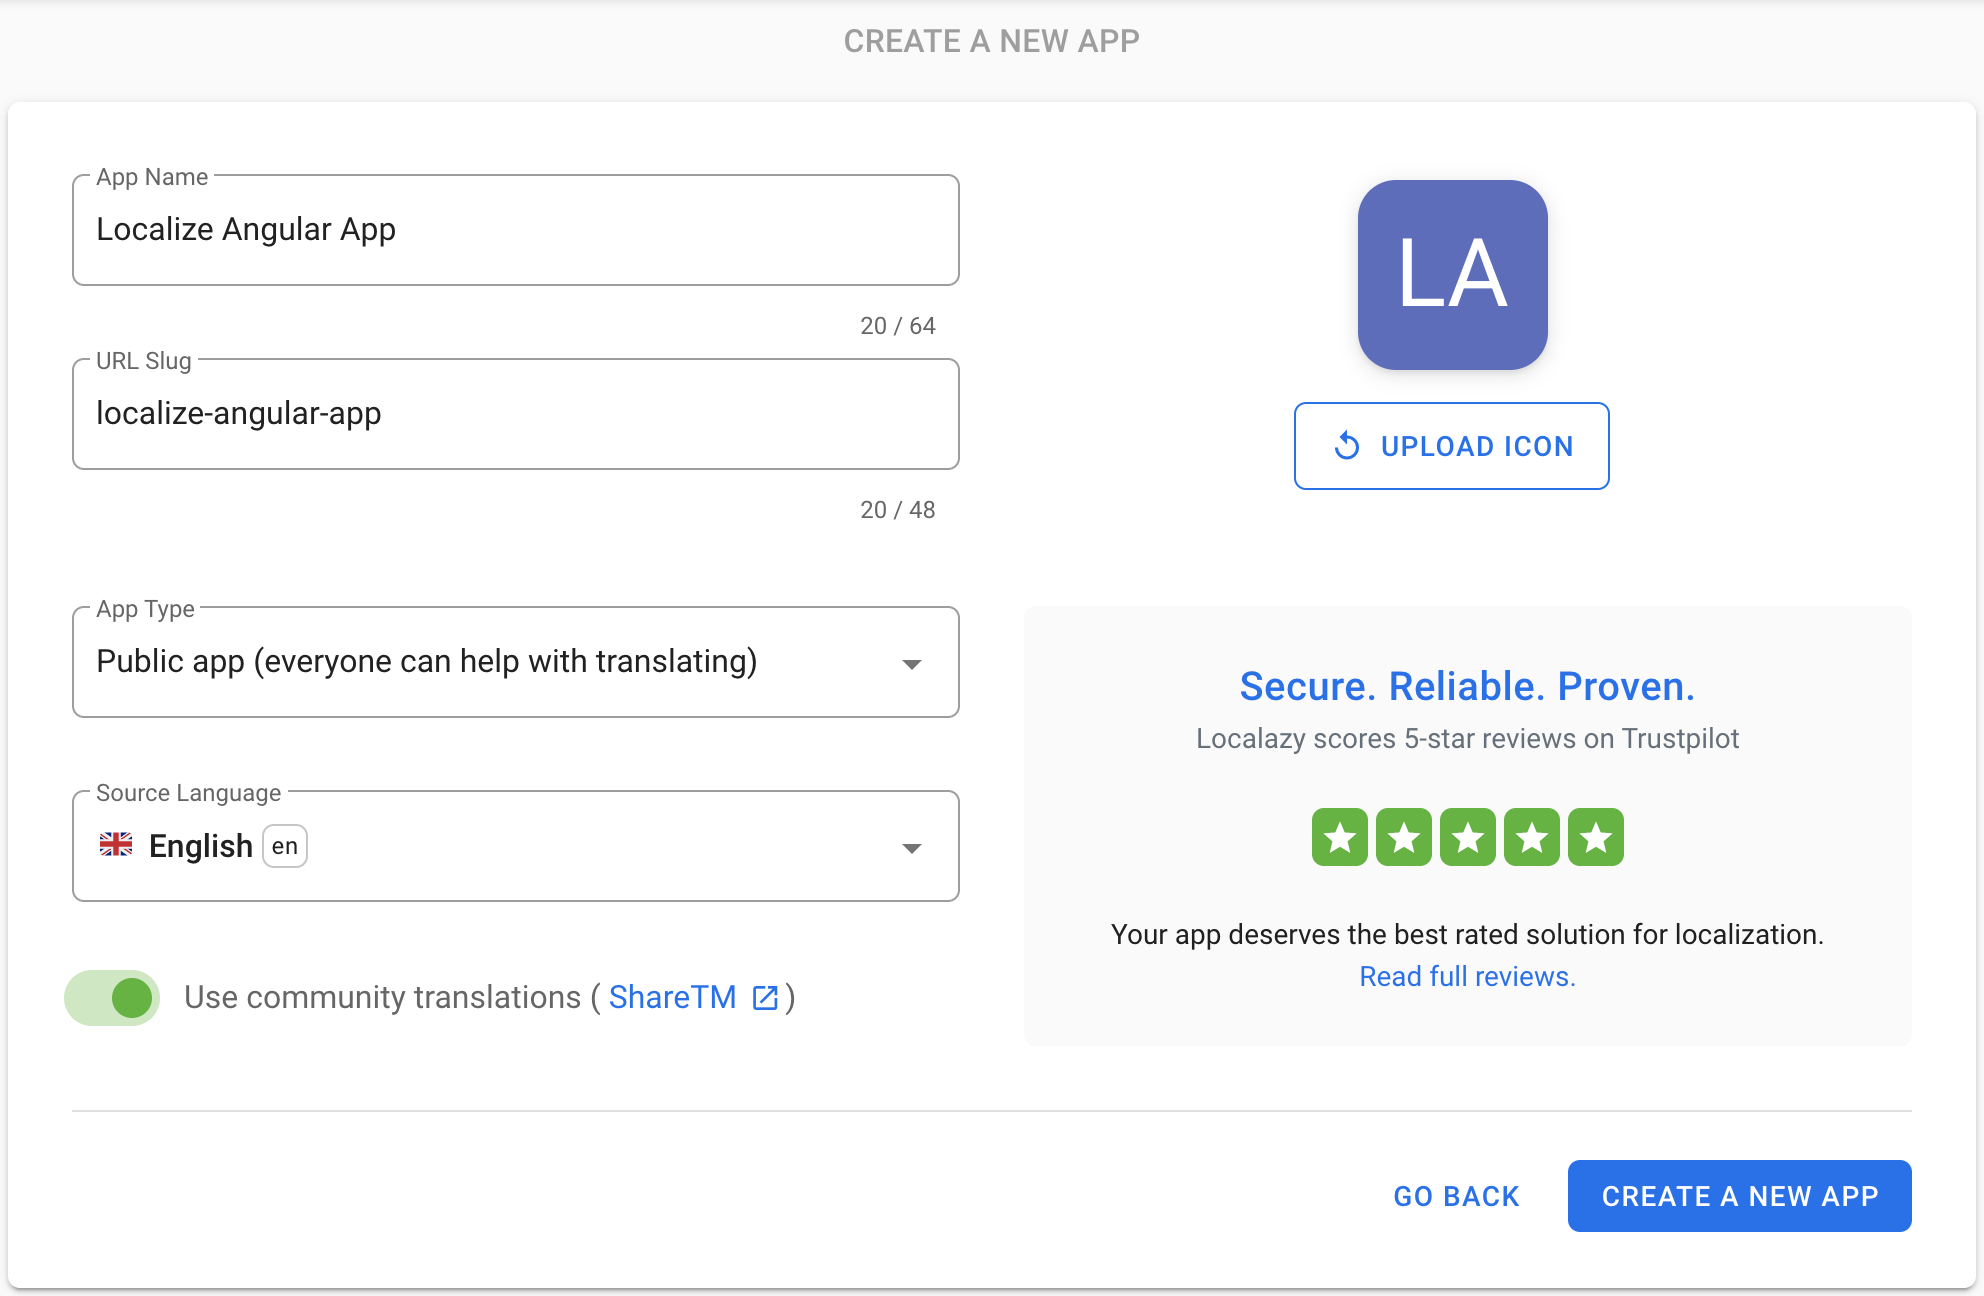
### Create a new app
Go to [Localazy signup](https://localazy.com/register), join our community by creating an account, then create a new app. We can leave it as public so other contributors can freely help with translating our app. Select English as a source language (generally, of course, you can use any other). Also, enable *Use community translations ([ShareTM](https://localazy.com/docs/general/what-is-localazy-sharetm))* option, so some app parts can be translated automatically.
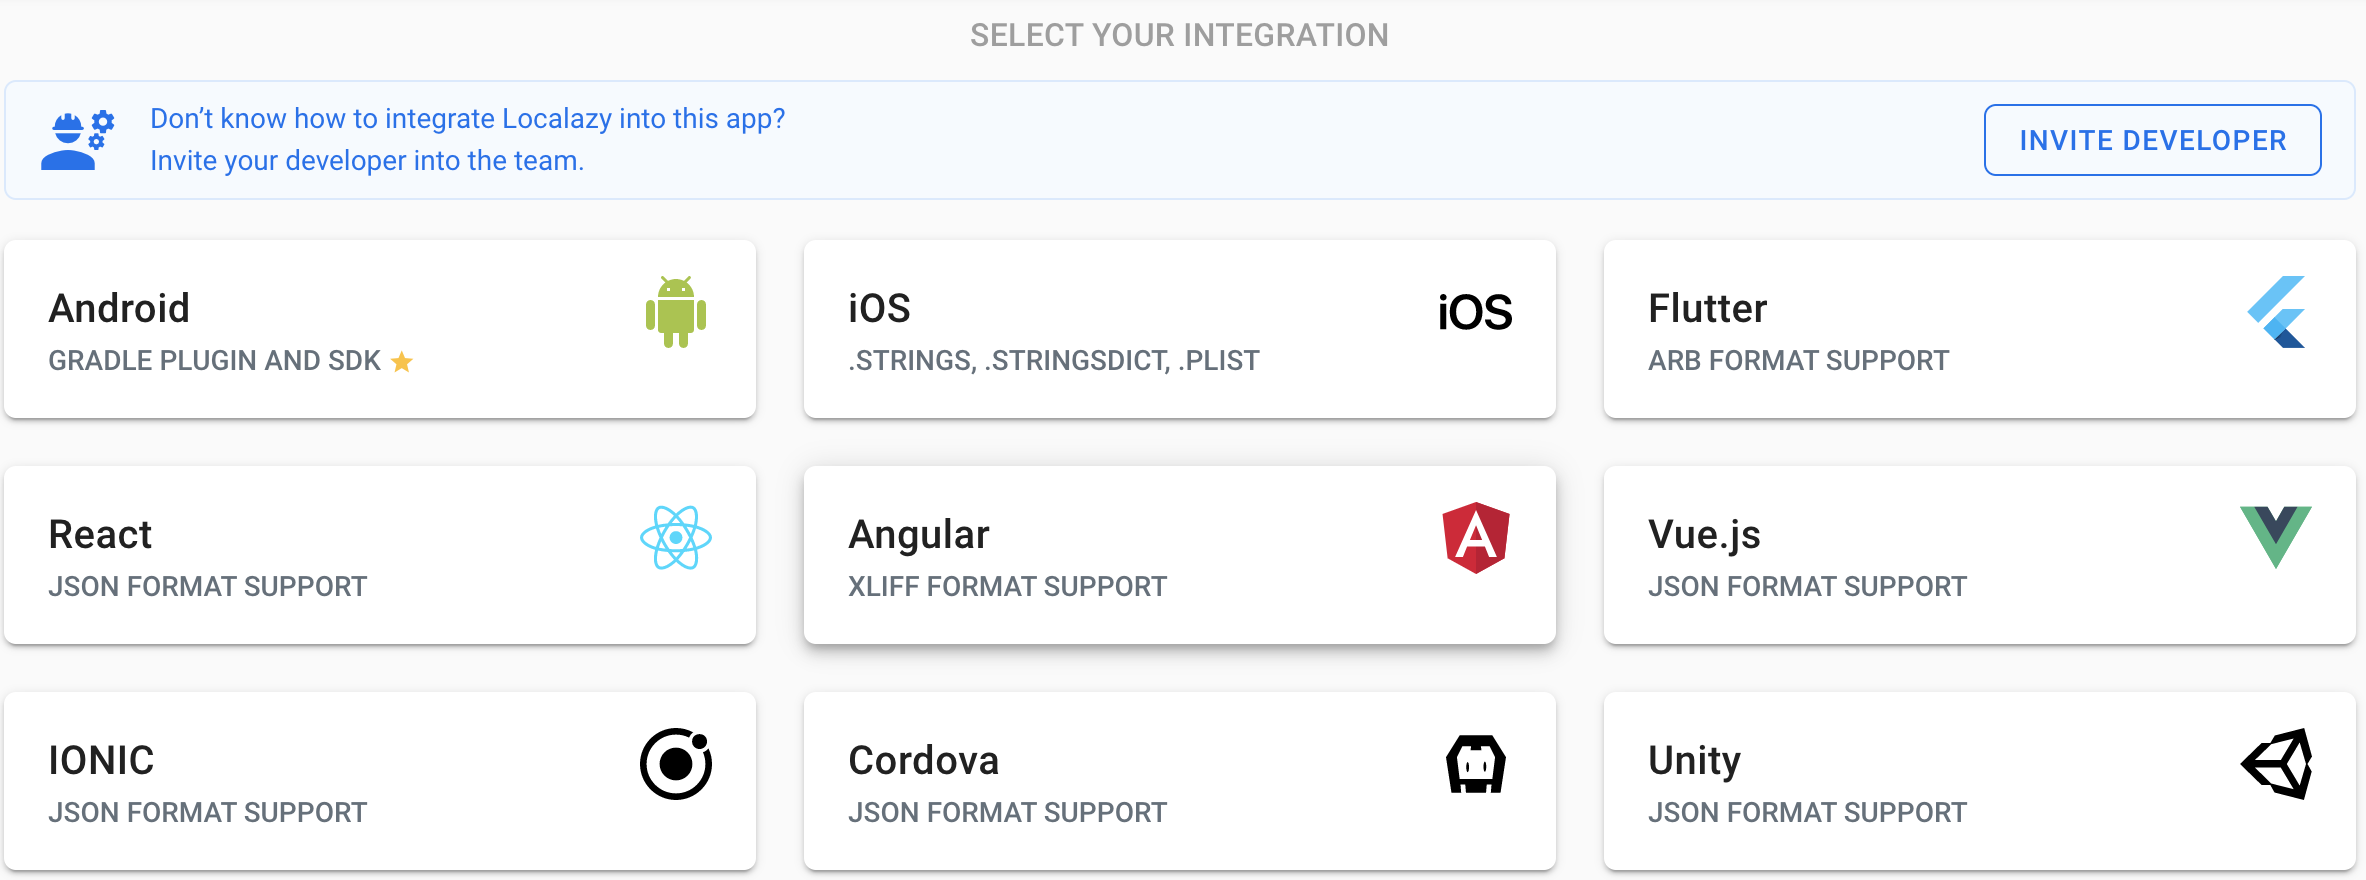
The app is successfully created. On the integration screen, choose *Angular*.
### Integrate & Upload
After clicking on *Angular* button, we see integration instructions. Let’s dig into the process more deeply.
First, [install Localazy CLI](https://localazy.com/docs/cli/installation) by running a command in our app’s terminal.
```shell
npm install -g @localazy/cli
```
Afterwards, create a configuration file `localazy.json` in the root folder of our project. Also, paste *writeKey* and *readKey* from step 2 of the integration guide page.
```json
{
"writeKey": "",
"readKey": "",
"upload": {
"type": "xliff",
"files": "src/locale/en.xliff"
},
"download": {
"files": "src/locale/${lang}.xliff"
}
}
```
As we will use some additional features, modify `localazy.json` file a bit. As we know, we have defined some *“plurals”* string resources in ICU message format earlier. To add parsing support, fill in a *features* key array value:
```json
...
"upload": {
...
"features": [
"parse_plurals_icu"
]
}
```
All of the supported features regarding XLIFF are described in detail in [File Format - XLIFF 2.0](https://localazy.com/docs/cli/xliff-20-format) Localazy Documentation section.
Now it’s finally time to upload our source language phrases to Localazy. Navigate terminal to the project root folder and run the following command:
```shell
localazy upload -s
```
Great! We’ve just simulated (`-s` stands for simulate) the upload without actually uploading anything. It is a good practice to test out the configuration to make sure that nothing unexpected occurs. For example, having *writeKey* or (and) *readKey* pasted incorrectly would output lines similar to the following (depends on CLI version).
```shell
Localazy CLI, v1.3.0
Command-line tool for the Localazy platform.
Read more information at https://localazy.com/docs/cli
Parameters:
- deprecate missing: false
- import as new: false
- force current: false
- filter source: true
- app version: 0
- groups: (default only)
- folder: .
Processing files...
./src/locale/en.xliff
(file: file.xliff, lang: inherited, type: xliff, features: use_project_lang)
Verifying...
Authorization failed! Check your read and write keys.
```
Keys are fixed now, and the second simulation proceeded without any issues. Let’s upload language phrases for real!
```shell
localazy upload
```
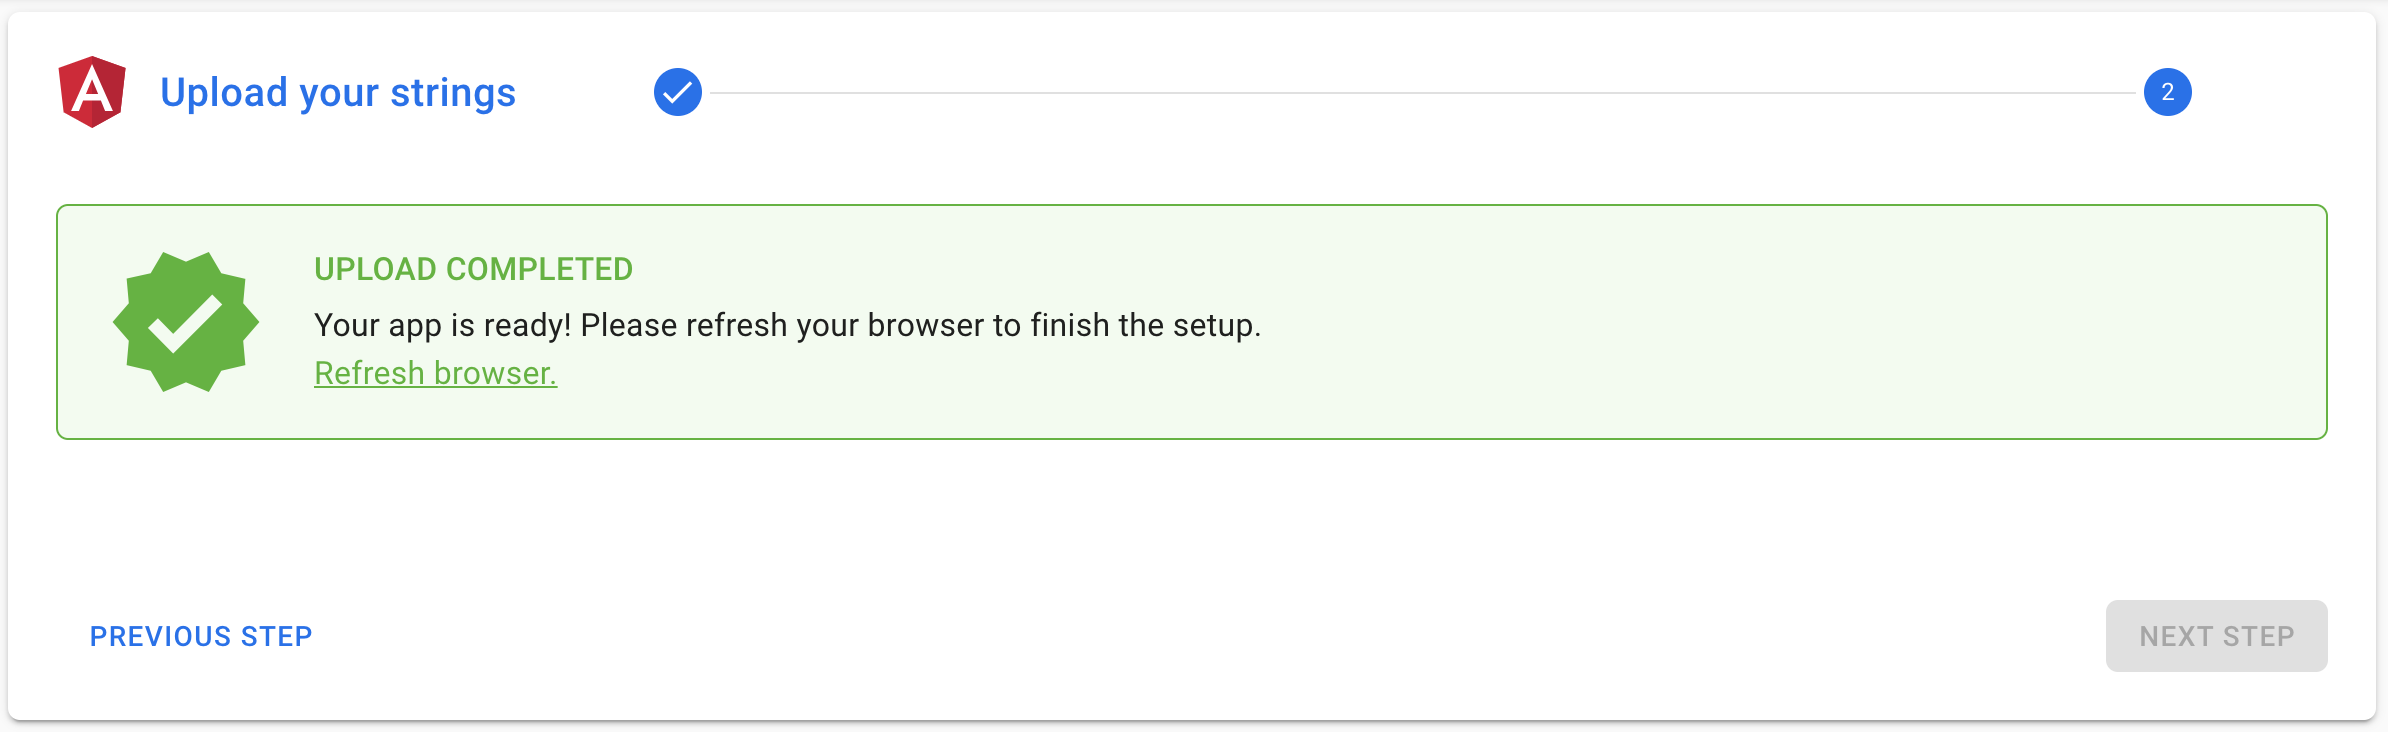
Files are successfully transferred. In the Localazy app, hit *NEXT STEP* button to proceed. Our app is ready! According to the instructions, refresh your browser window.
### Translate & Download
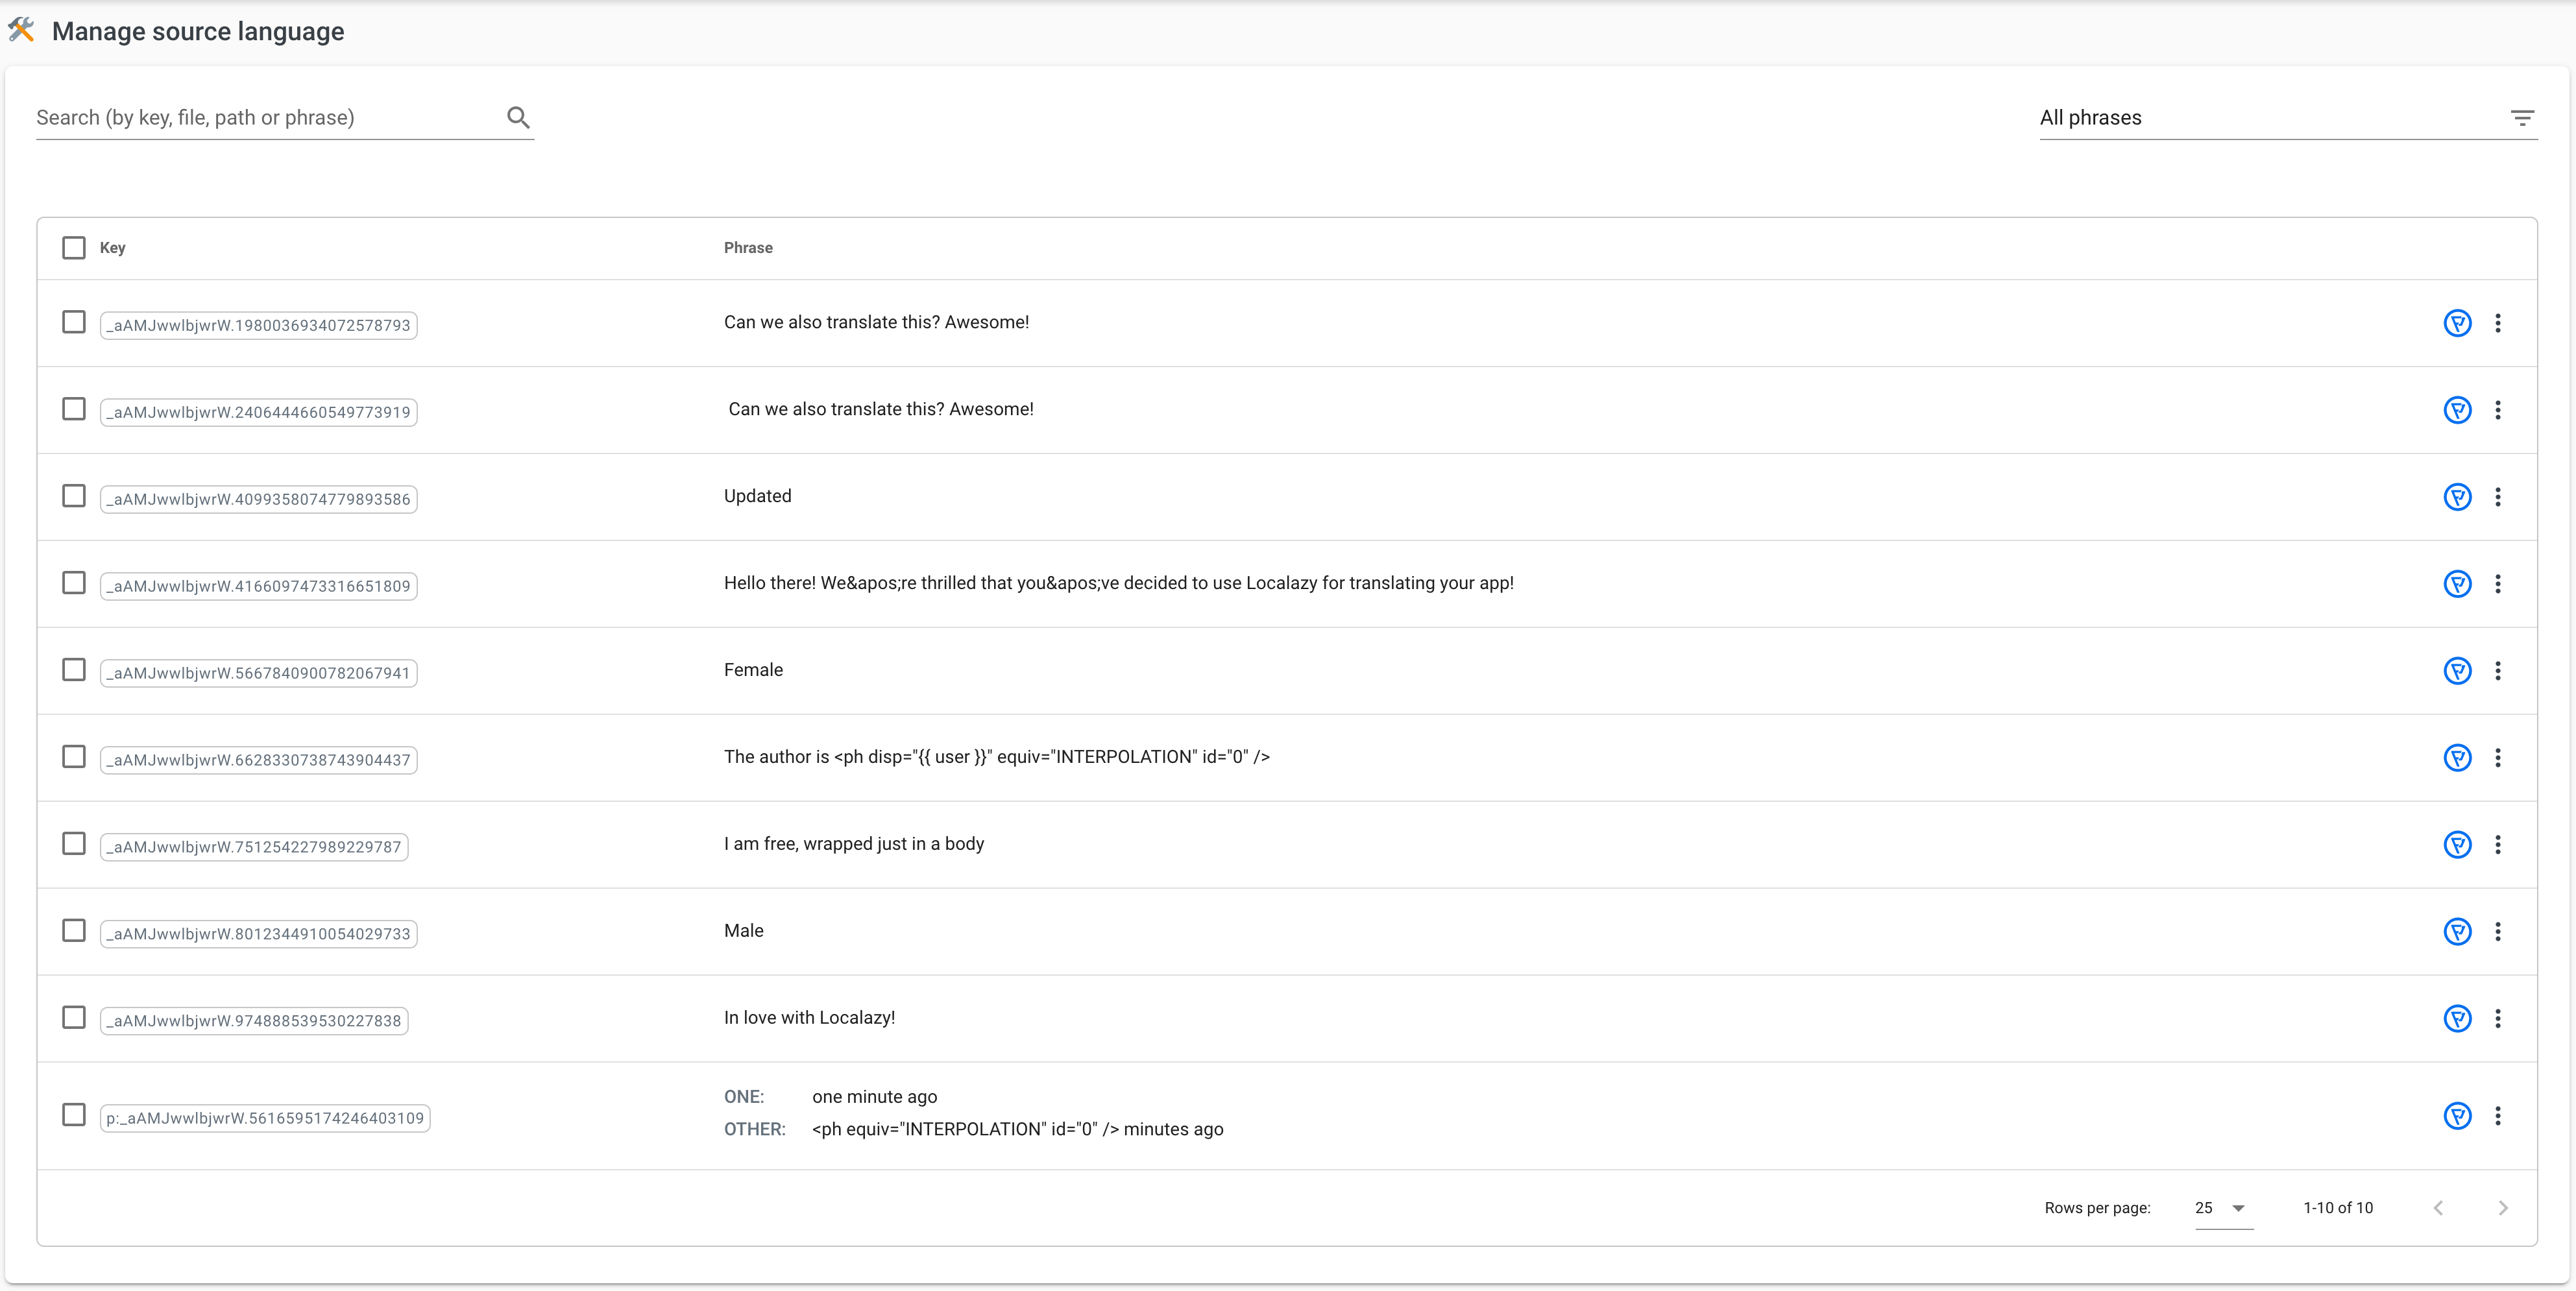
Click on *SOURCE PHRASES* button. List of uploaded source phrases should be displayed as we can see below.
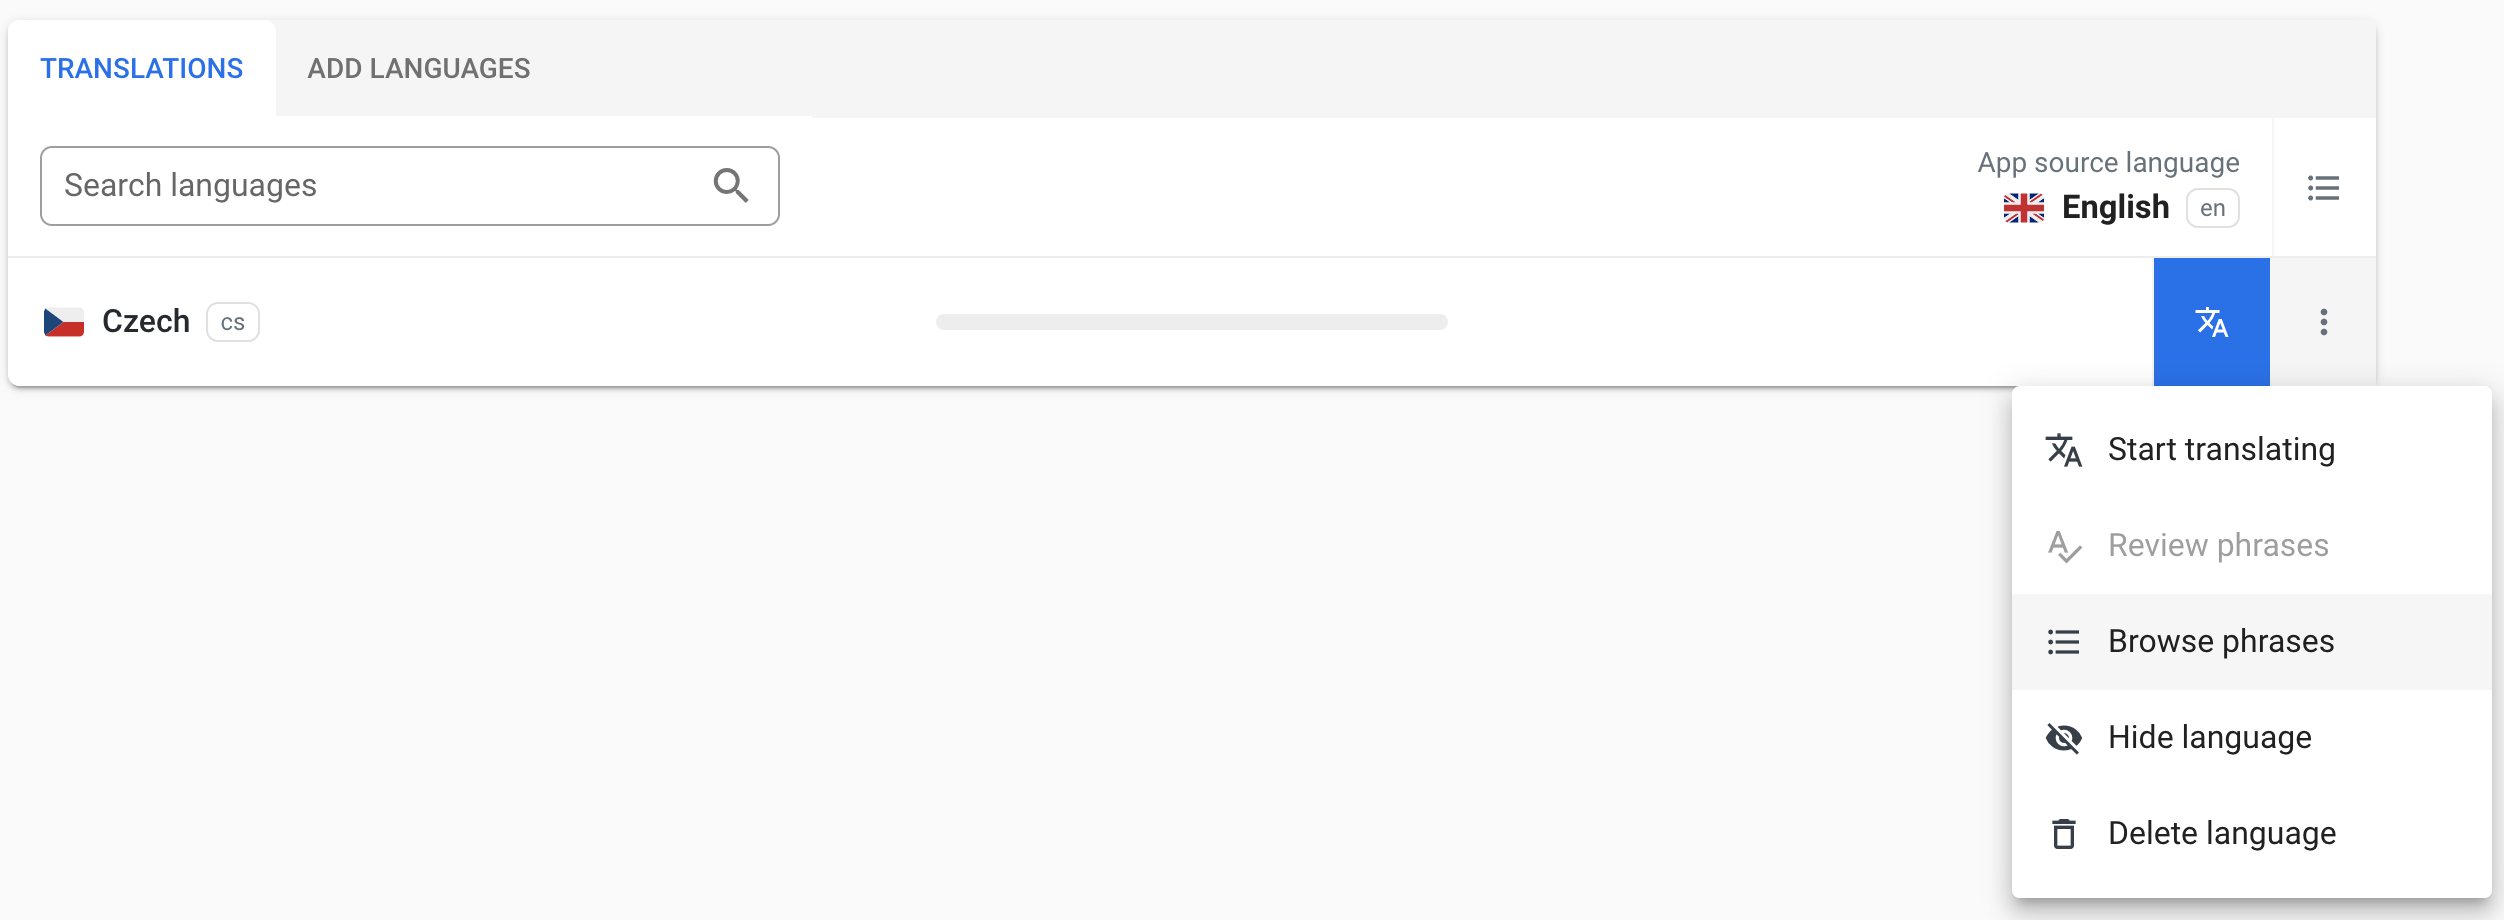
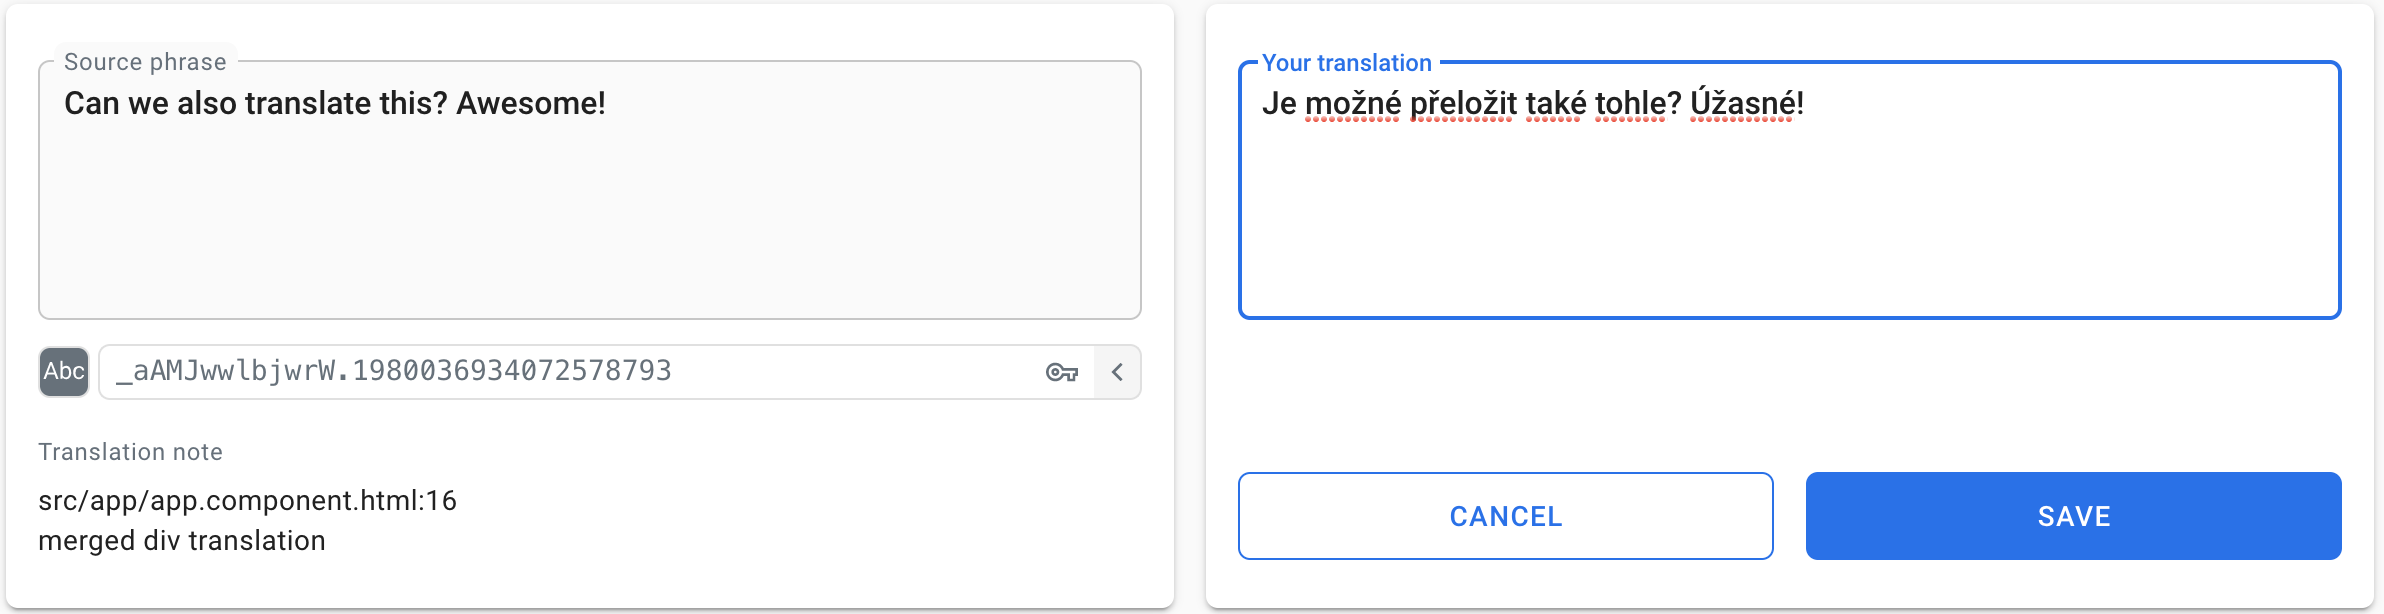
Go back, click *ADD LANGUAGES*, look up some of your favourite languages and add the translations. Let me demonstrate this on the Czech language. Add Czech and either start translating or browse the phrases and translate one by one; it is entirely up to you.
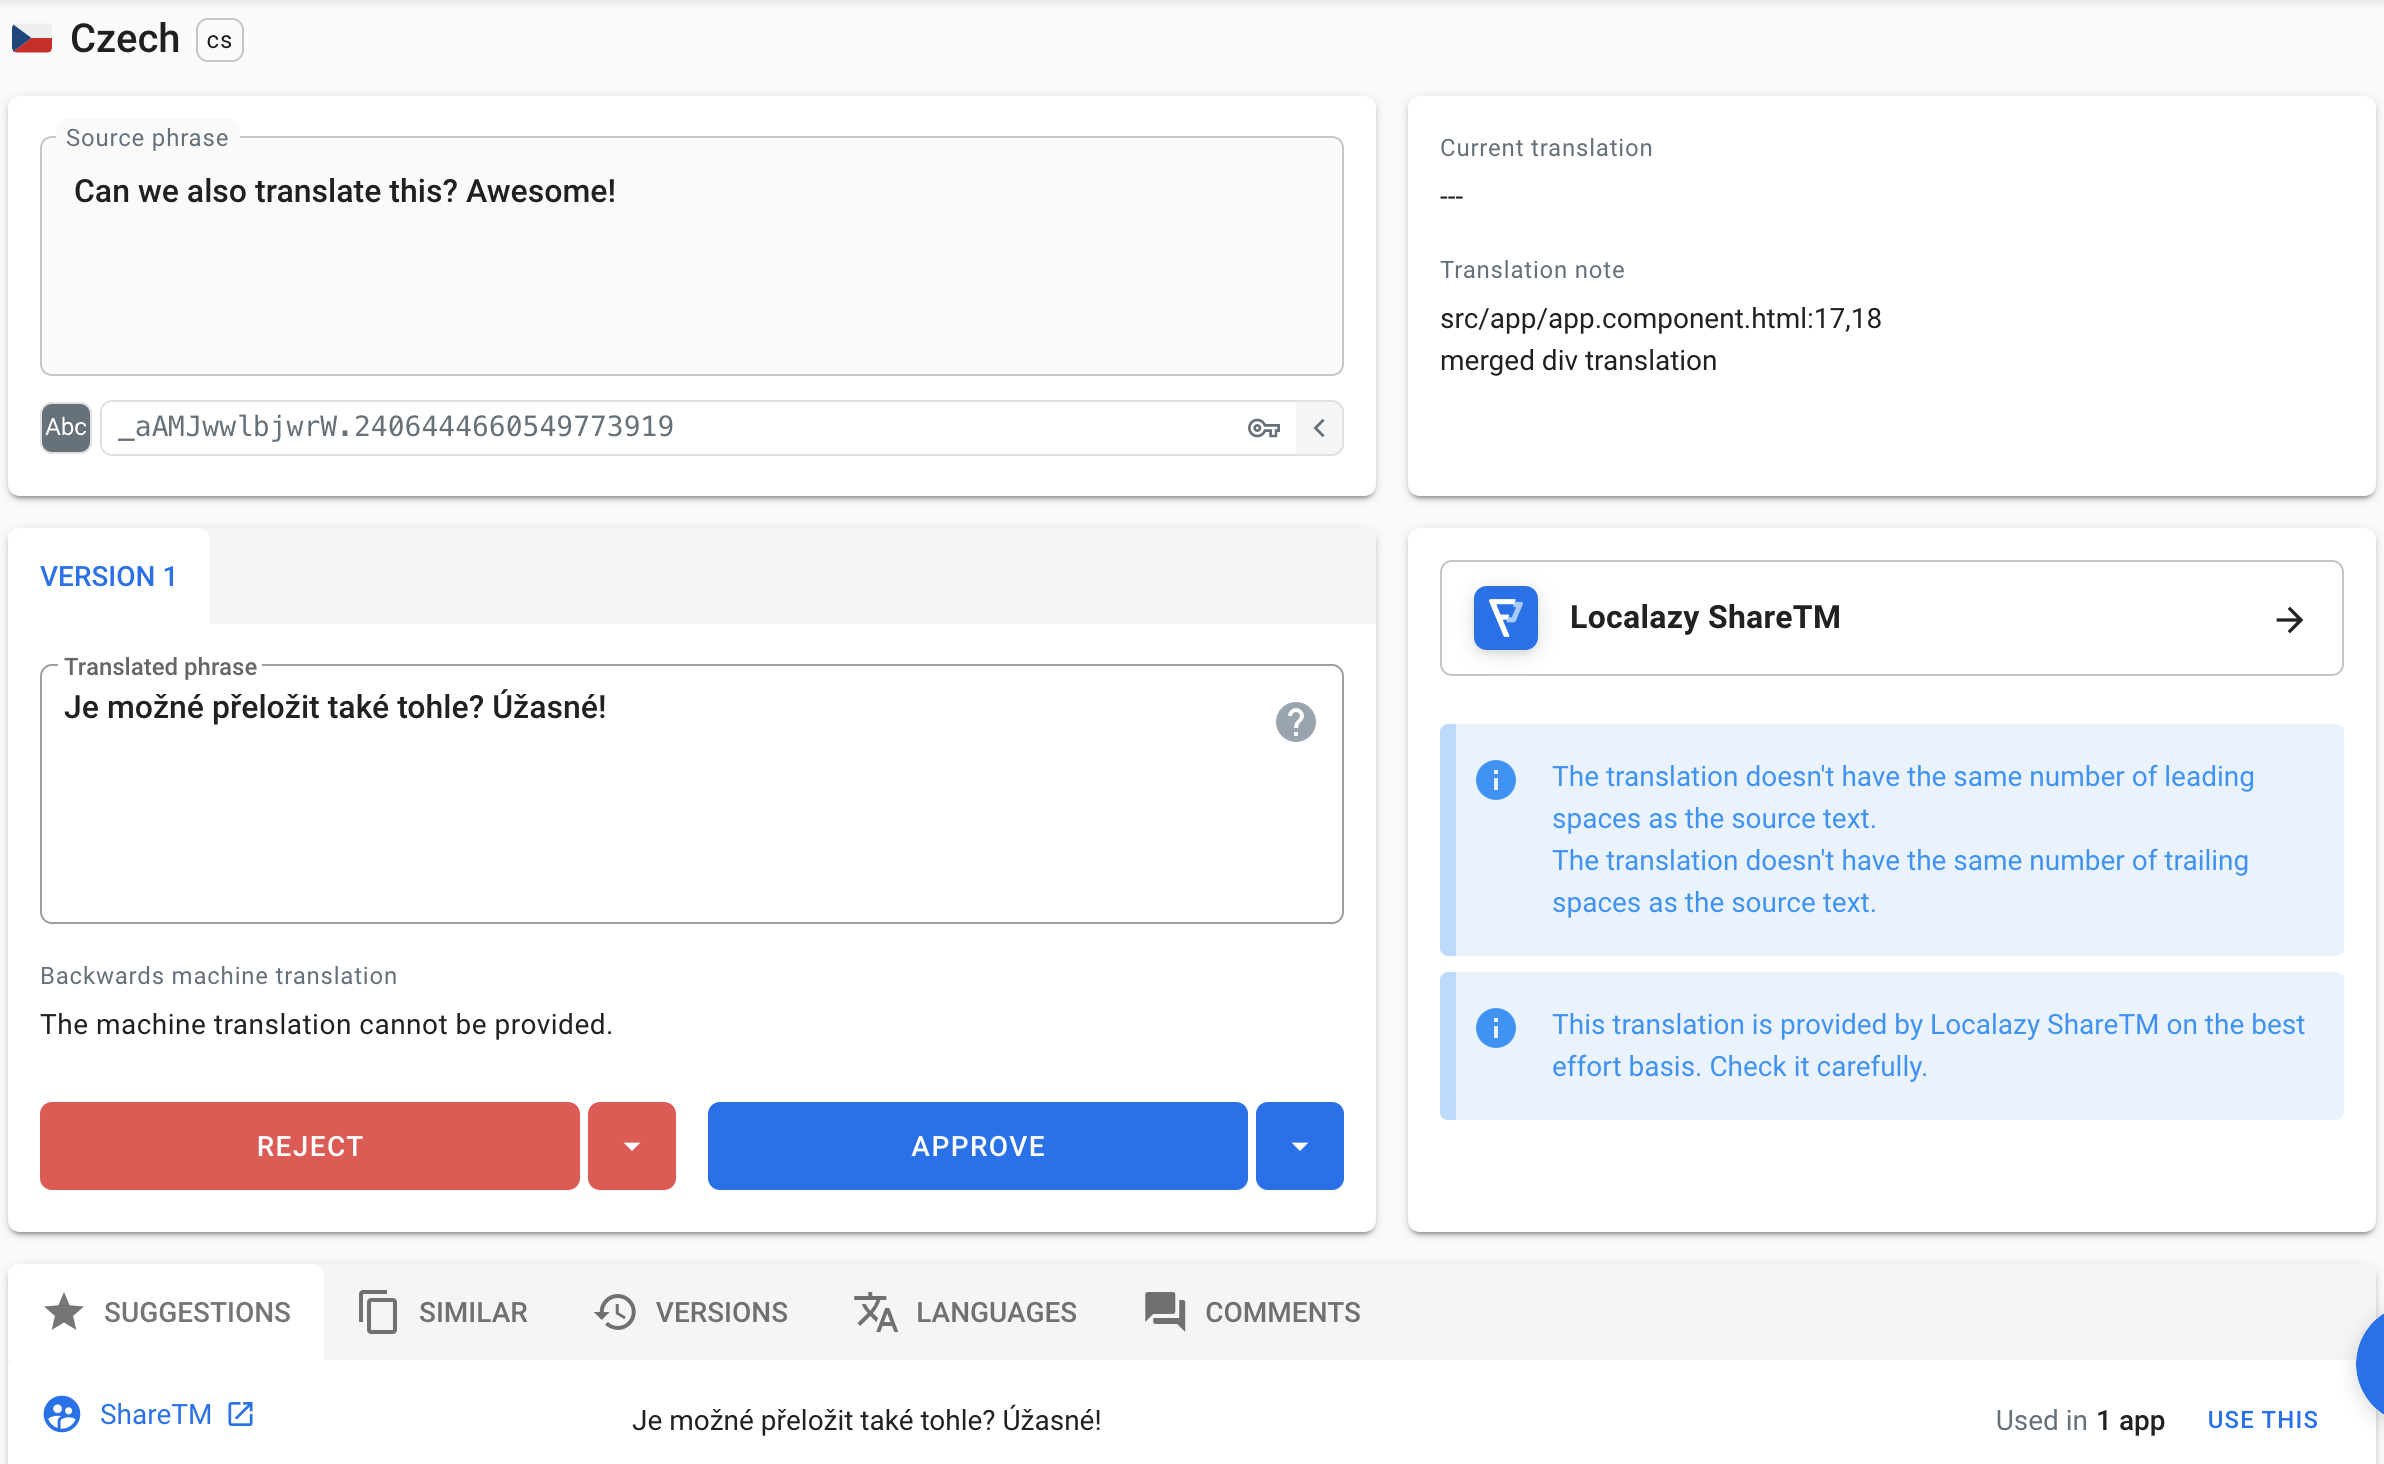
When we look at the other, similar phrase in the Czech phrases window, we can notice that the *Untranslated* button has changed to *Waiting for review*. This means that the phrase has been already recognized as translated and can be only reviewed in order to confirm the correctness of the translation. In this particular case, there are slight nuances regarding trailing whitespaces.

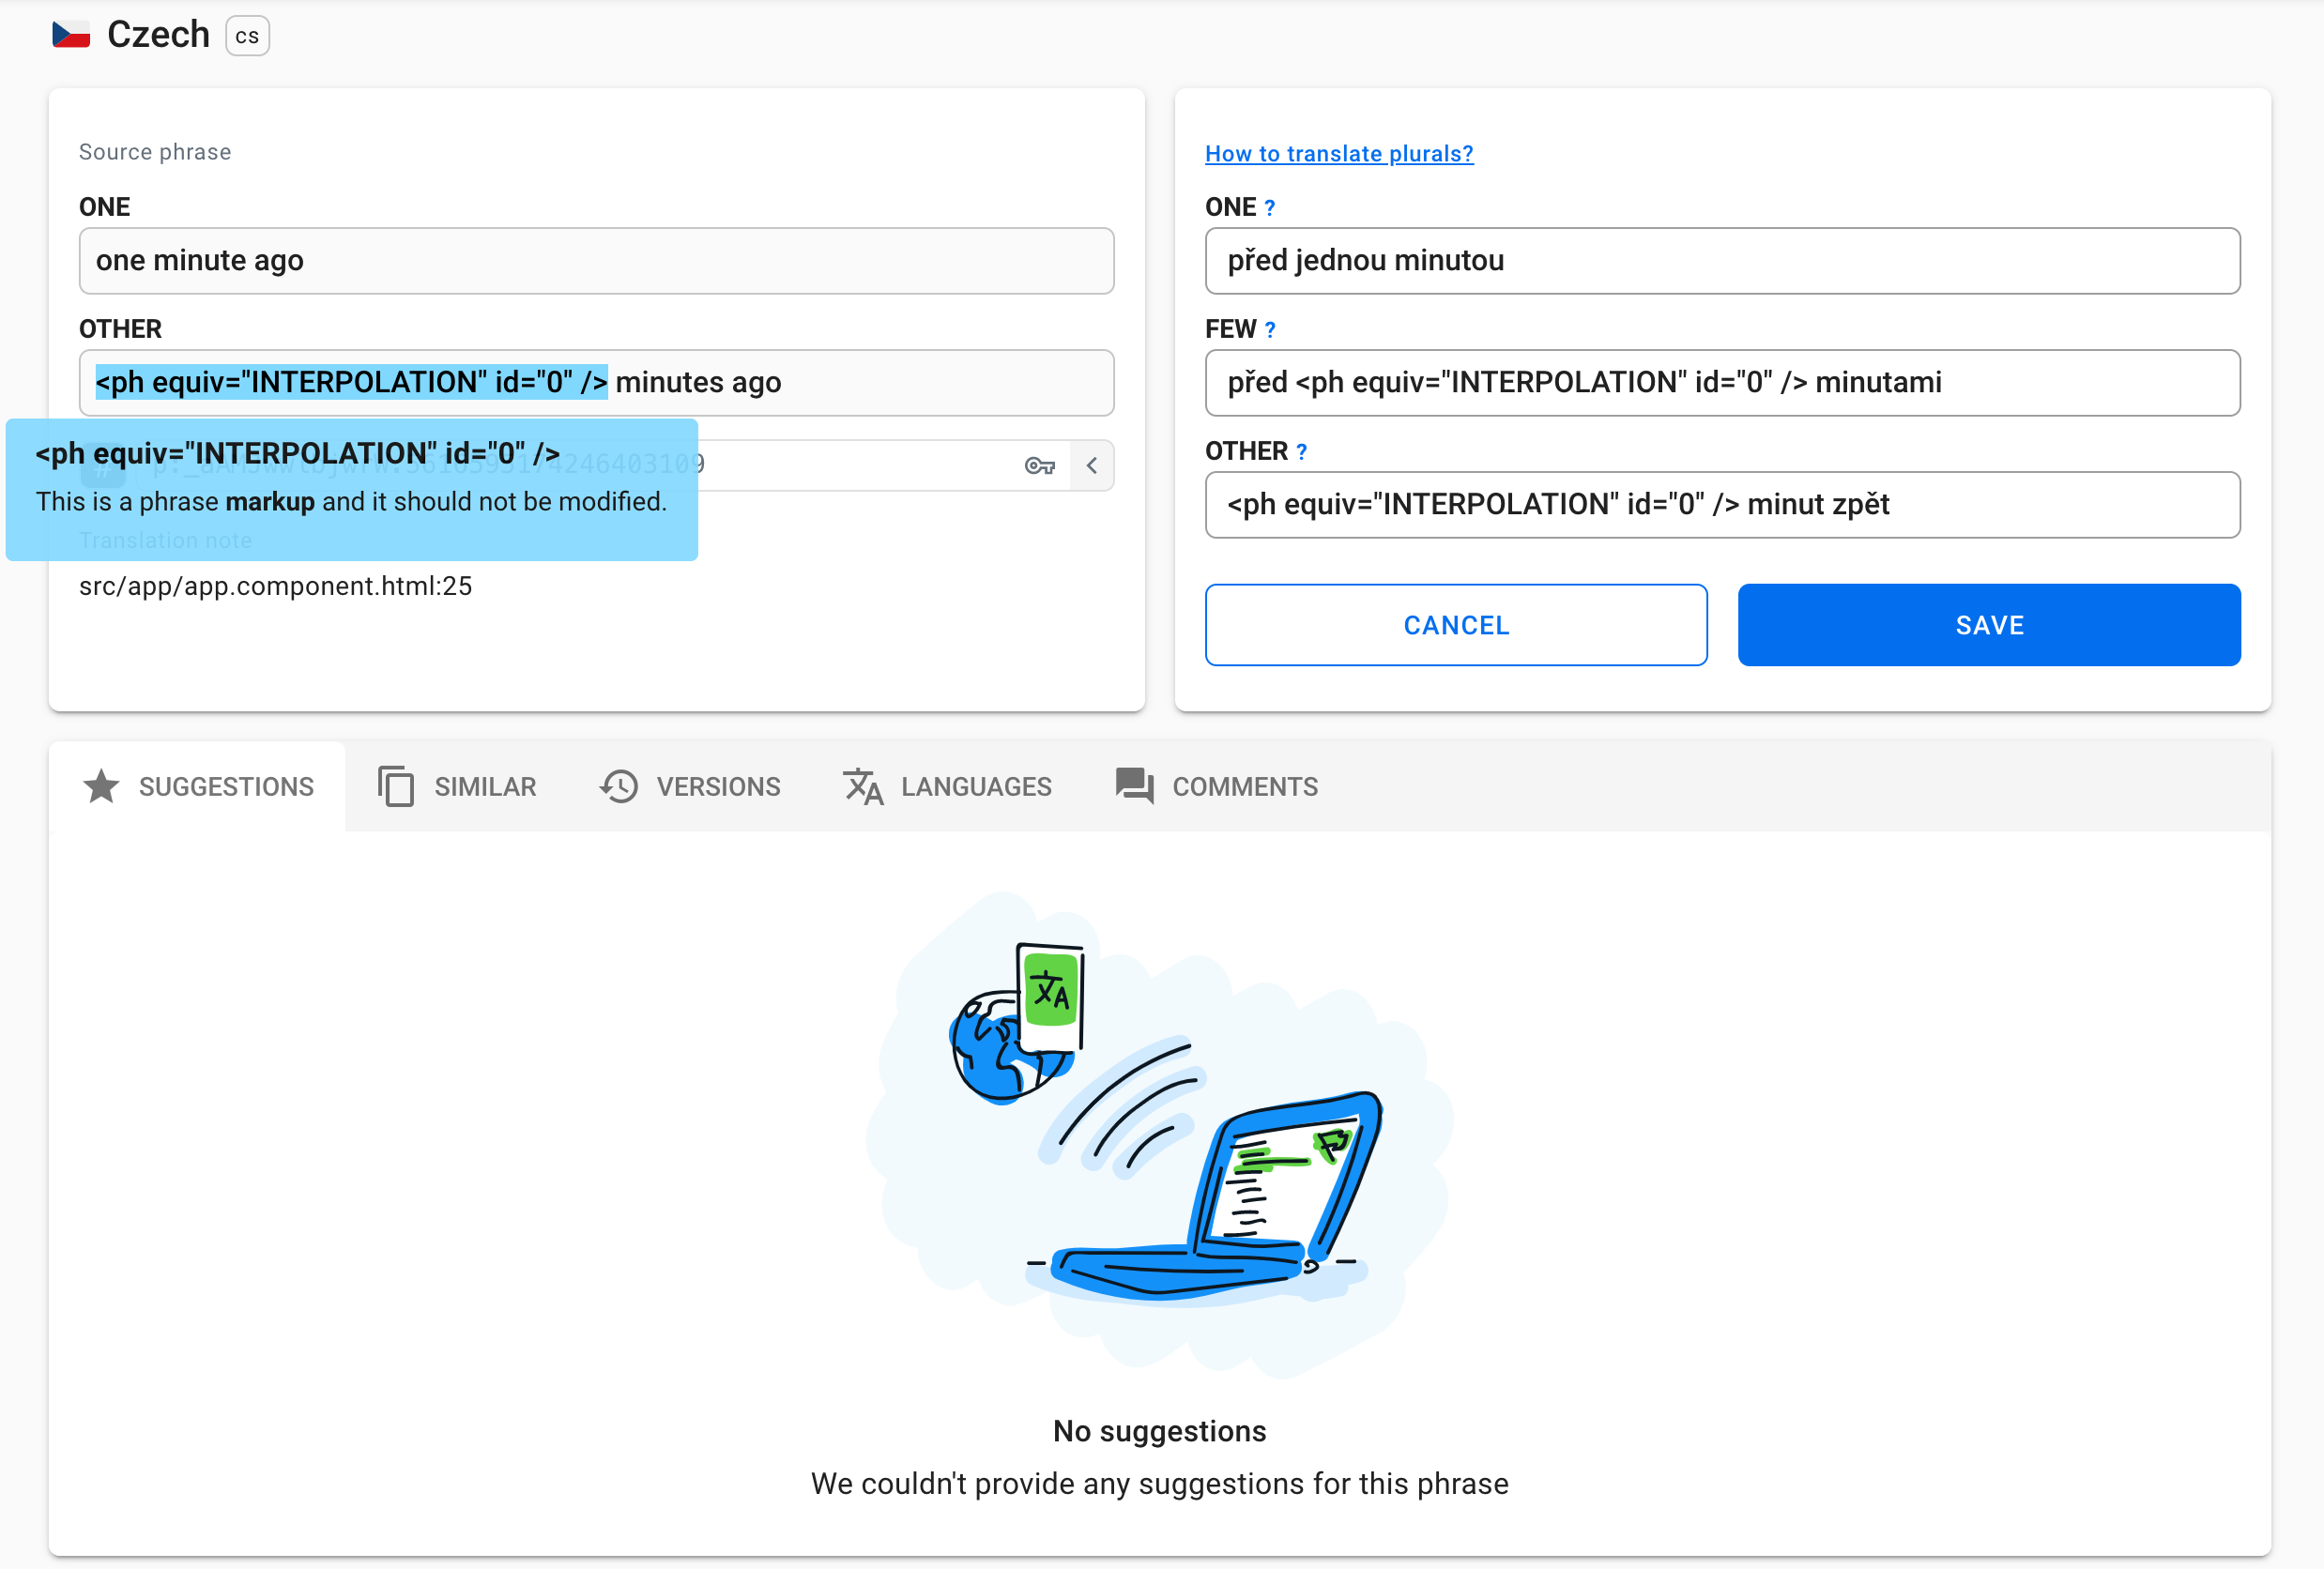
The review screen is shown below.
Let me also show you the pluralization example. As we can notice, Localazy automatically recognizes and highlights a phrase markup, which should not be modified. Clicking on a highlighted phrase causes copying it into an active plural form field, which helps translate even faster. A screen below also proves my statement (mentioned earlier in the article) - that Localazy automatically recognized the language plural rules. How great is that!
Let’s finish translating our app and get back to our Angular project; it’s time to download our translated phrases.
```shell
localazy download
```
This command downloads/updates all the freshly added languages and newly accepted phrases. There is a new `cs.xliff` file in our *locales* folder containing translated phrases. Let’s build the project!
## 🔥 Build project in a different language
Due to the deployment complexities of i18n and the need to minimize rebuild time, the development server only supports localizing a single locale at a time. For these reasons, let me show you an `angular.json` project configuration that allows serving more locales at distinct ports at the same moment.
Firstly, we need to define locales in the build configuration. Use the `i18n` project option to define a map of locale identifiers to translation files. The following code snippet from `angular.json` shows it all:
```json
...
"projects": {
"angular-i18n-localazy-demo": {
...
"i18n": {
"sourceLocale": "en",
"locales": {
"cs": {
"translation": "src/locale/cs.xliff"
}
}
},
...
}
}
```
Next, we need to apply specific build options per each locale. To do that, we can create a custom locale-specific configuration by specifying a single locale as shown in the following example:
```json
...
"projects": {
"angular-i18n-localazy-demo": {
...
"architect": {
"build": {
...
"configurations": {
...
"cs": {
"localize": ["cs"]
},
"en": {
"localize": ["en"]
}
}
},
"serve": {
...
"configurations": {
...
"en": {
"browserTarget": "angular-i18n-localazy-demo:build:en",
"port": 4200
},
"cs": {
"browserTarget": "angular-i18n-localazy-demo:build:cs",
"port": 4201
}
}
}
},
...
}
}
```
Great! Our locale specific project configuration is ready. Use two terminal windows pointing into project root and run a command respectively in each:
```shell
# 1st terminal window
ng serve -c=en
# 2nd terminal window
ng serve -c=cs
```
Note: `-c` is an alias and stands for `--configuration` parameter.
Congratulations, we should now see (we are able to open) two web browser windows, one of them displaying the English version, second serving the Czech version of our app.
 
## ✔️ Closing words
In this article, I demonstrated how to use Localazy and angular-i18n library to localize an Angular App. Localazy truly is a powerful tool that makes translating Angular (not only!) applications faster, easier, error-proof and more fun.
Now, you can [download the repository](https://github.com/localazy/angular-i18n-example) with this example project to explore it or [start localizing Angular apps](https://localazy.com/register) on your own!
Feel free to join us at [discuss.localazy.com ](http://discuss.localazy.com/). Share ideas with other developers, discuss feedback and new concepts, and comment on new features of Localazy as we add them. 😉