Managing multilingual content with Strapi CMS & Localazy

Learn how to manage your Strapi content in multiple languages and translate it seamlessly with the verified Strapi localization plugin by Localazy.
❓ What Is Strapi CMS?
Strapi is a headless, open-source CMS. A headless CMS is a content management system (CMS) that only manages the content on the back end. It was designed as a content repository that makes content available via an API for display across any device. Strapi allows building, managing, and publishing content-rich experiences to any digital service, channel, or device.
Strapi, like Localazy, can help developers save time while still allowing them to utilize their preferred tools and frameworks.
💜 Find more information about Strapi at Strapi.io
⭐ Benefits of using Strapi to manage multilingual content
Strapi as a backend service is important because it allows for complete automation with localization, and it is quite a seamless experience with the content management system. Some more benefits include:
- It takes a shorter time to deploy an application.
- The content management system has a user-friendly interface
- It allows for universal content distribution and management across any platform and device.
- Above all, it supports internationalization
🚀 Goals of this tutorial
This tutorial aims to give a fundamental approach to what the Strapi localization plugin can do. Following an example of building a ticket booking platform, you will learn:
- how to create a new Strapi project,
- how to configure the Strapi localization plugin by Localazy to manage multilingual content,
- how to create a Vue.js frontend to display the content.
The frontend implementation will be built with Vue.js, a JavaScript framework, and the backend implementation will be done with a clean Strapi project and the Localazy plugin.
At the end of this tutorial, you should know how to get started with the Strapi localization plugin for development and how to showcase the translated content to the client side.
Prerequisites
You only need two things to start:
- A clean Strapi v4 project
- A Localazy account - you can sign up for a free account now.
💜 Strapi Implementation
We will be installing Strapi and creating an instance of the Strapi project. To build this project Strapi structure, you need to do the following:
- You need to download and install Node.js (version 16 is recommended by Strapi).
- You need npm (version 6 only) or yarn to run the CLI installation scripts.
You can learn more in the Strapi Quick Start Guide
Project Bootstrap
We will install our Strapi project via the Strapi Command Line Interface (CLI) and run it locally. Open the console in the folder where you want to create the project and insert the following code:
npx create-strapi-app ticket-app-backend --quickstart
# OR
yarn create-strapi-app ticket-app-backend --quickstart
After creating this instance, the project should open automatically in the browser. You can also run the following command to open it in your browser.
npm run develop
# OR
yarn run develop
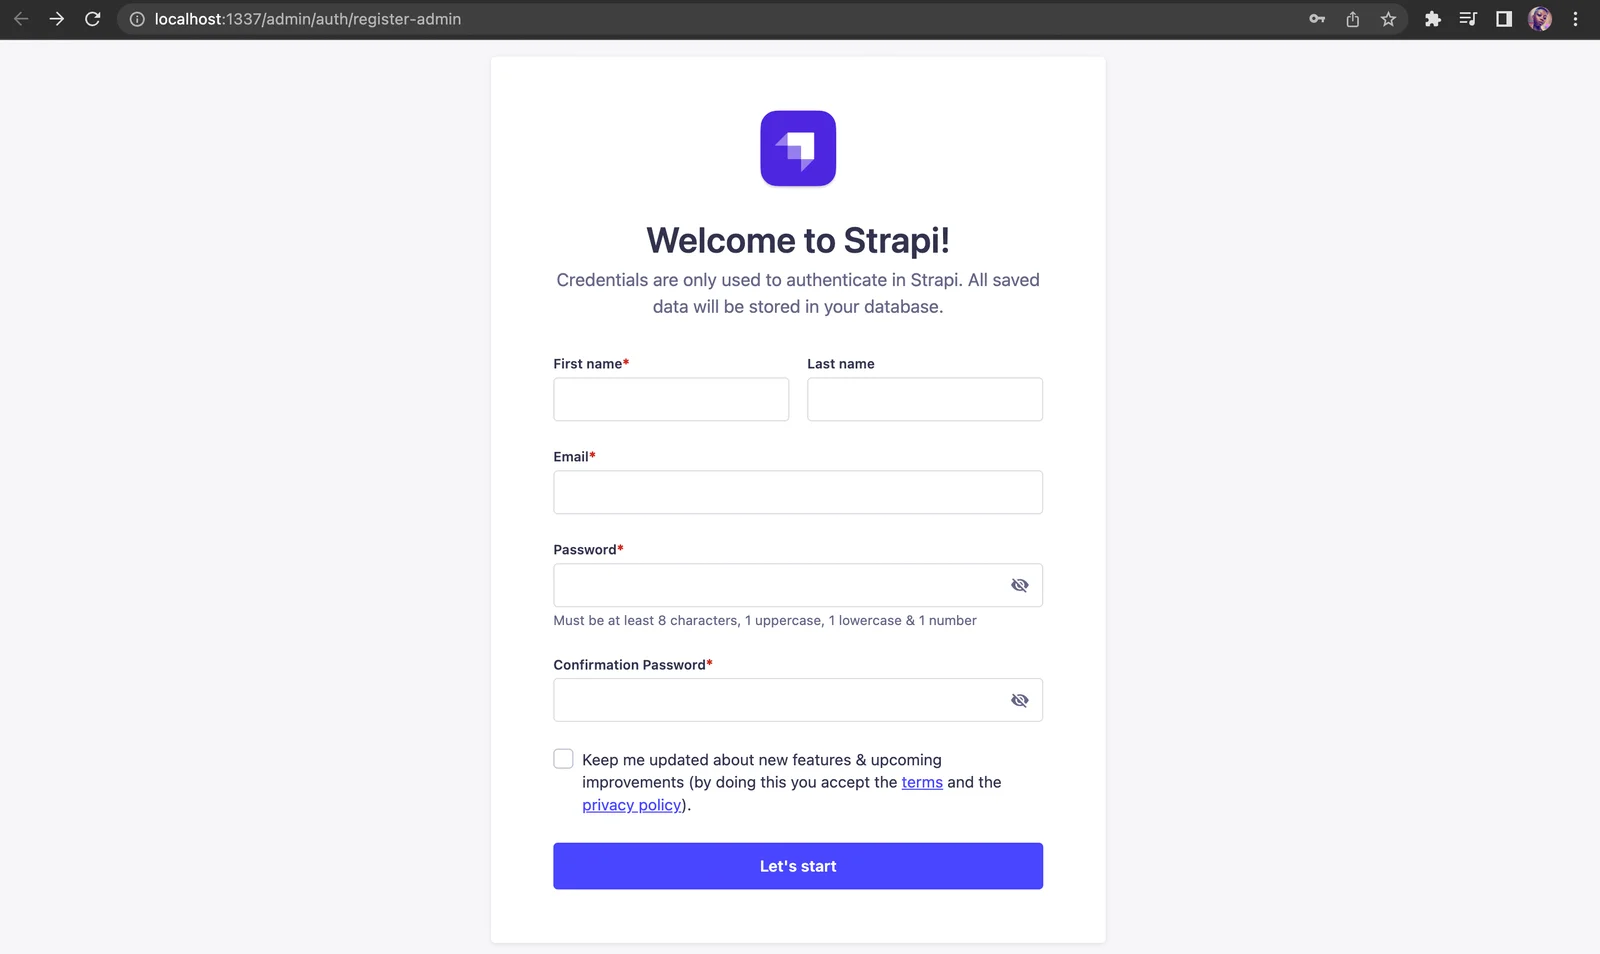
A new tab will be opened in your browser, and you can register as an admin.
Modeling Strapi Content Type Builder
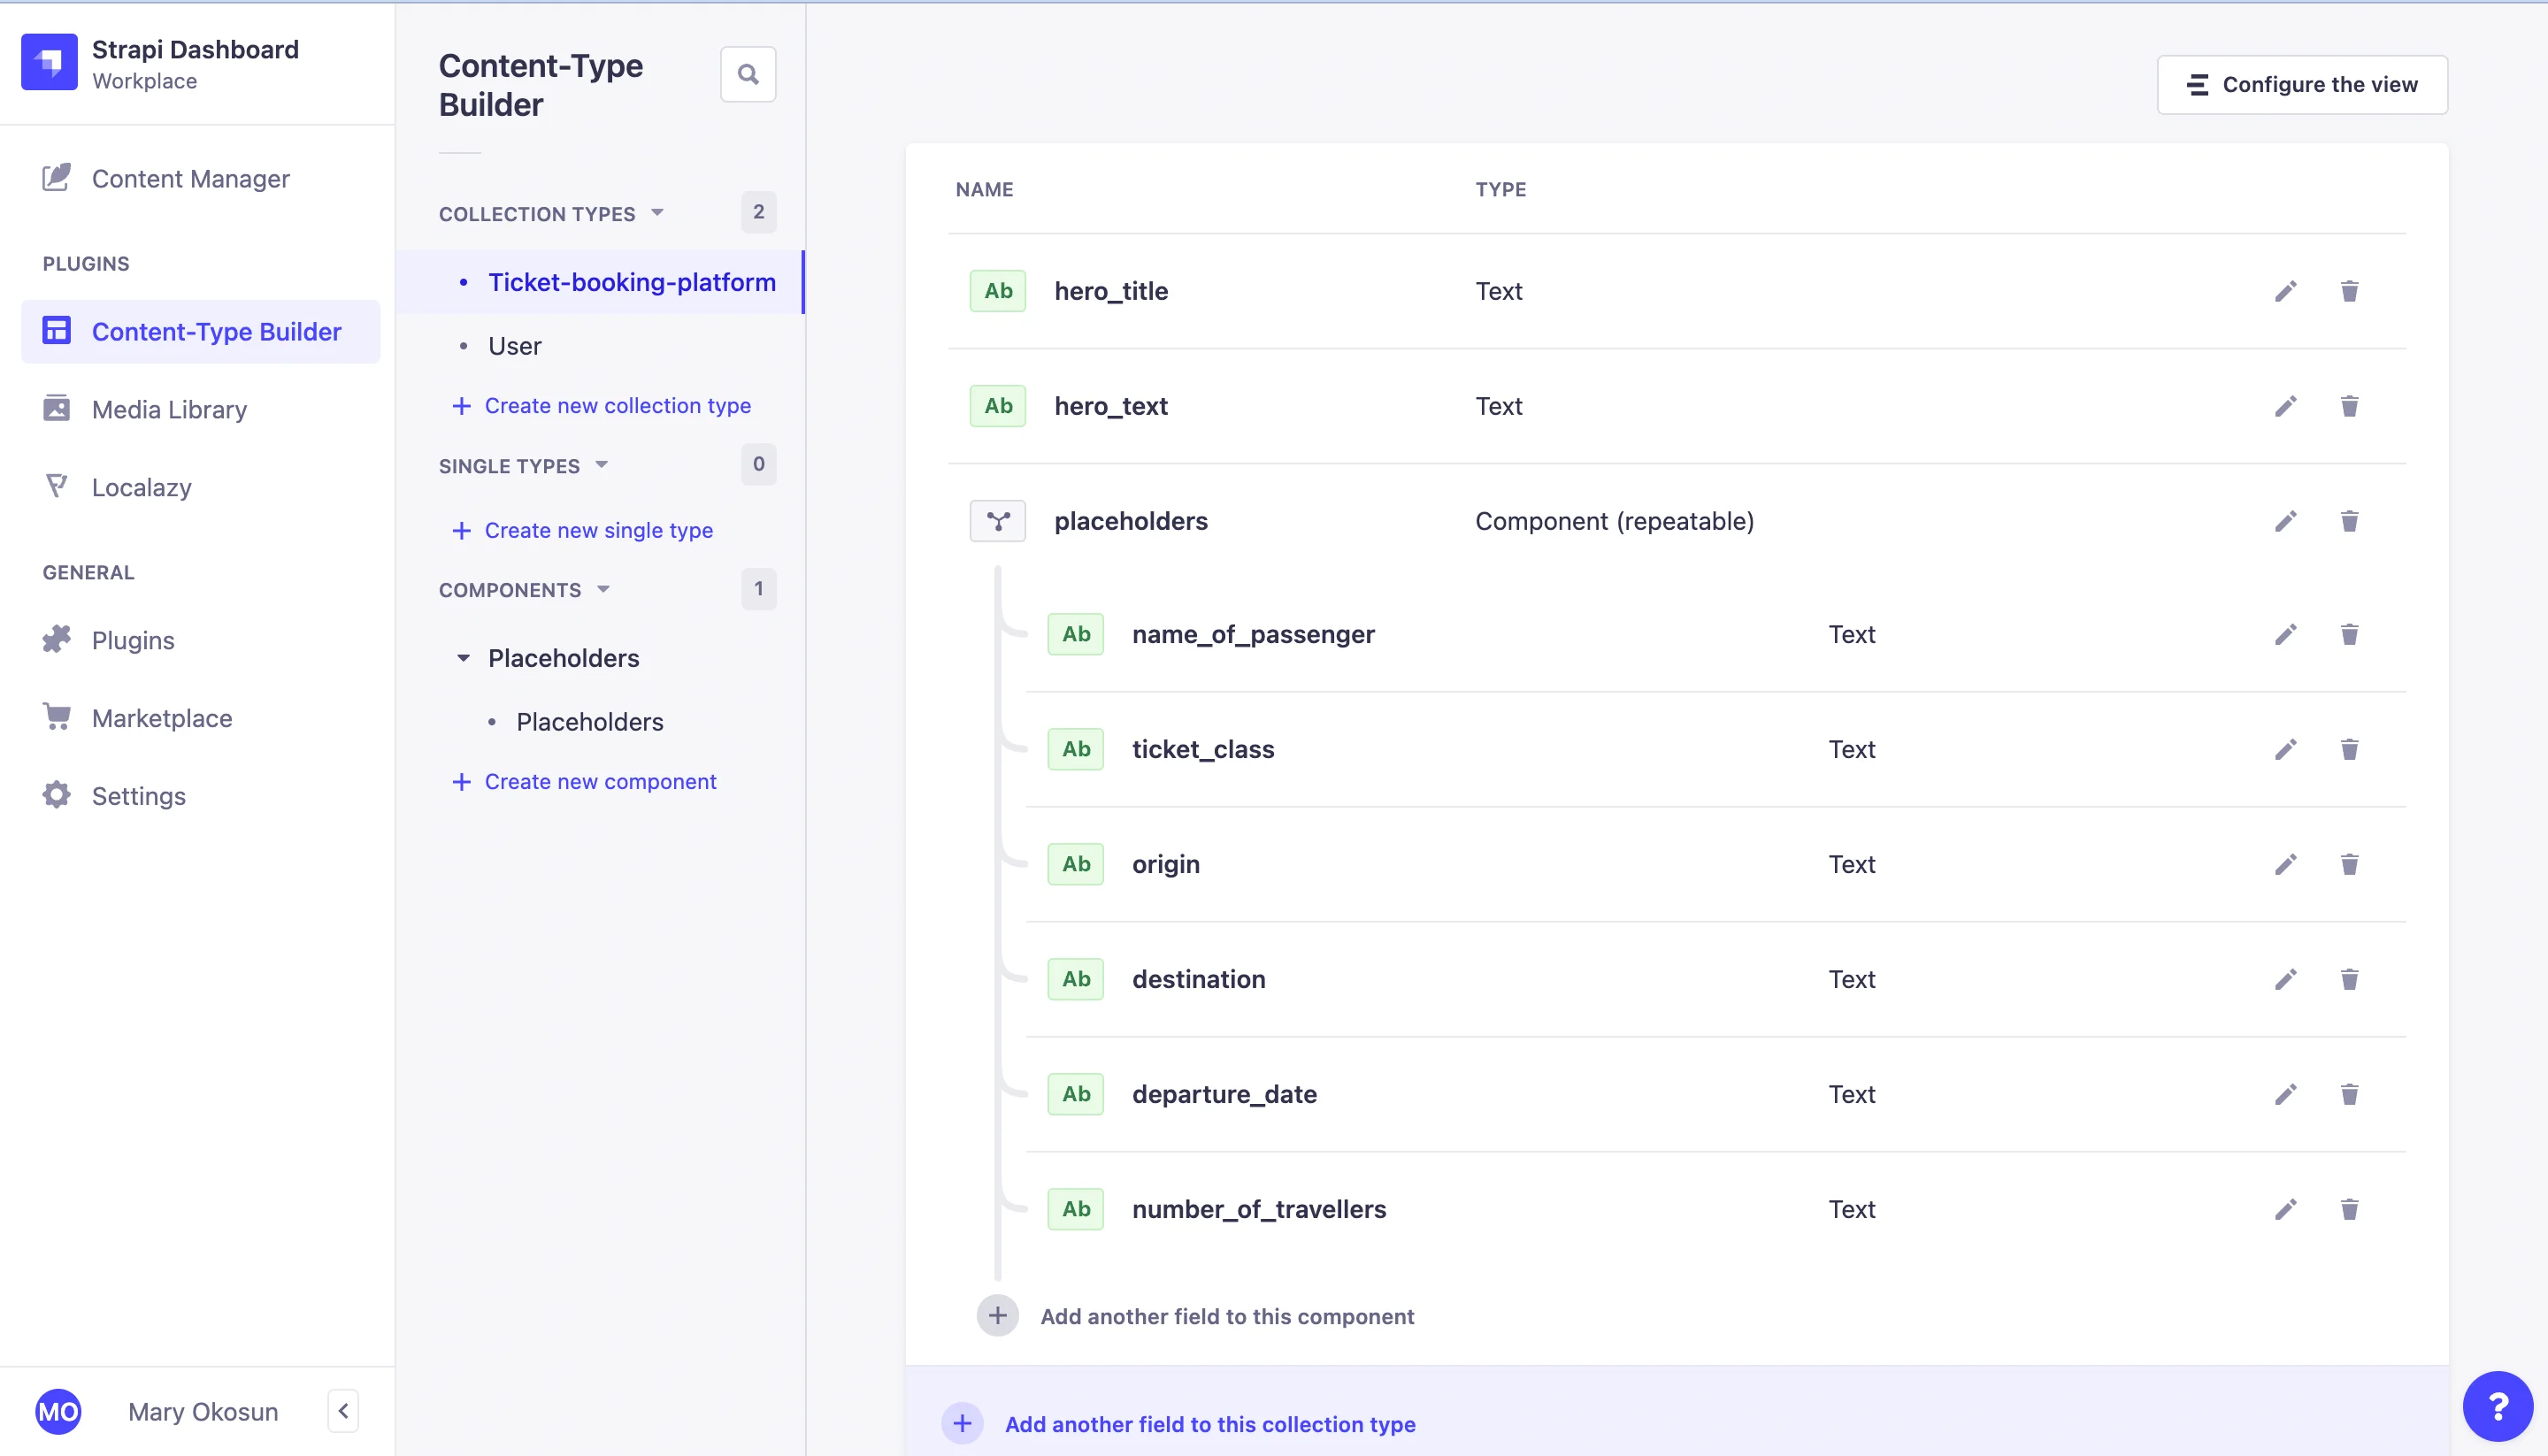
After successfully registering as an admin, you will be routed to the dashboard. In the admin dashboard, we will be building the content type of the application. Using the case of a ticket booking platform, we will need models such as:
Hero title: This is the main heading of the page
Hero text: This is the sub-heading of the page
Placeholders: This includes the following:
- Name of passenger
- Number of travelers
- Ticket class
- Origin
- Destination
- Departure date
Follow these steps to create your content type:
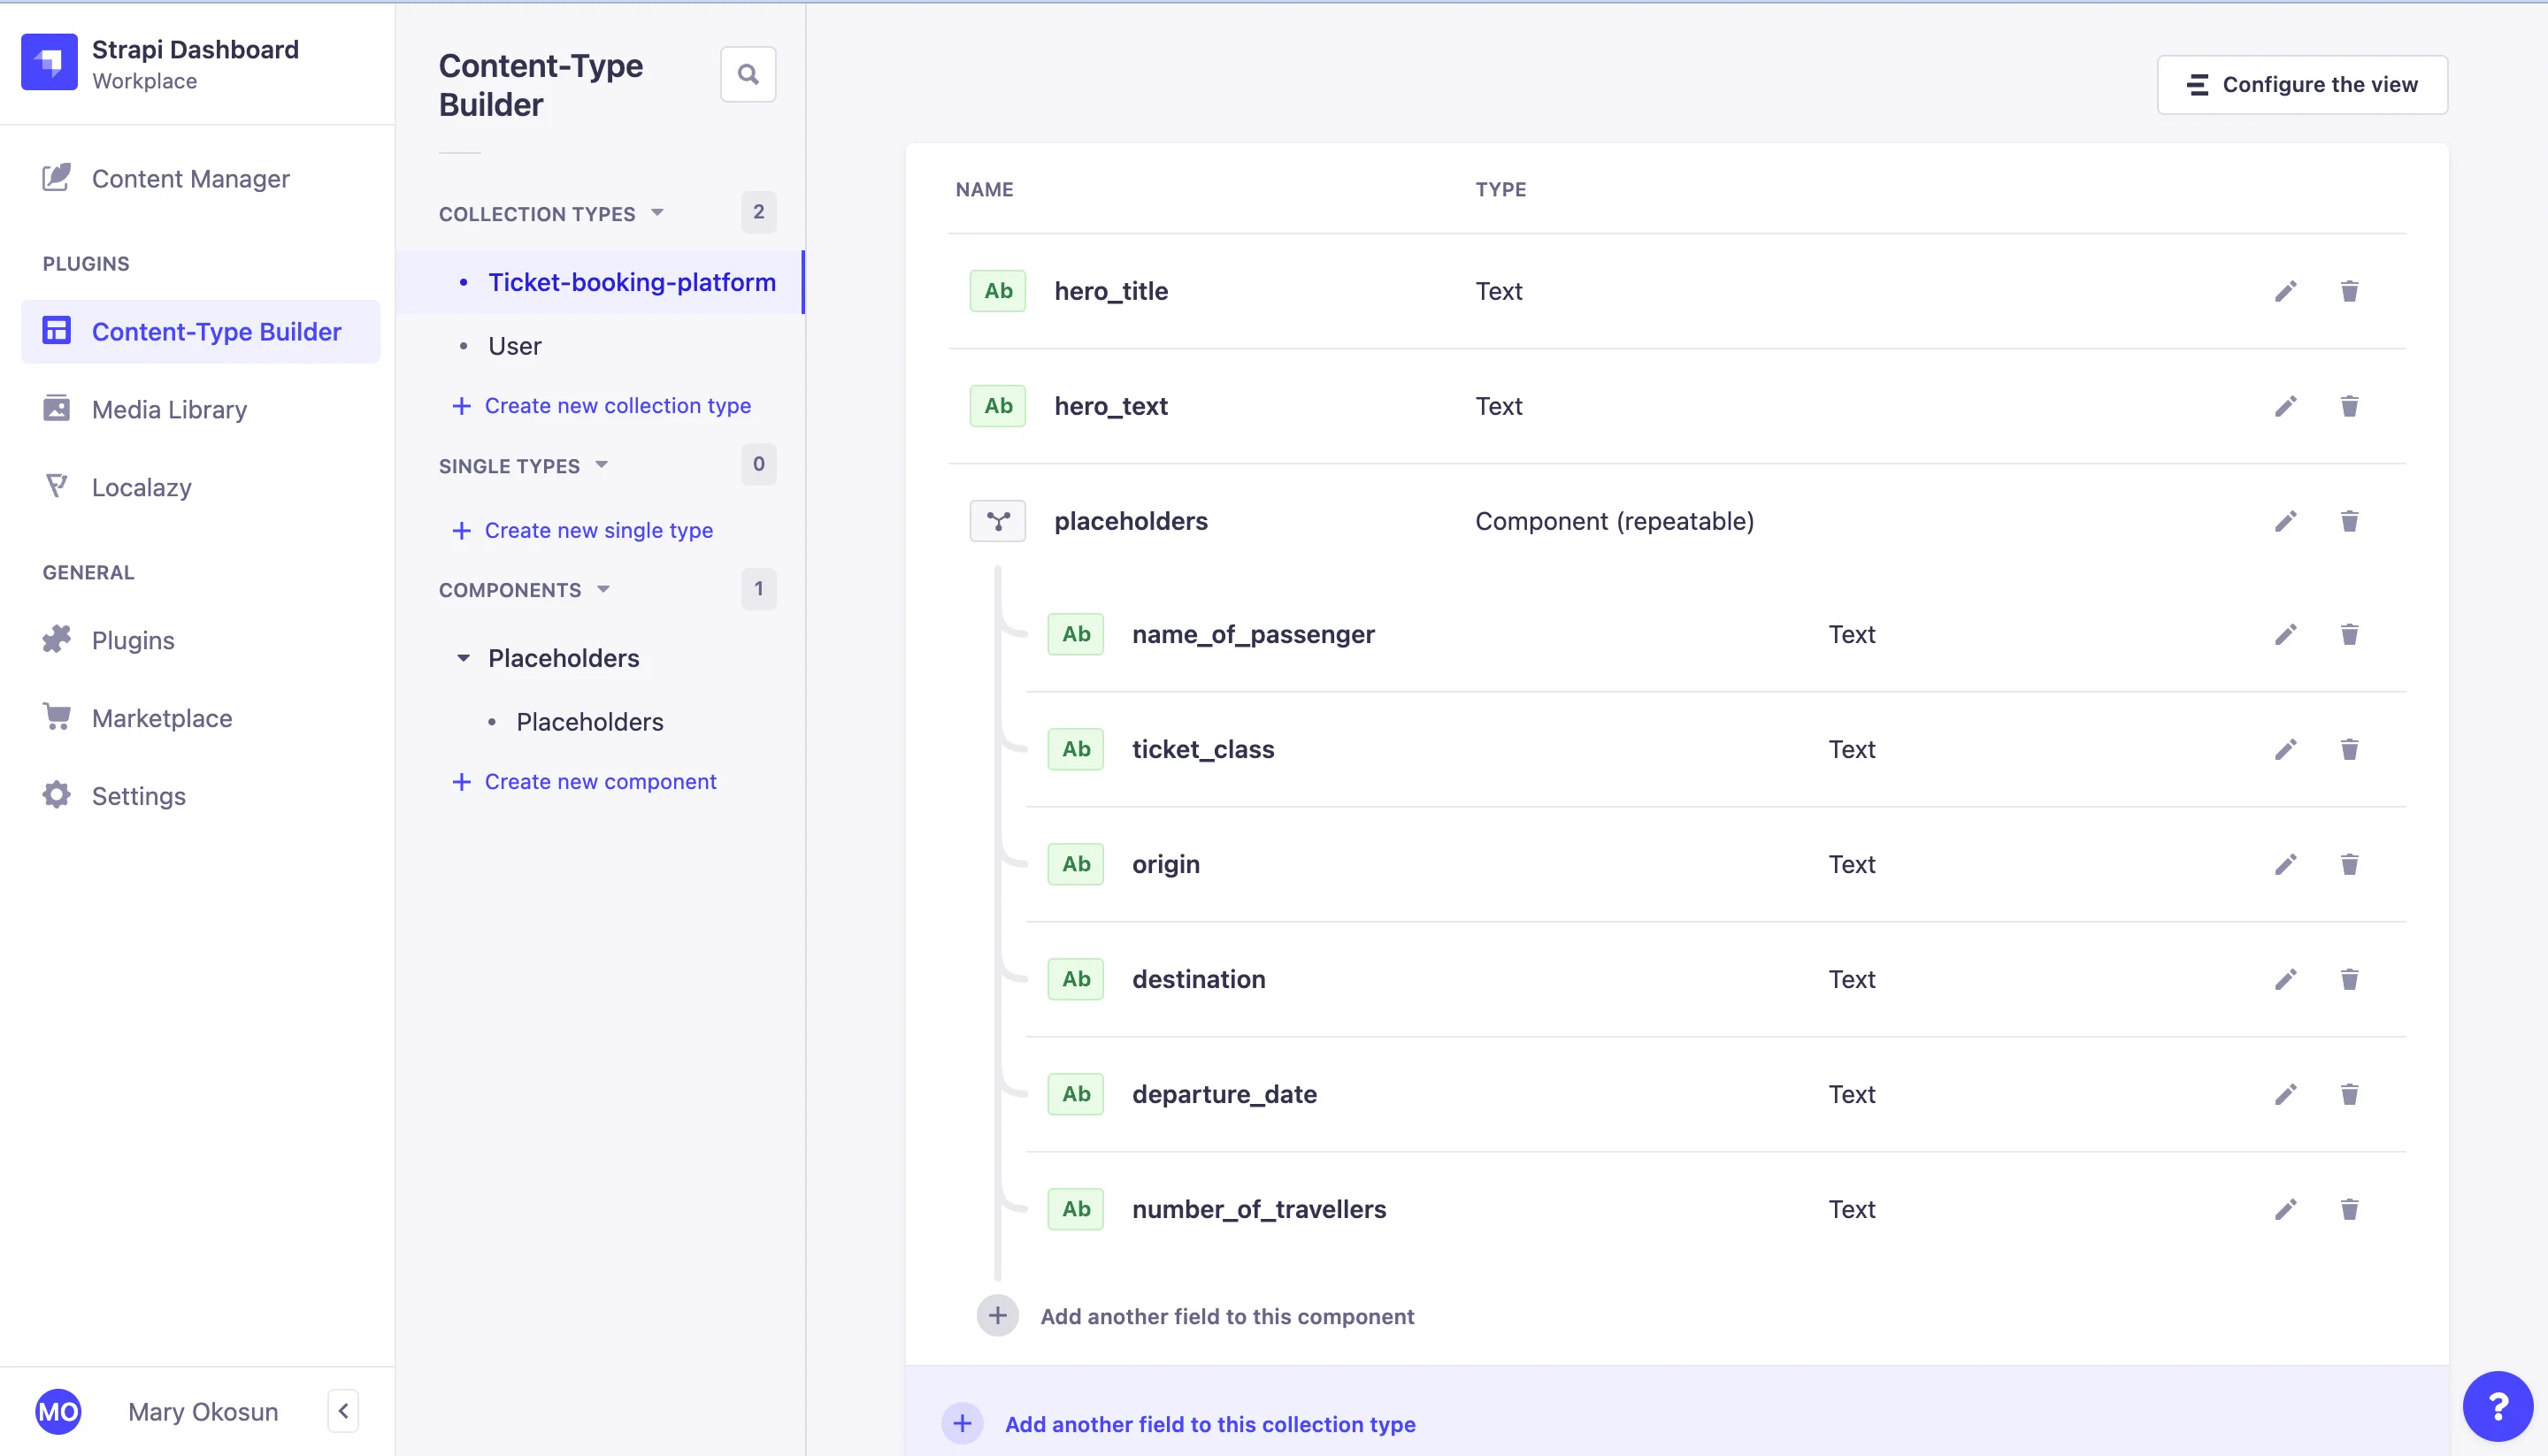
- On the left-hand side of the panel, click on the Content-Type Builder and then on Create new collection type. Fill in
Ticket-booking-platformas the display name. Click on continue to create a new collection. - This prompts a new modal where you can select the fields for your collection type. Select Text and fill in
hero_titleat the Text field. Click on Add another field and select Text for thehero_textfield too. - Click on Add another field and select Components for the
placeholderfields. Here, you will add a display name and category for the new component. Click on Configure the components and add a name for the attributes. Afterward, you can then add fields to the component. We will add thename_of_passenger,ticket_class,origin,destination,departure_dateandnumber_of_travellersfields.
Make sure that all of the added fields have the "Enable localization for the Content-Type" option checked to be able to upload them to Localazy - the option can be found in Advanced Settings while adding the field. The checkbox might not be checked by default.
After adding all the required fields, click the Finish button and Save the collection.
Adding Content to Application
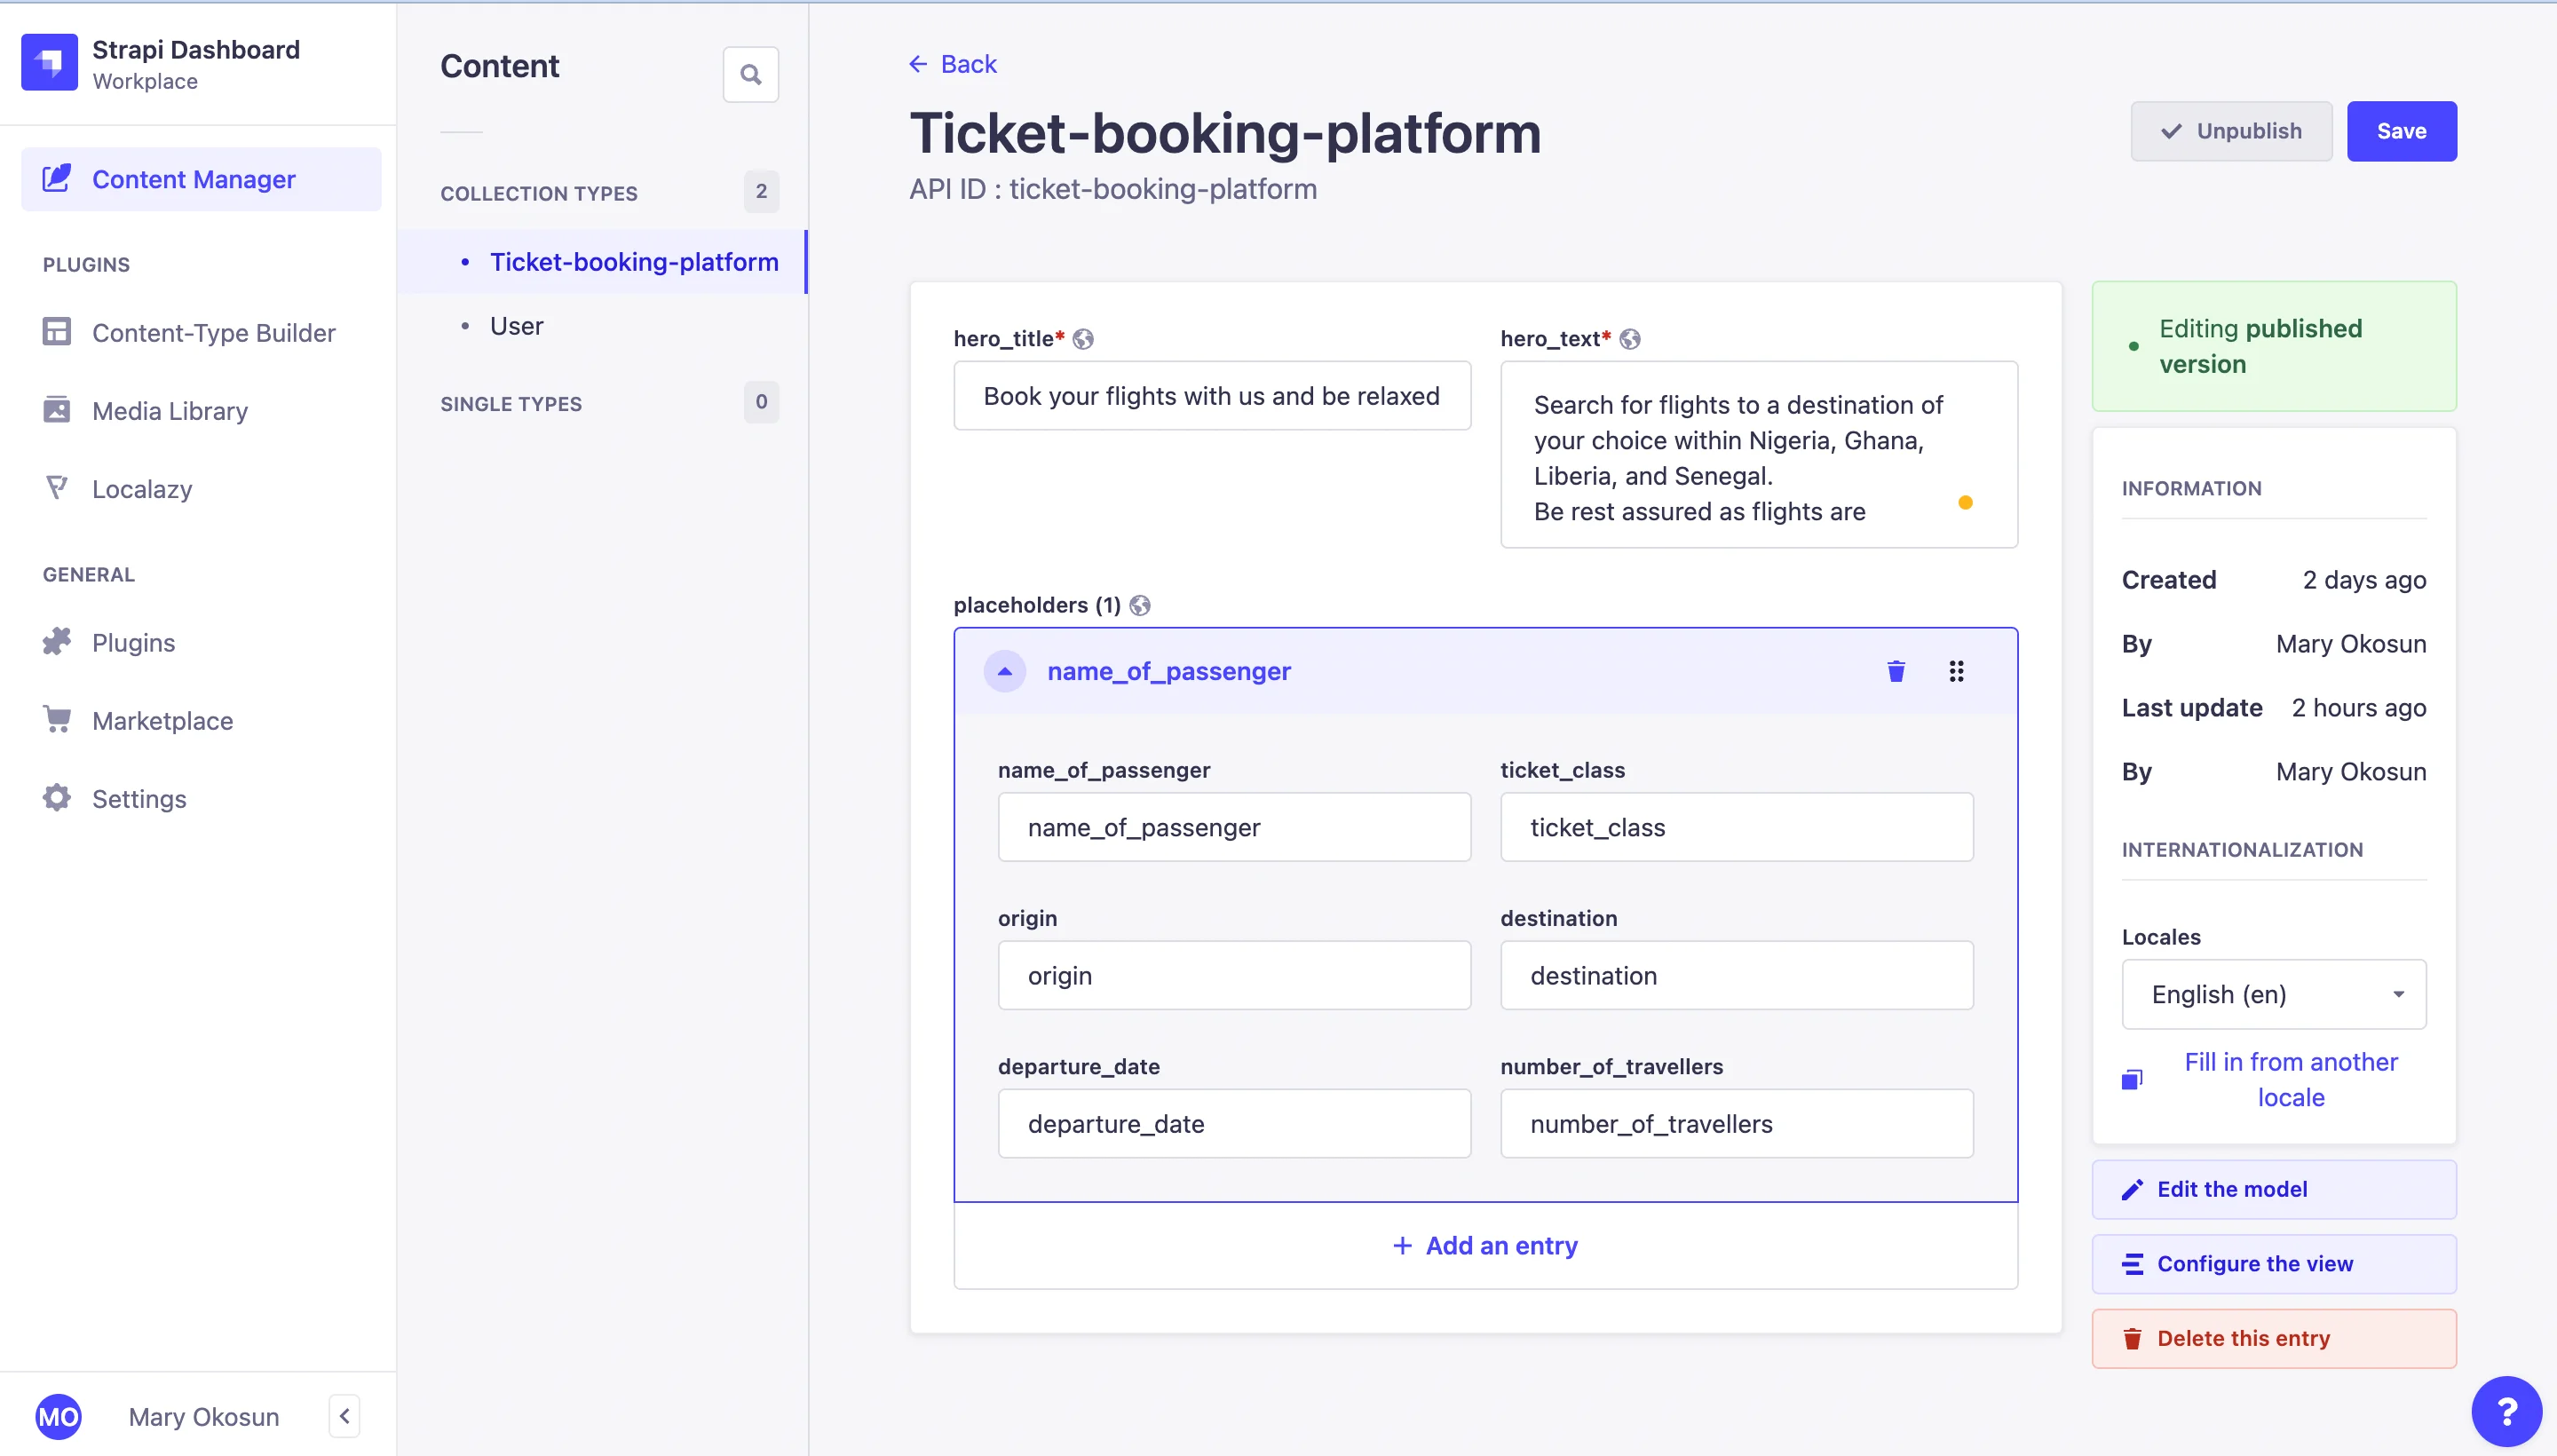
We will be adding content to this model created. On the left-hand side of the admin panel, click on the Content Manager and then on Create new entry.
You fill in the content and click on Save.
After creating content for our application, we will move on to translating the content using the Localazy plugin.
🚩 Configuring the Localazy plugin
The Strapi localization plugin by Localazy helps you transform any Strapi project into a multilingual site. With Localazy and Strapi, you can break language barriers and unleash multilingual content.
You can find the Localazy plugin for Strapi localization in the Strapi Marketplace
We will install the Localazy plugin in our Strapi application. You can run the following command to install the plugin:
npm install @localazy/strapi-plugin
#OR
yarn add @localazy/strapi-plugin
After installing the plugin, run the following commands. The first command rebuilds your Strapi admin to apply the changes and npm run develop restarts your application again.
npm run build
npm run develop
You can refresh the page on your browser, and you should see the Localazy plugin on the left-hand side of your admin dashboard, open the plugin page.
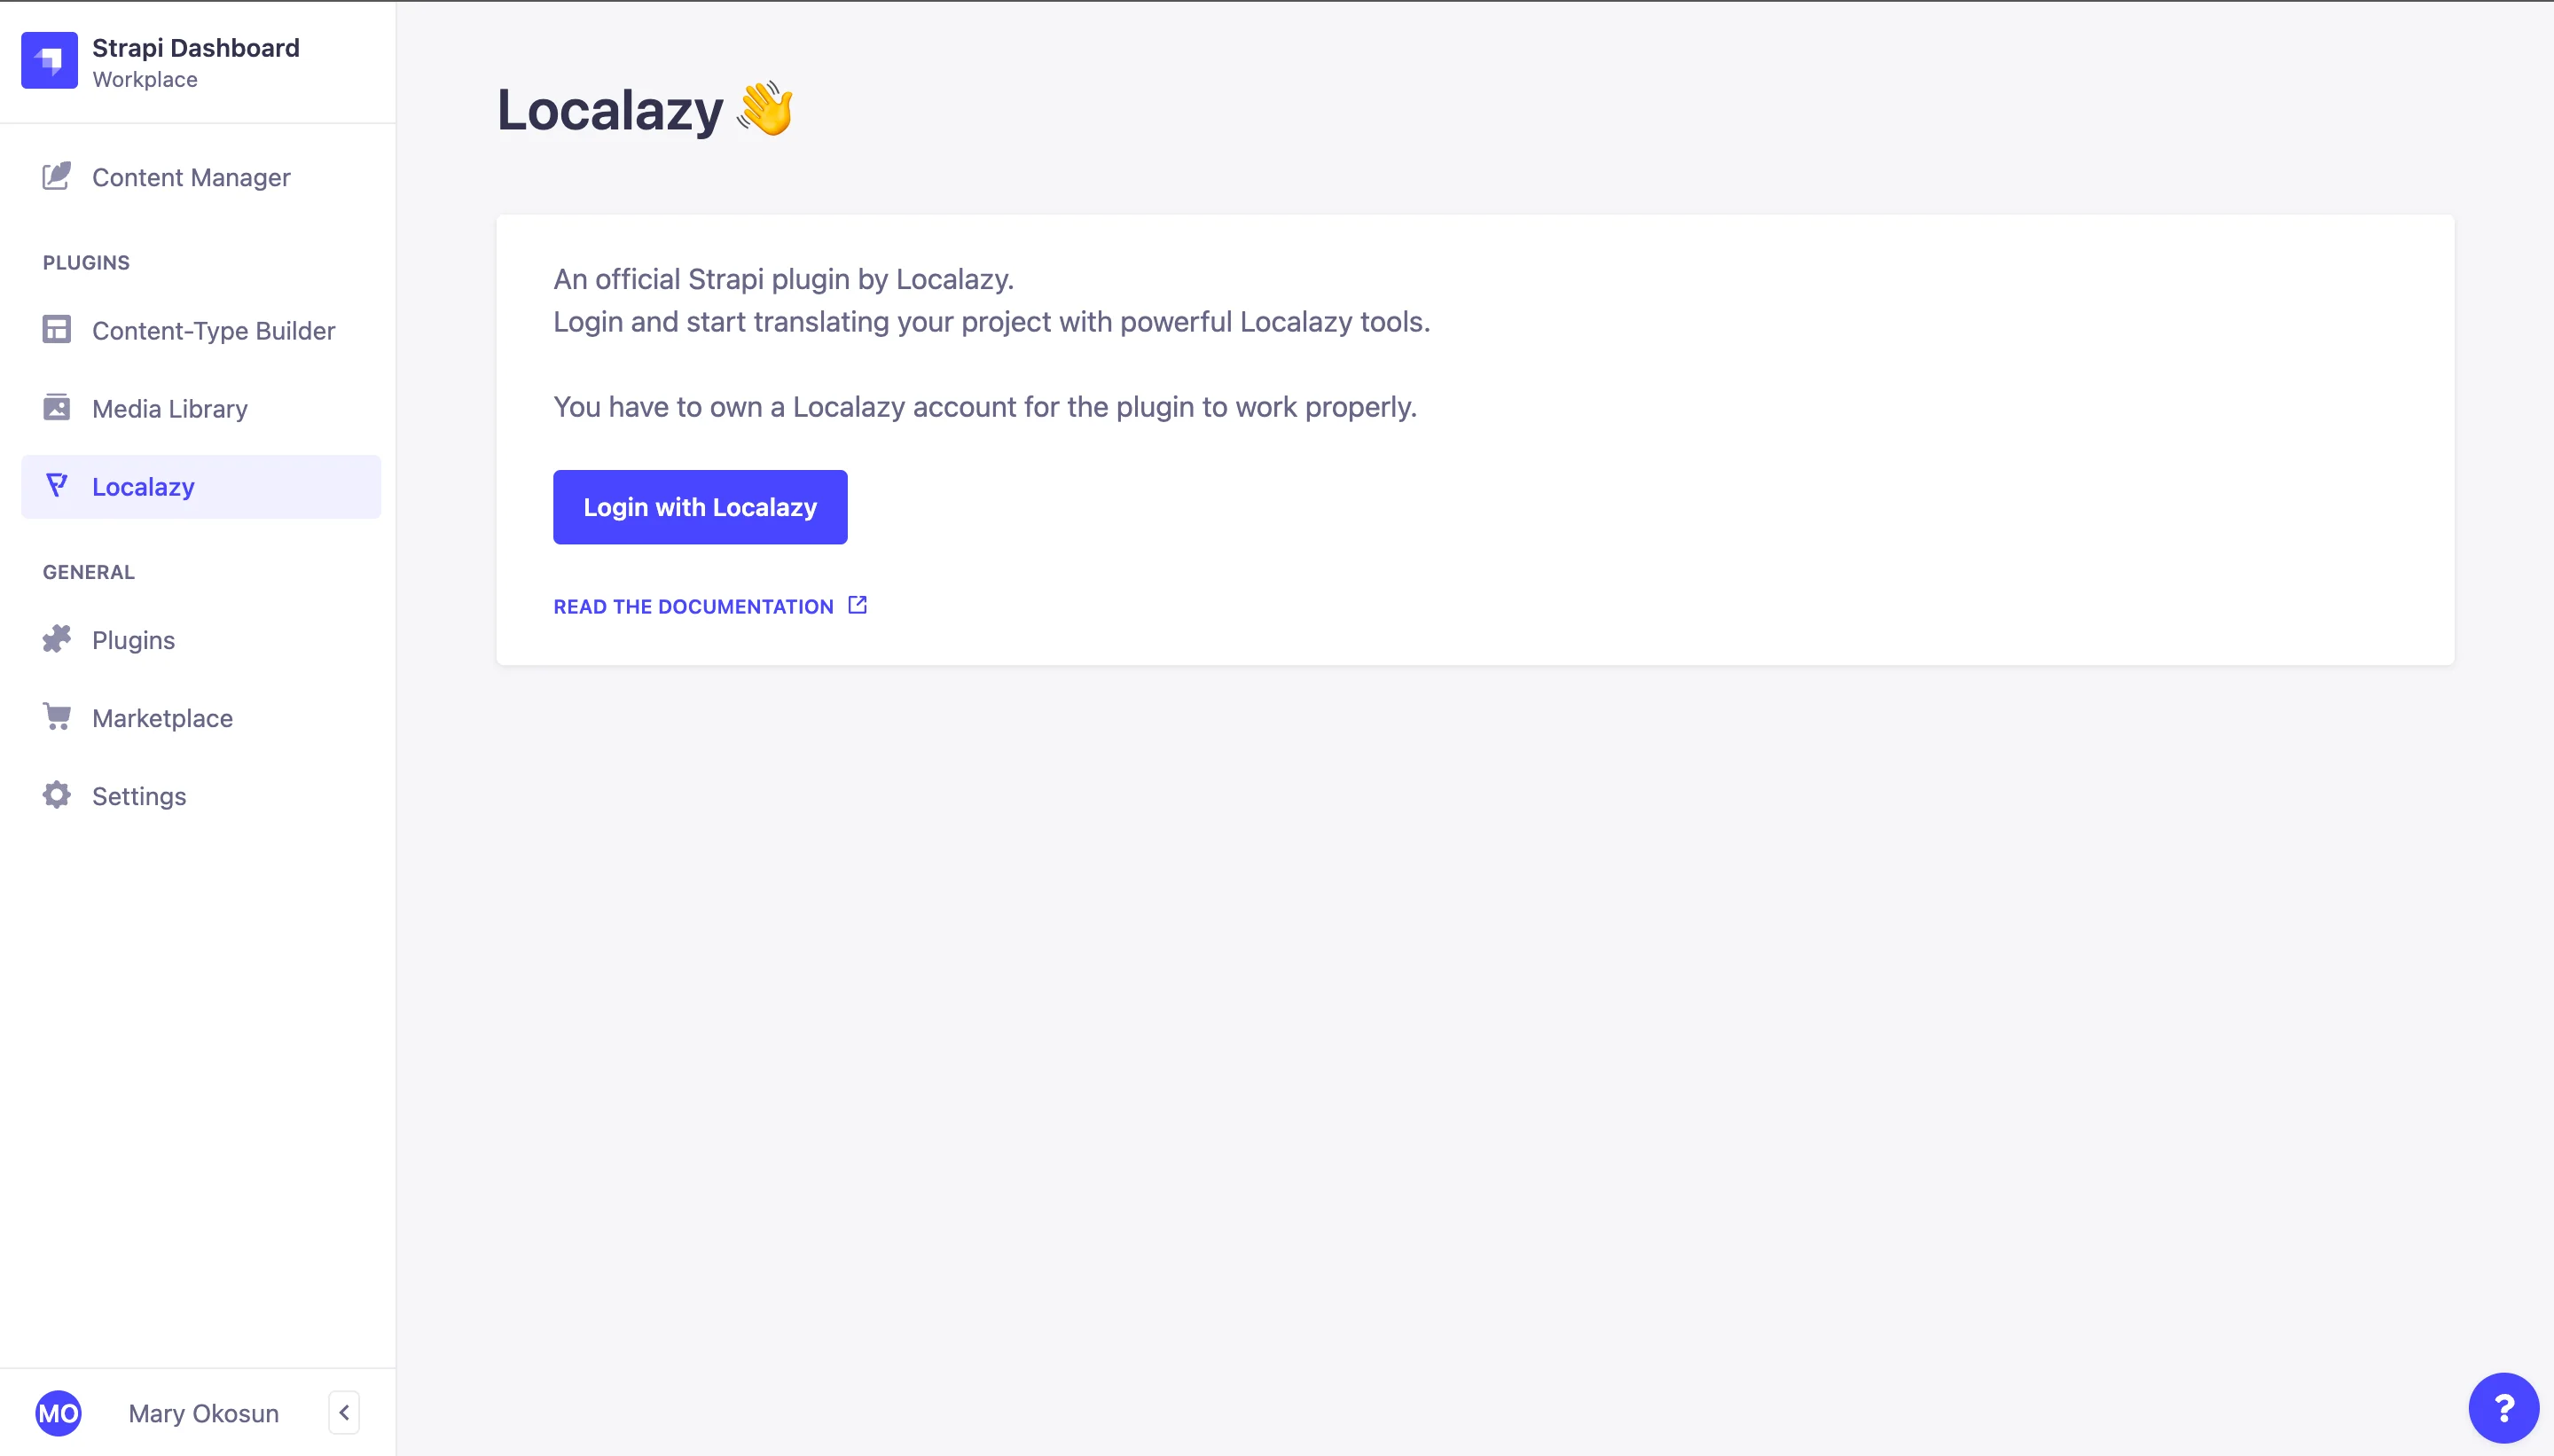
Click on Login with Localazy. You would be routed to the Localazy page. No worries, you can sign up for free if you do not have a Localazy account already.
After signing up, you can log in with your account email and password.
After being authorized by Localazy, you will be requested to create a new project. In this new tab, we will authorize the Strapi plugin to access our Localazy account and create a new project called ticket-app.
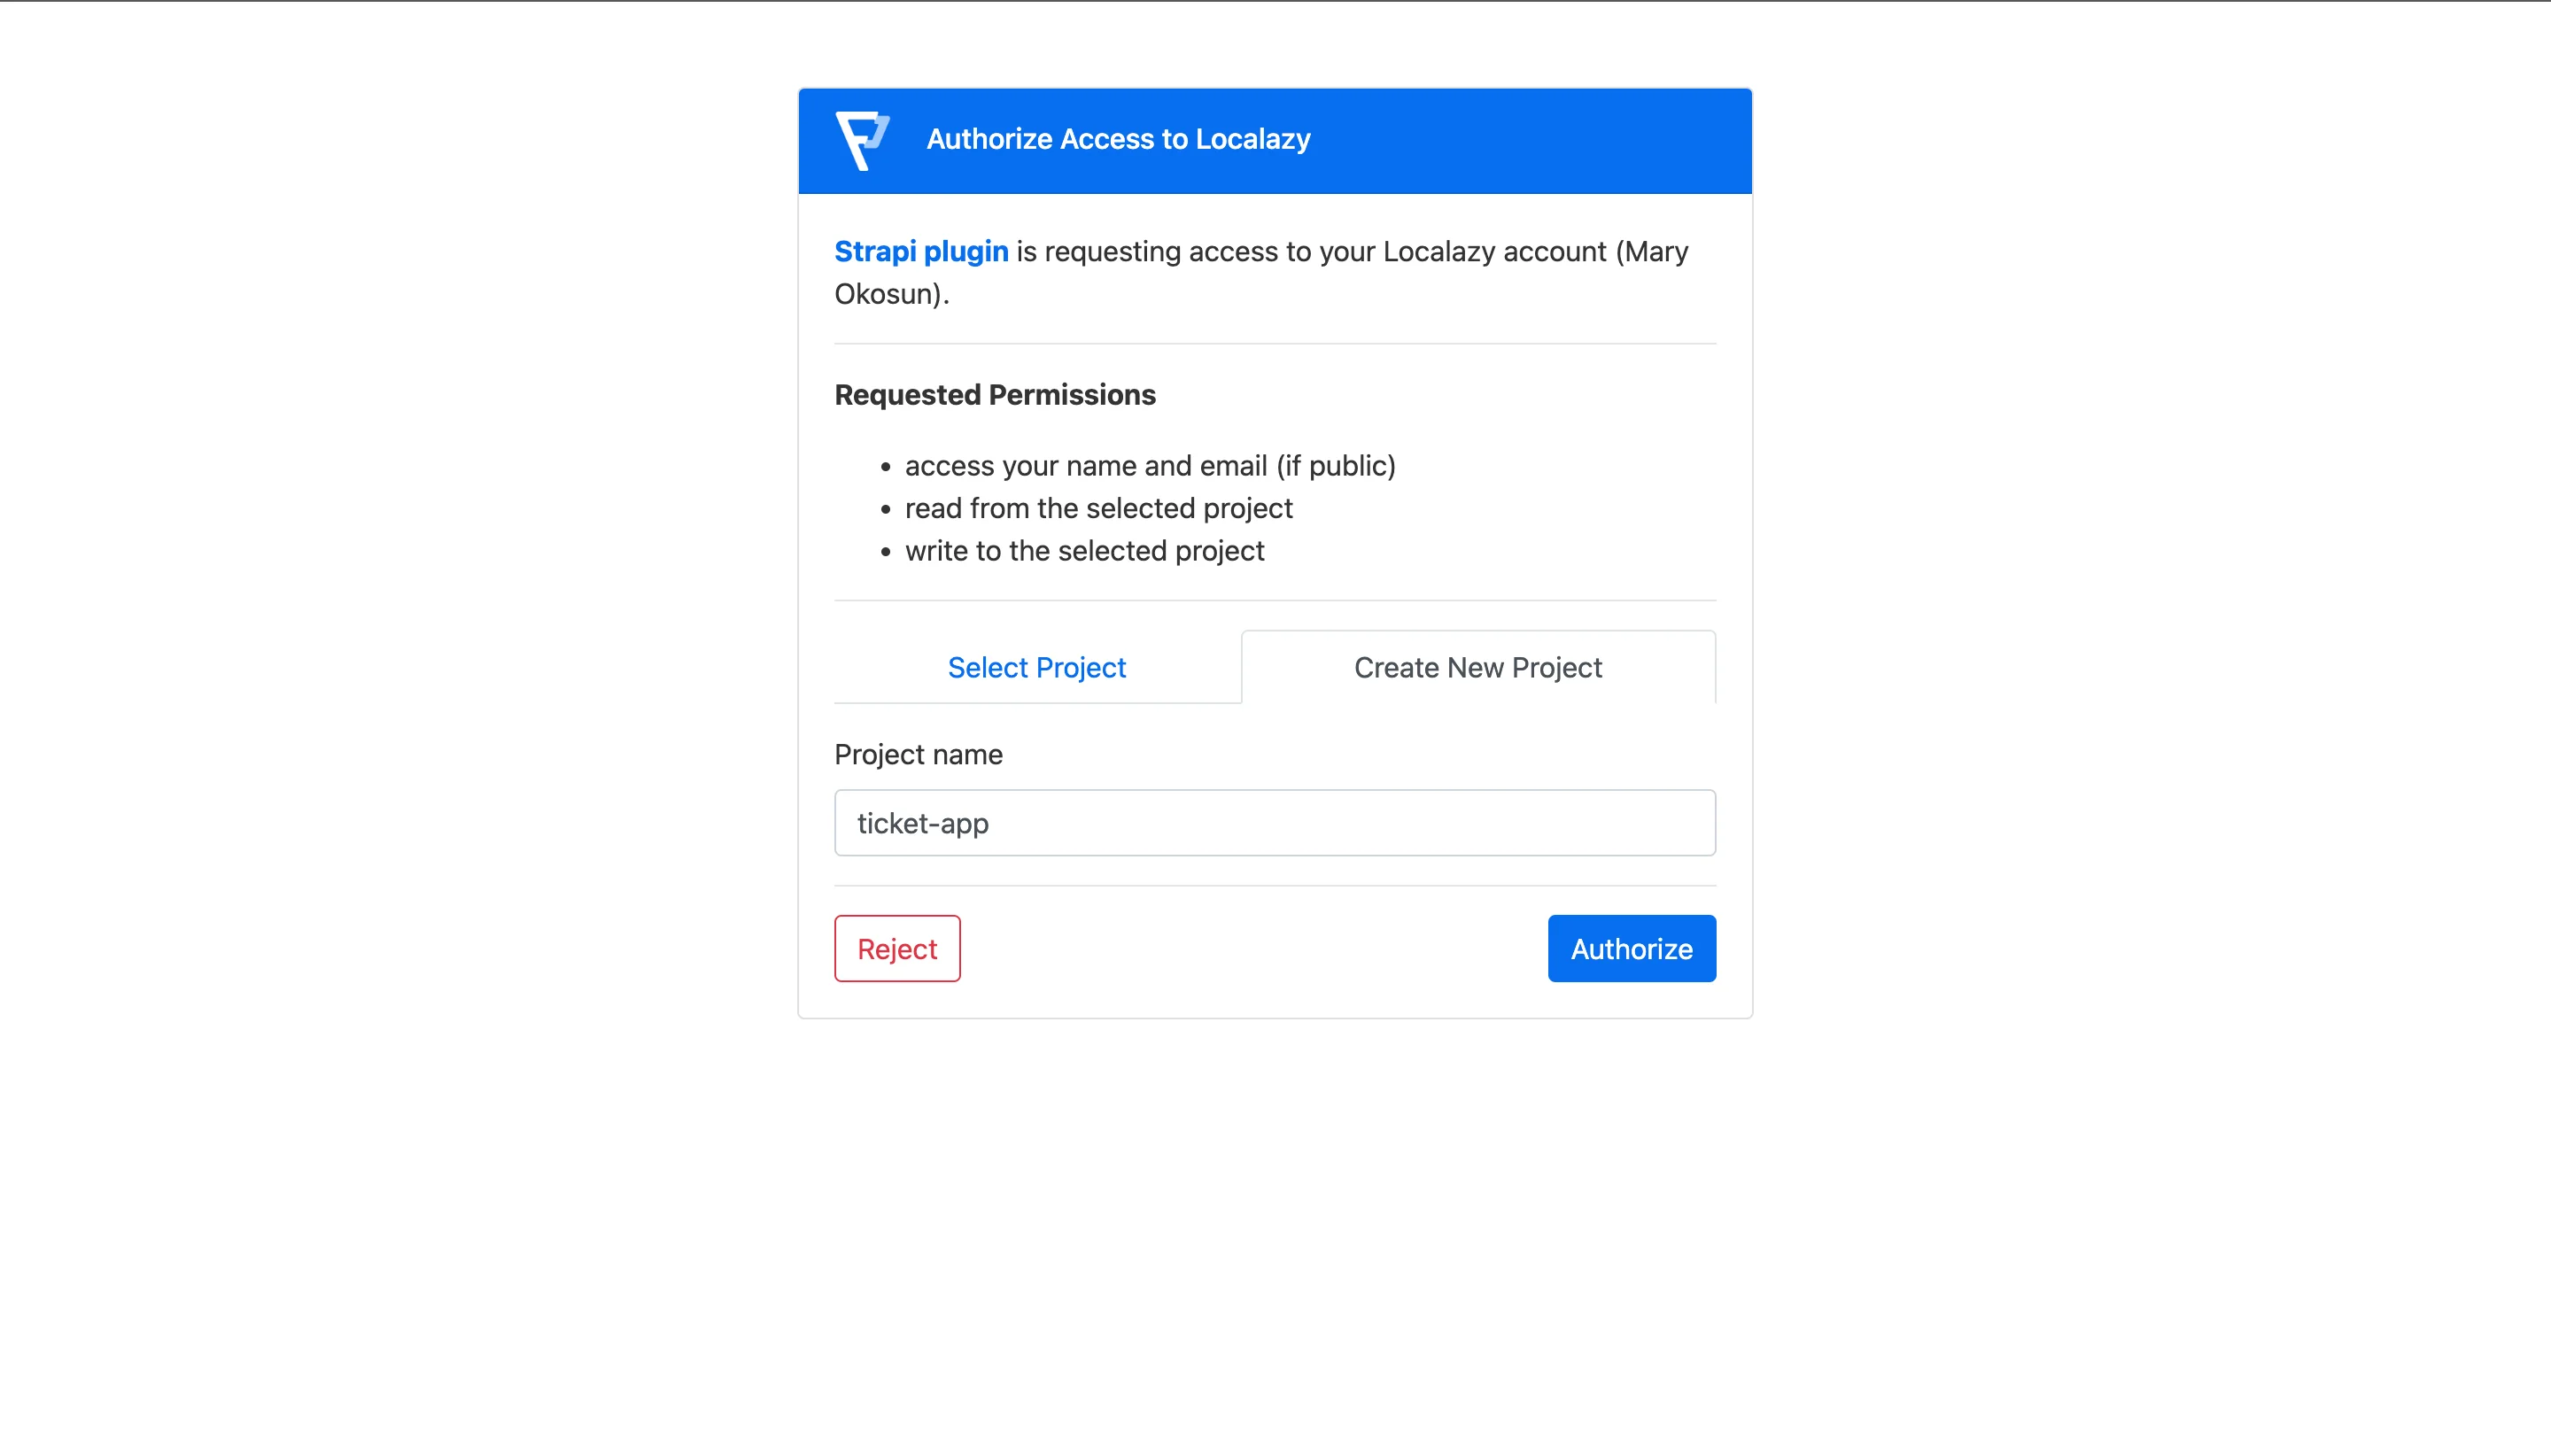
Click on the Authorize button to give access. You should get a confirmation tab confirming your authorization with Localazy was successful.
Handling Content Transfer Setup in Strapi
In this step, we will be handling content transfer setup in Strapi. Navigate to the Strapi admin dashboard and click on Content Transfer setup. Here, we will choose the contents that we need to translate.
It is important to note that only text based content can be translated.
All the fields should be checked for translation for our model build as they are text-based.
Now that we successfully set up our content transfer, let's upload the content to Localazy.
Upload content to Localazy
This section serves to upload the booking content from the Strapi project to Localazy. We will click on the Start upload button in the Upload to Localazy tab to start uploading our content to Localazy.
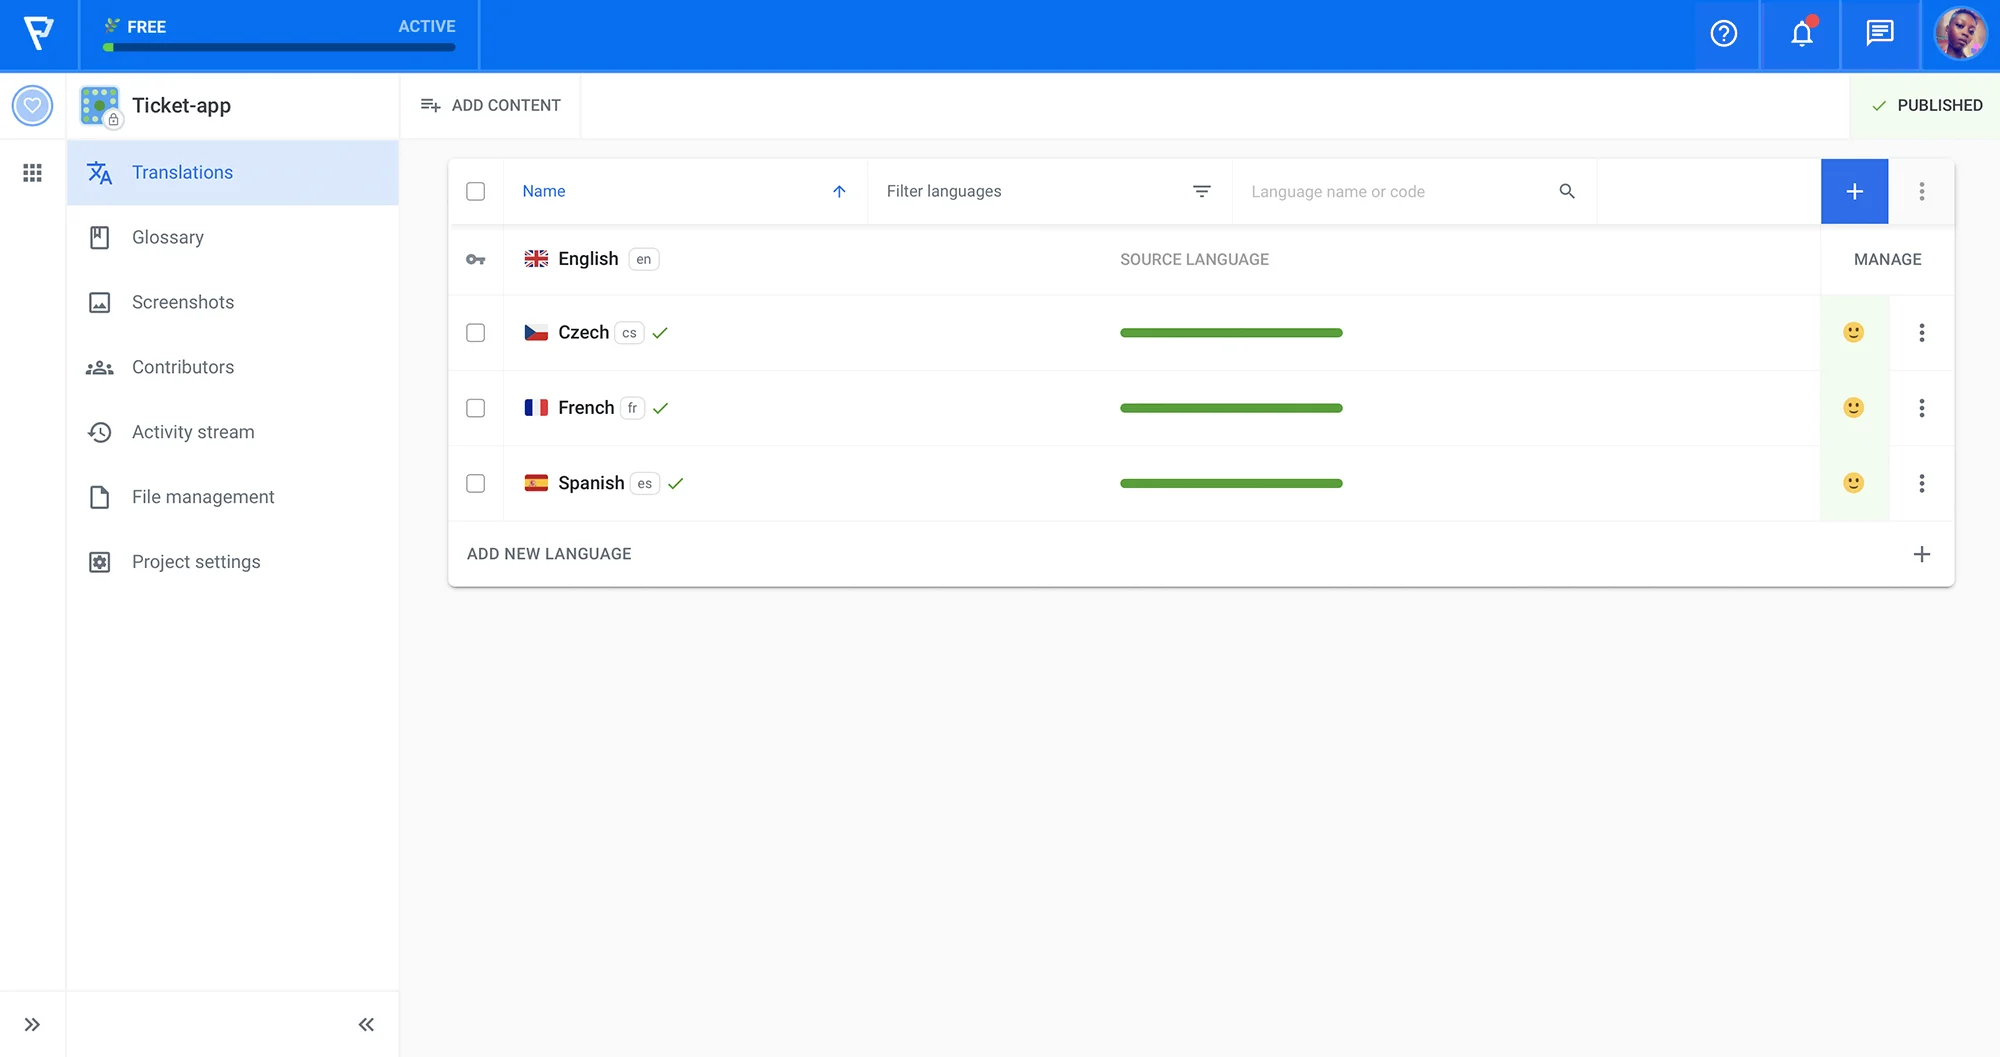
Head over to your Localazy account, and you should see the content in the source language was uploaded successfully. The next thing is to add the languages you intend to translate into. For our test case website, we will add Spanish (es), Czech (cs), and French (fr).
Localazy offers three general approaches to choose from and blend to translate your project:
- 💪🏻 Translate on your own or invite contributors - You can start translating on your own and use our built-in suggestion system.
- 🦾 Translate everything in bulk via machine translation - With the Localazy Autopilot plan, you can instantly translate all strings by running a machine translation over the content.
- 🚩 Fully automate the translation process with the Continuous Localization services - Once your Localazy integration is set up, you can order translations from our vetted translators and get your project translated by professionals automatically. The service is also proactive, so you don't have to micromanage translators, and you can visit Localazy only once in a while to check the progress.
In this tutorial, we will translate the content ourselves with the free built-in suggestions from Amazon Translate & ShareTM. Click on Translate, and you will be directed to a page where suggestions will be given, and you can select which translation to go with.
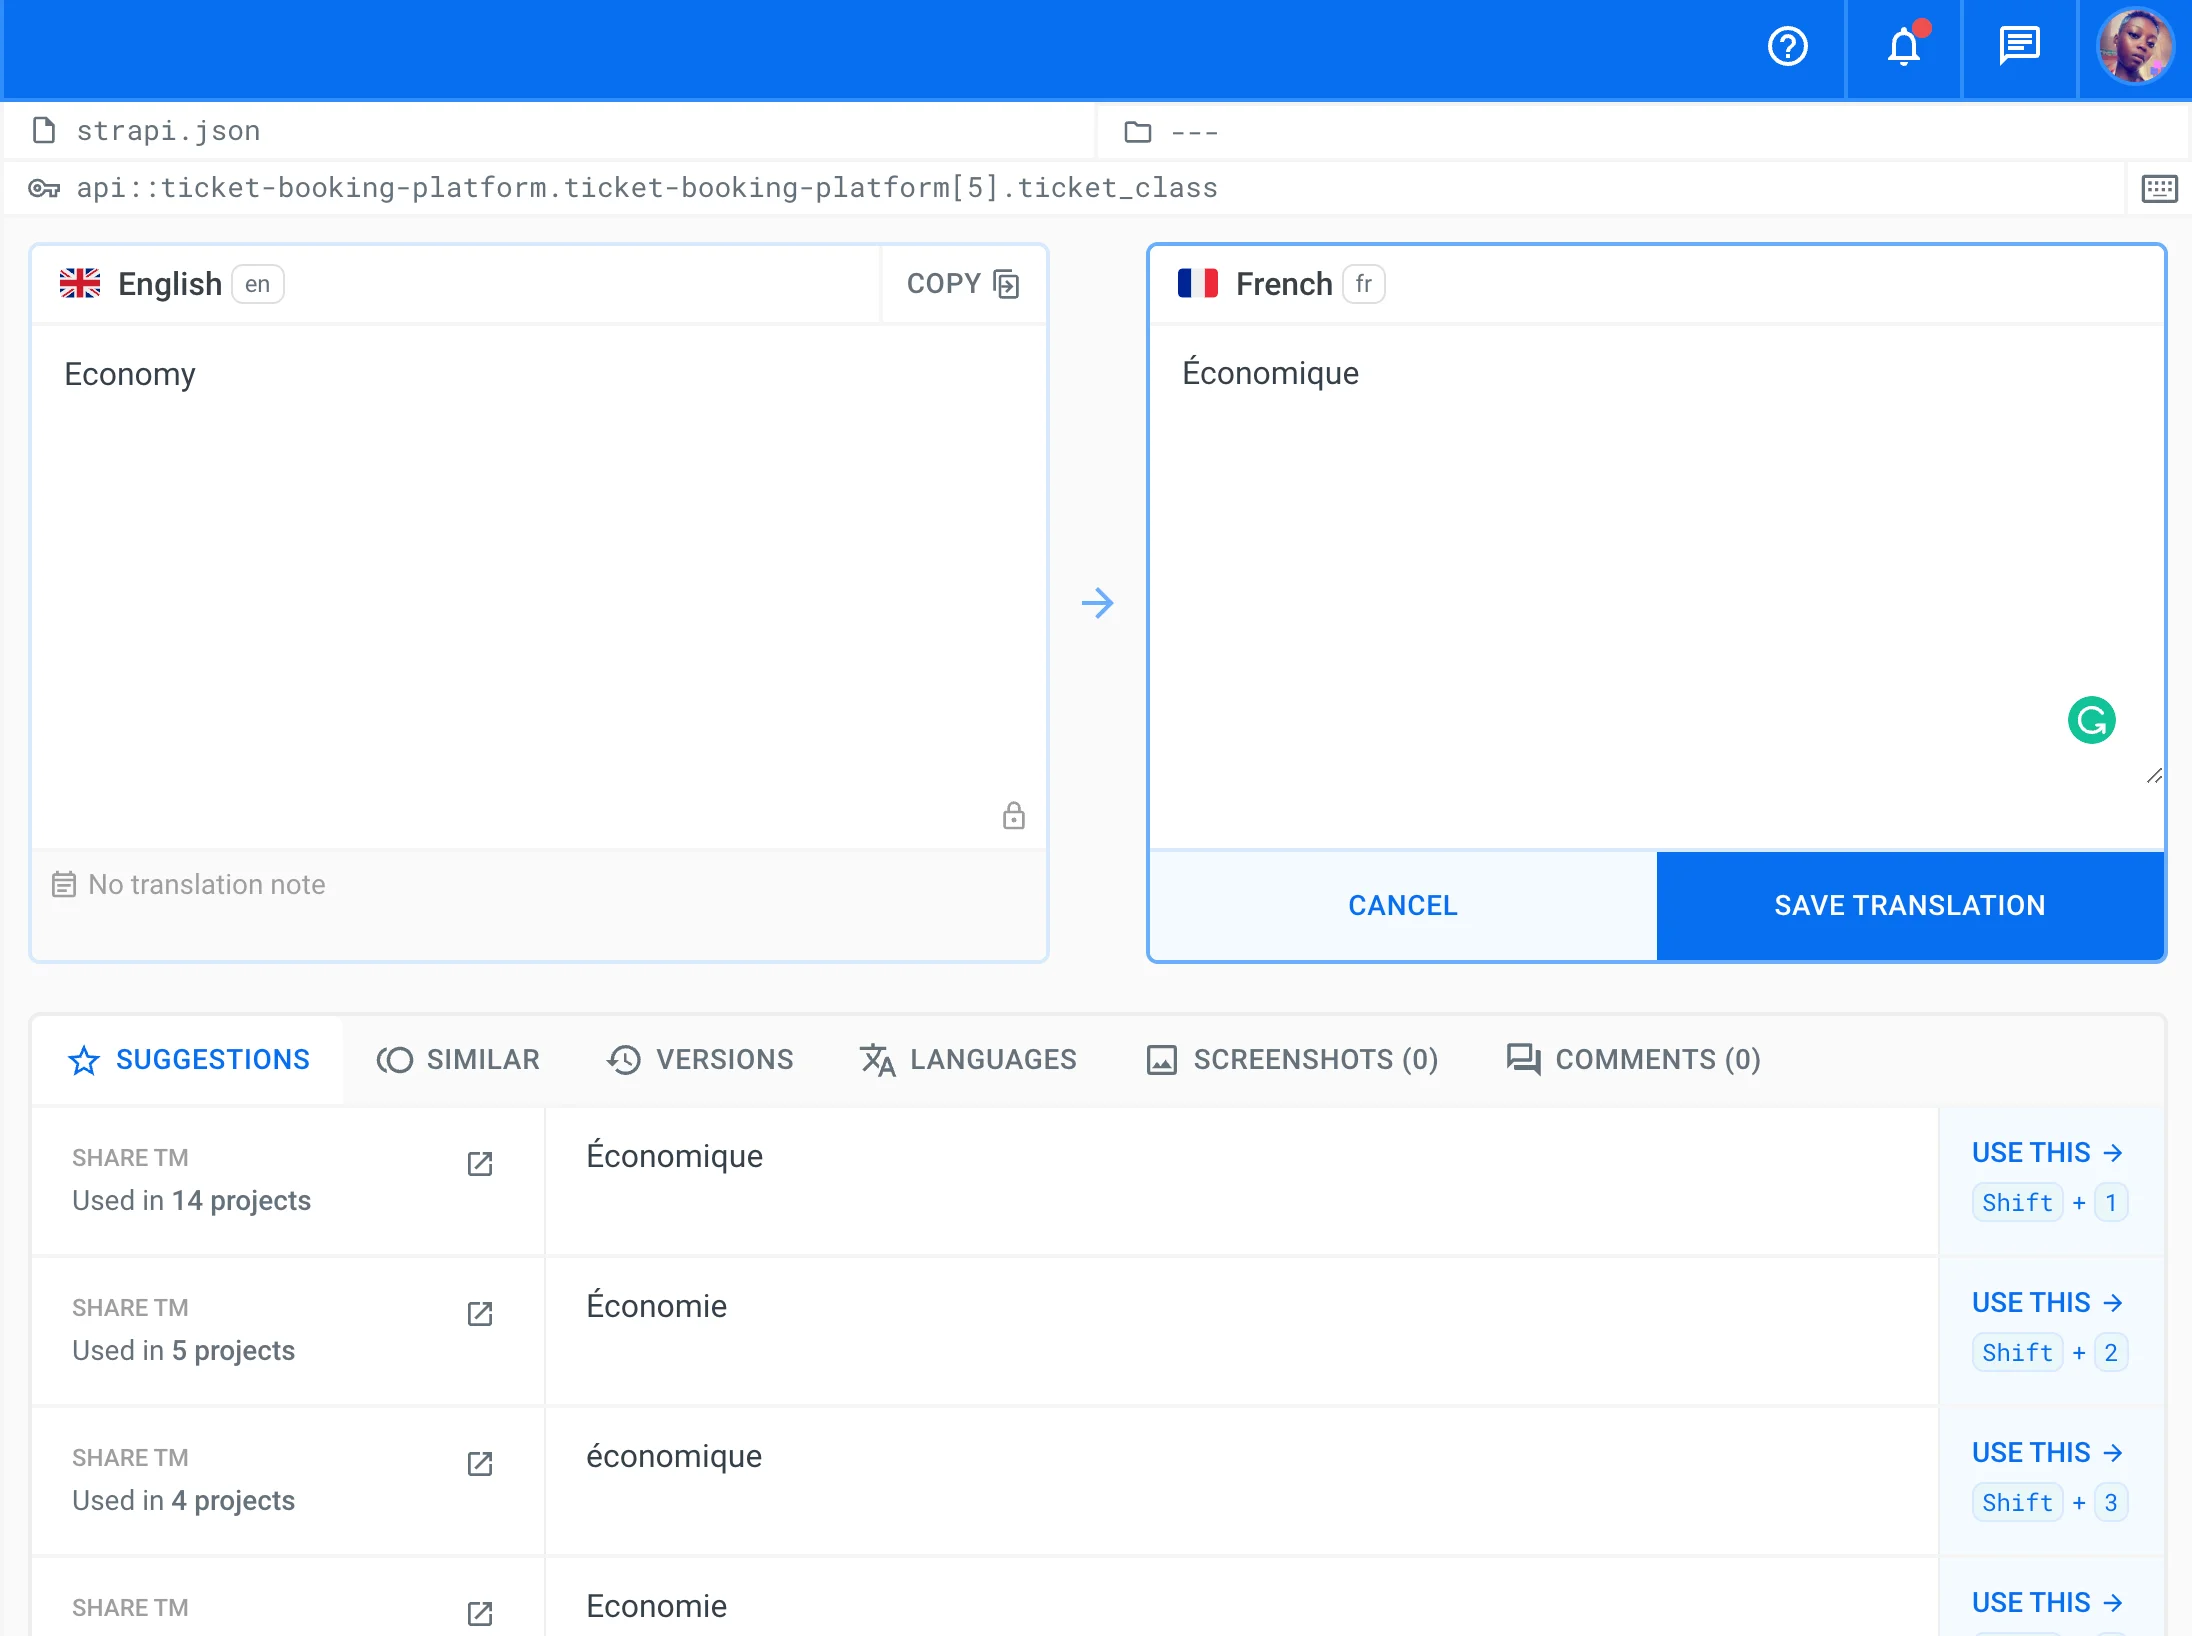
When everything is translated successfully, you will see smiley faces next to the completed languages. Now we can head to the Strapi application, where we can download the translations and make our project multilingual.
Downloading translated content to Strapi
In the Strapi project, we can now download our translation. Navigate to the Download to Strapi tab, and click on the Start download button. You would get a report that tells you the locales created, the contents that were translated correctly, and the new entries created for each new locale.
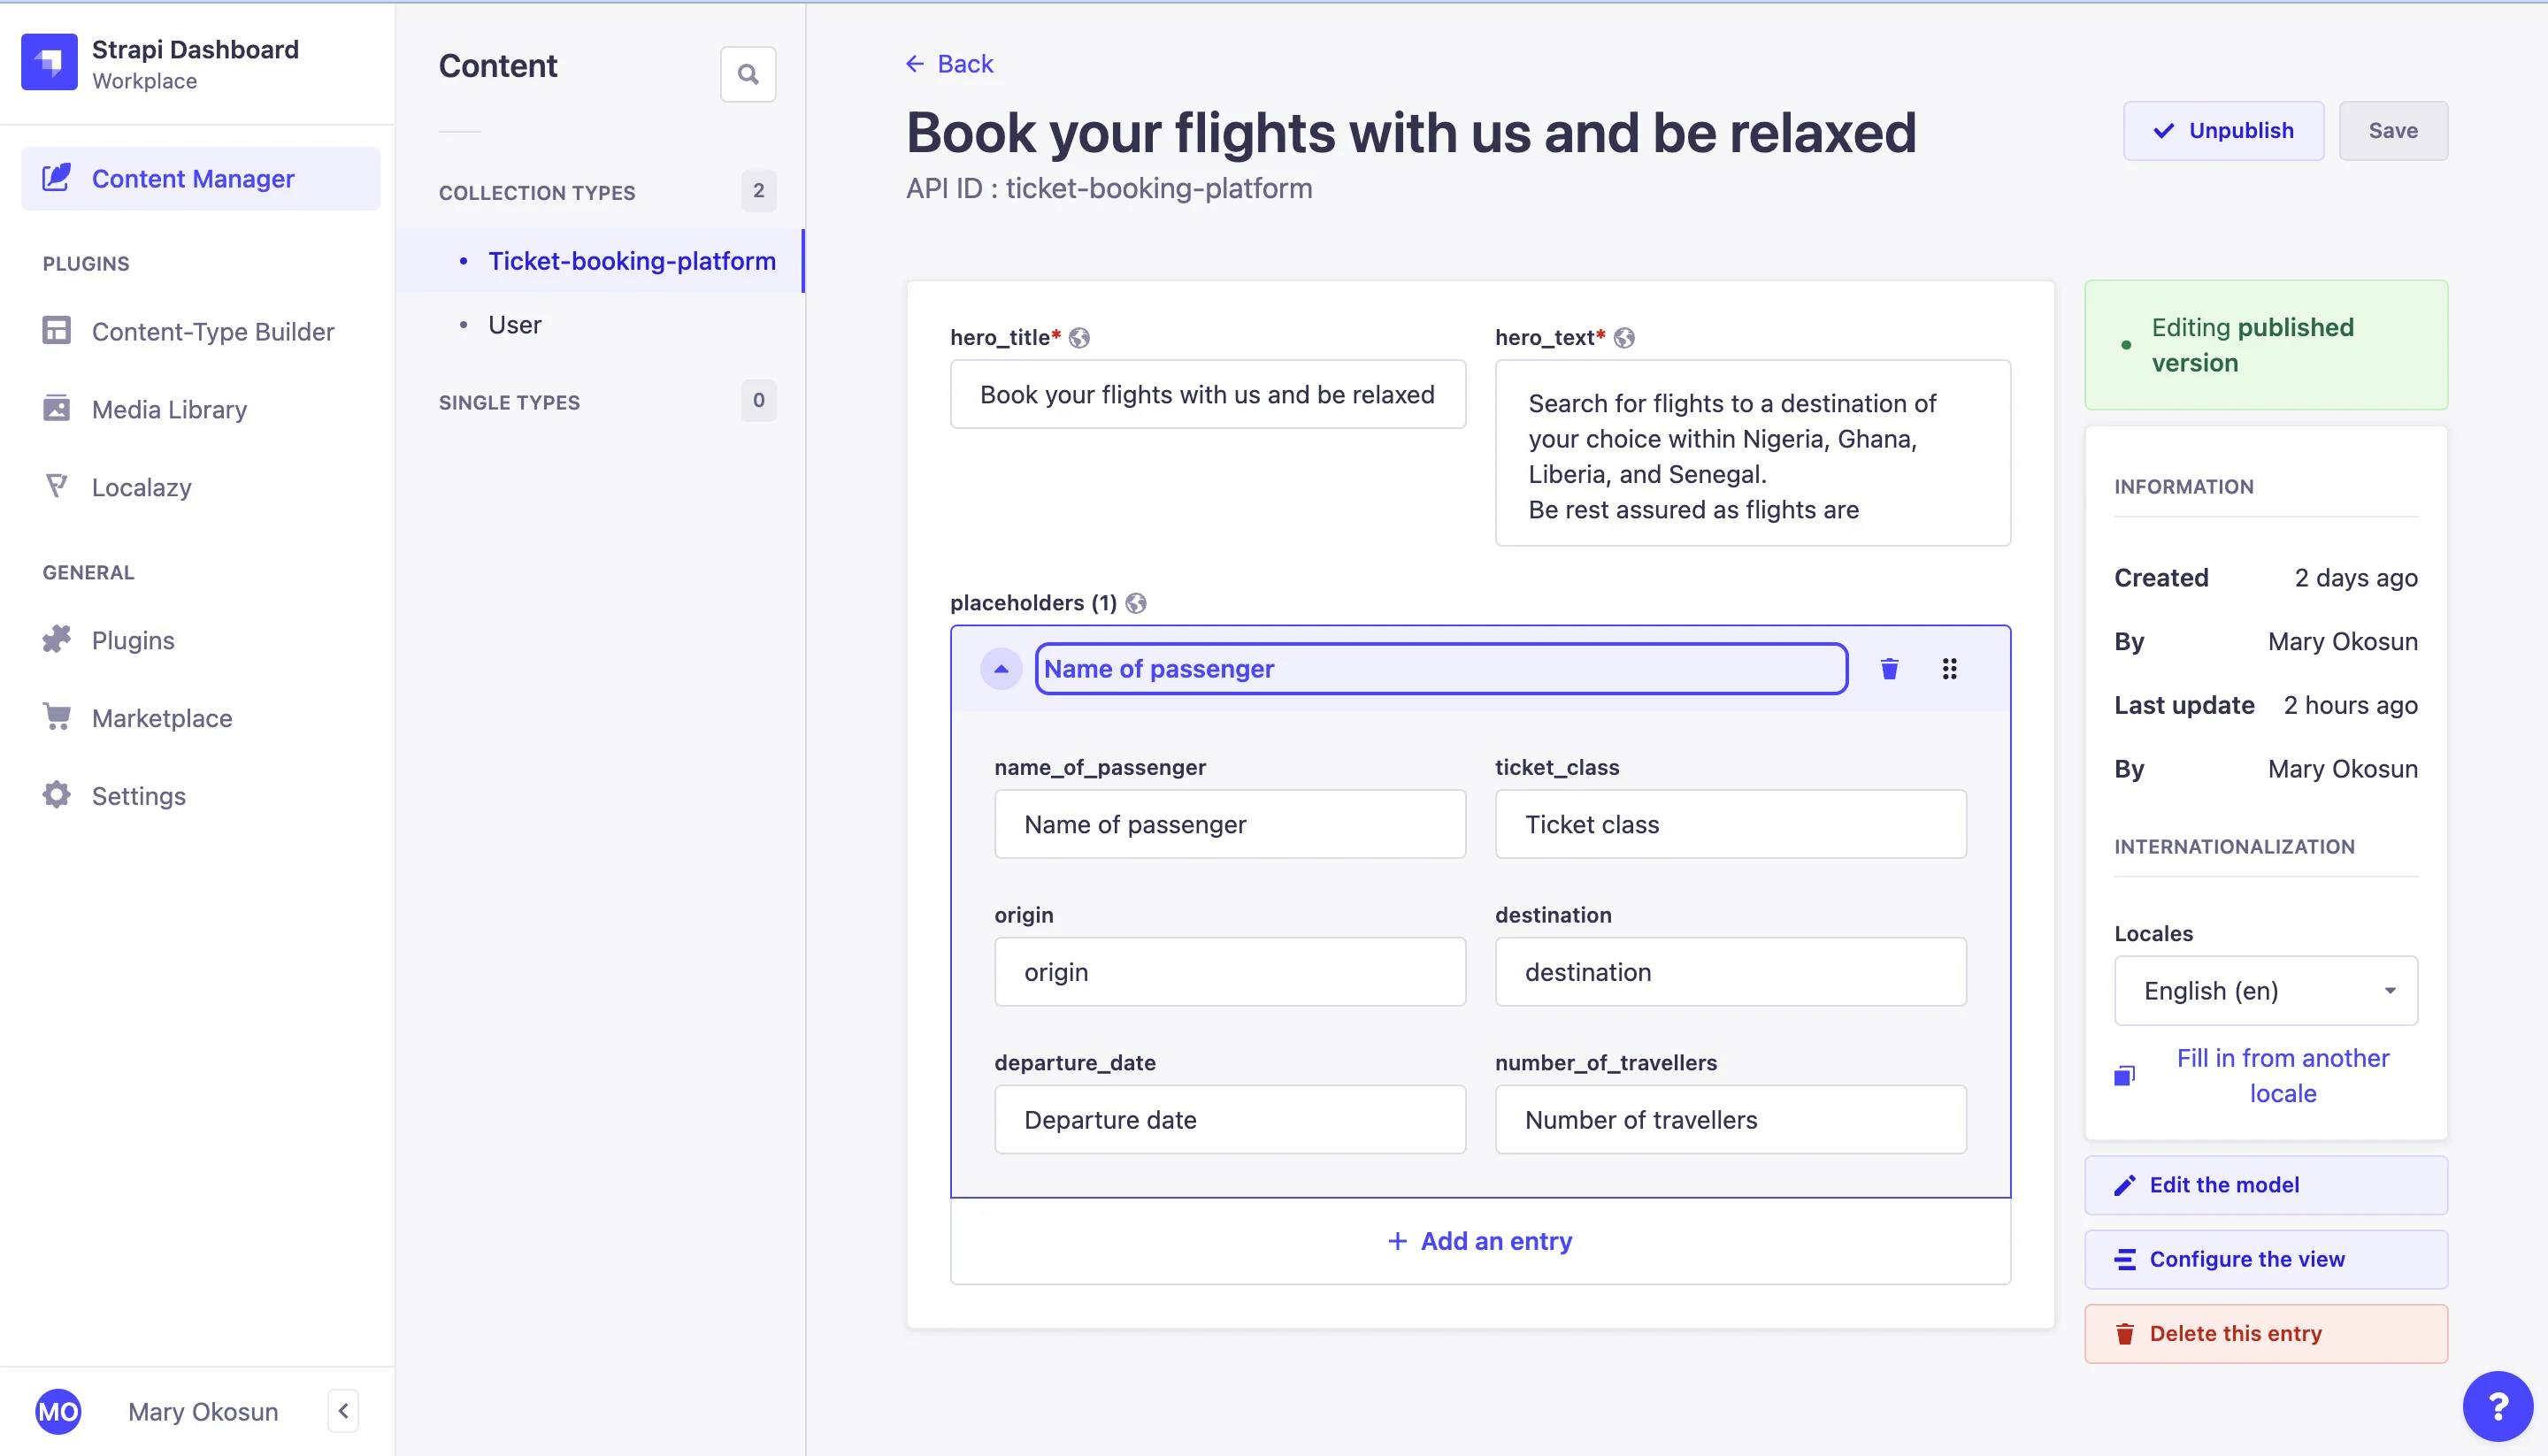
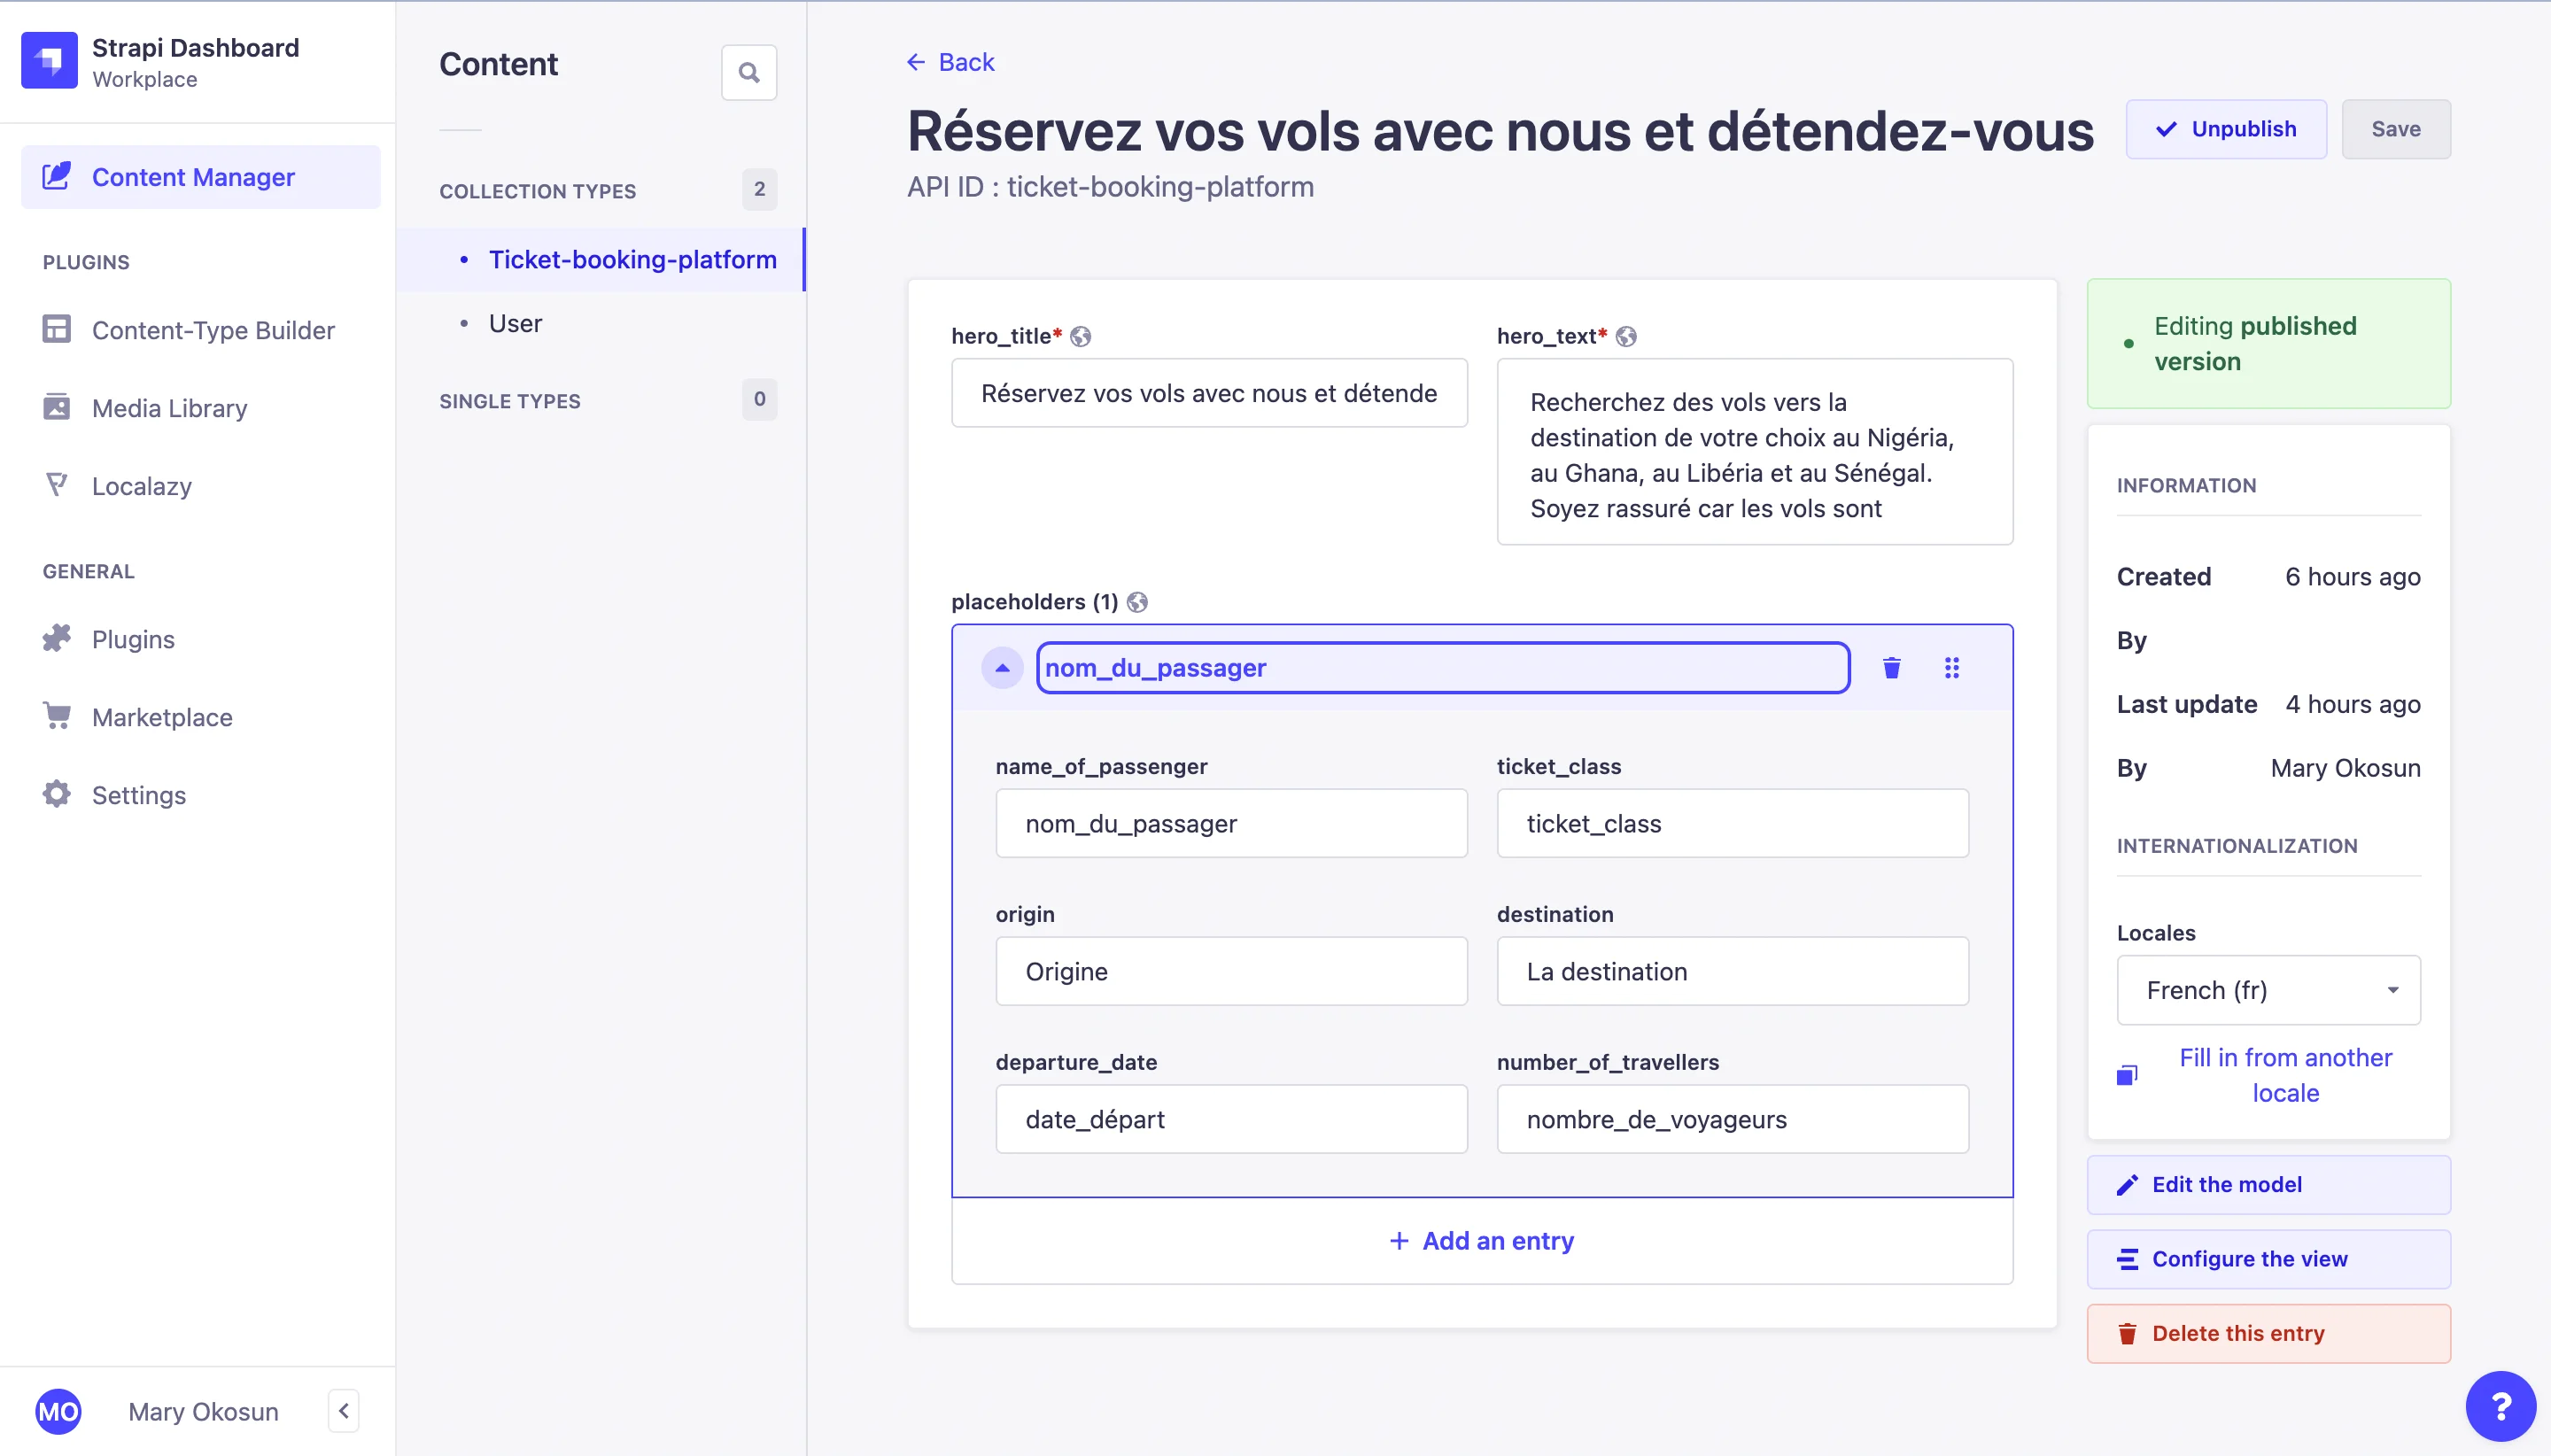
Click on the Content Manager. If you explore any entry, you should see new locales created for them. Click on an item to see its detail. Only the fields set for transfer in Content Transfer Setup were localized.
Below is an example of the original English page and the French version after downloading translations from Localazy.
Remember to publish all the content entries from the content manager as only published content can be viewed on the client side.
Showcase the translated content
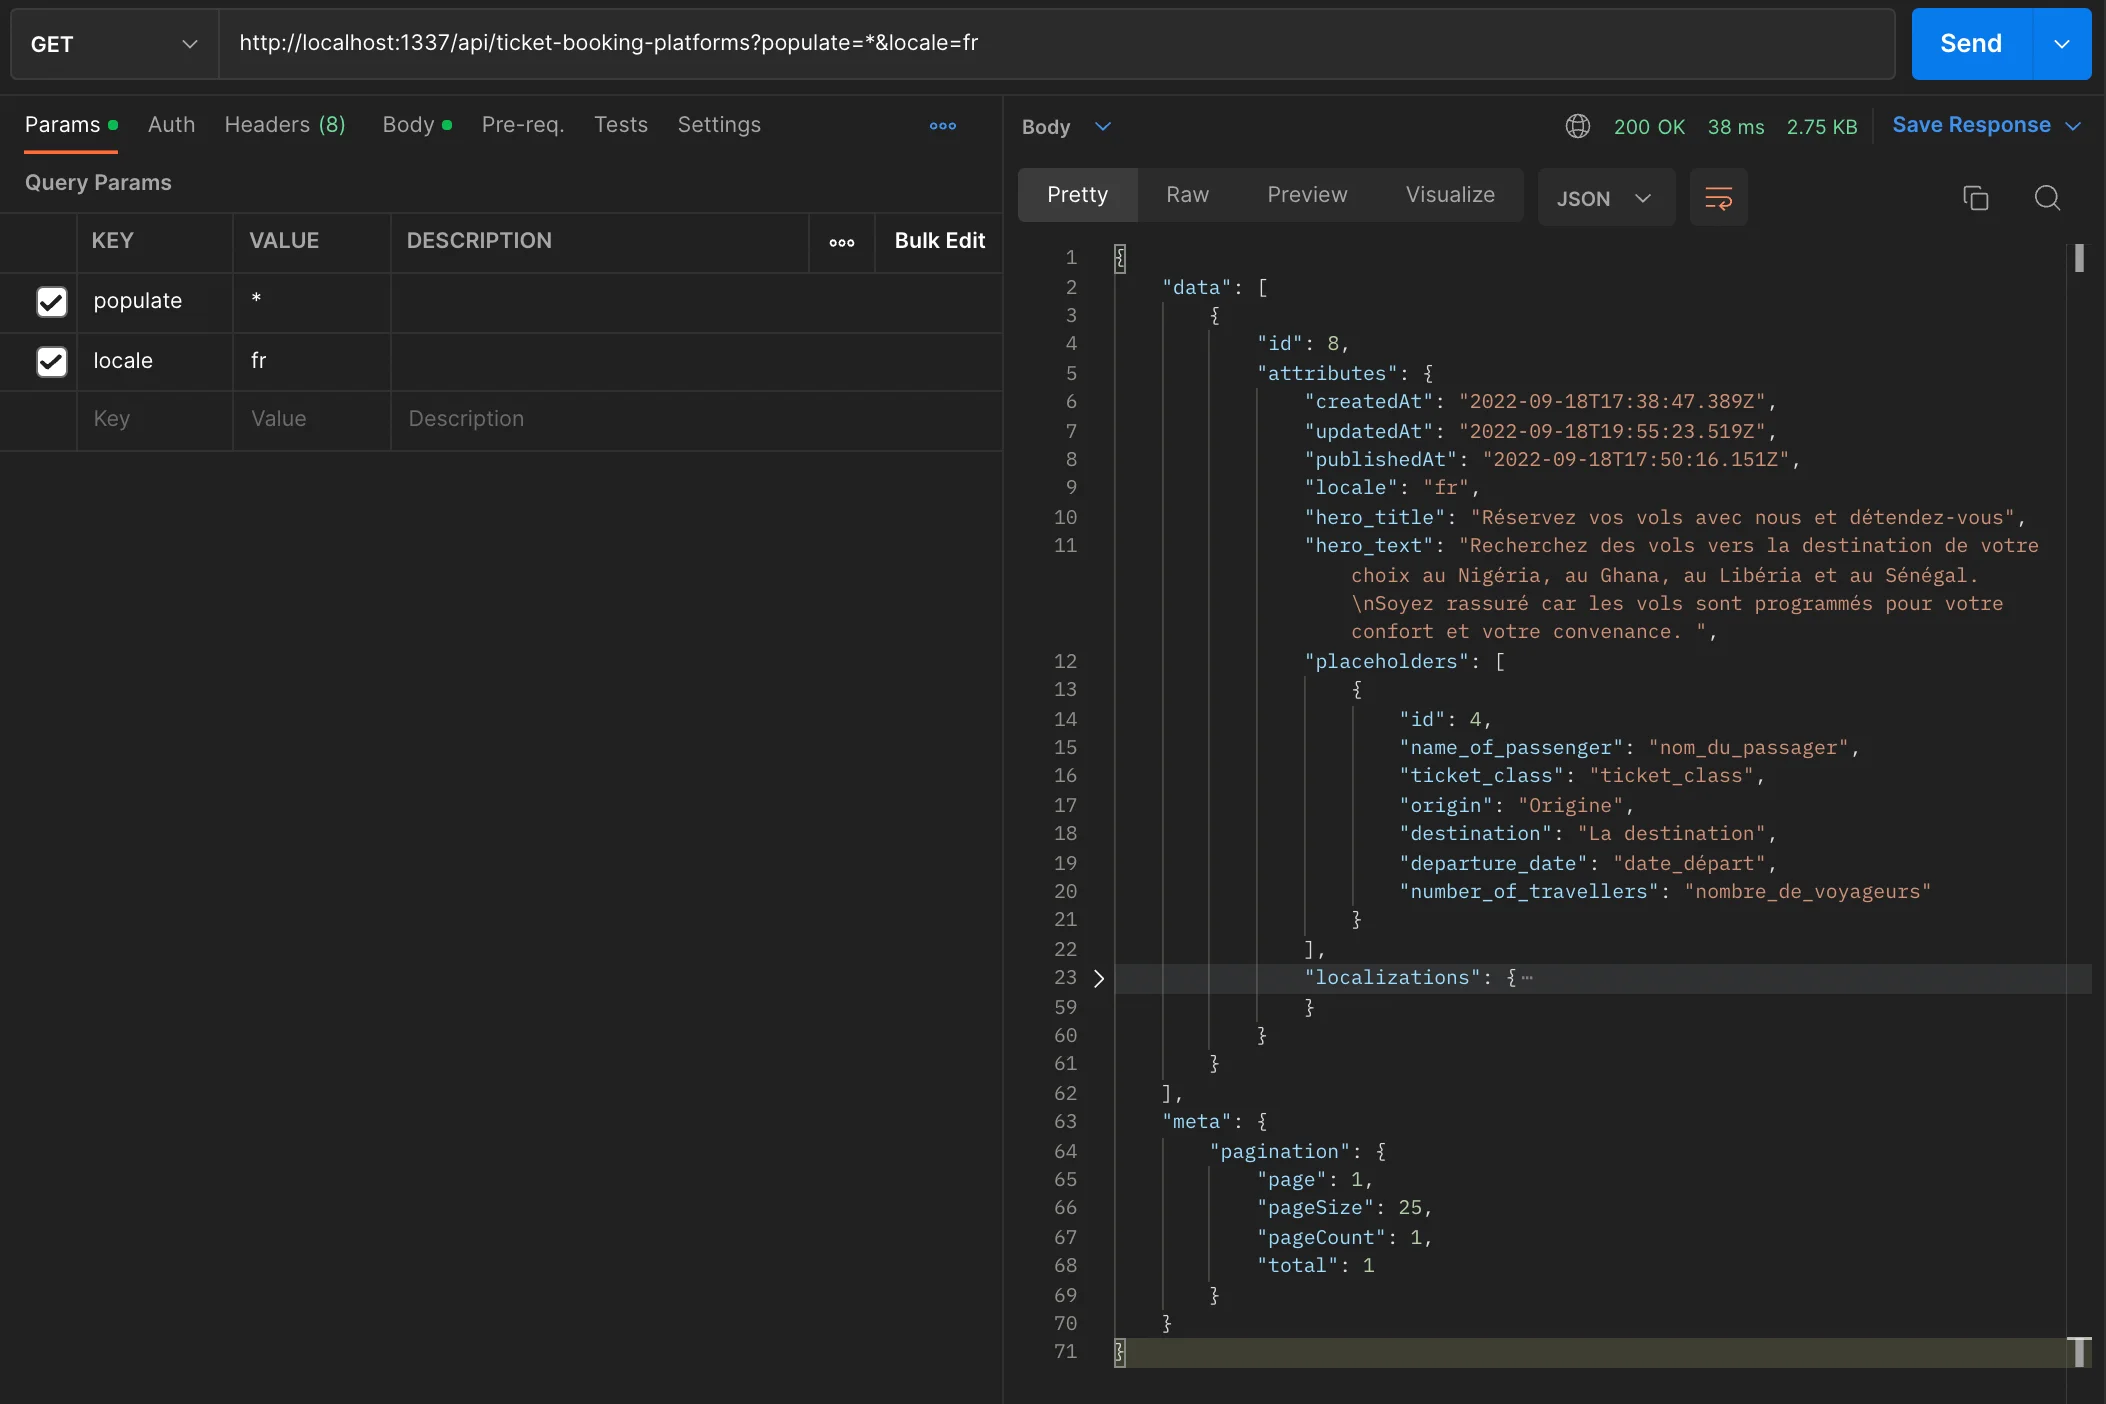
Download the Postman API, which we will use in the next step. Here, we will be testing our API for localized content. To test our API, we need to allow public access because if we try to access the API URL with our public client, it will return a 403 forbidden error.
To fix this, we will navigate to Settings and click on Roles in the Users and permissions plugin. Click on Ticket-booking-platform and select find.
You can test out the endpoint by accessing the URL http://localhost:1337/api/ticket-booking-platforms?populate=*&locale=${locale} where locale is the language to be translated to.
🖱️ Vue.js Implementation
We have built our Strapi project, and the Localazy plugin is configured. Now we will move on to creating our frontend application to consume our APIs with Vue.js.
What is Vue.js? According to the documentation, Vue.js is a JavaScript framework for building user interfaces. It builds on top of standard HTML, CSS, and JavaScript and provides a declarative and component-based programming model that helps you efficiently develop user interfaces, be it simple or complex.
Create a new project
To create a new Vue.js project, follow these steps to get started:
Navigate to the project directory and install the Vue.js package using the following console command:
npm install @vue/cli
# OR
yarn add @vue/cli
Create a new project using the command:
vue create ticket-app-frontend
You will be prompted to pick a preset. Choose "Manually select features" to pick the features we need. Then select Vuex, Router, and Lint/Formatter:
- Vuex is a state management library for Vue applications,
- Router allows changing the URL without reloading the page,
- and Lint/Formatter correctly formats the code.
After successfully creating your project, navigate to the folder directory and run our application.
cd ticket-app-frontend
npm run serve
#OR
yarn run serve
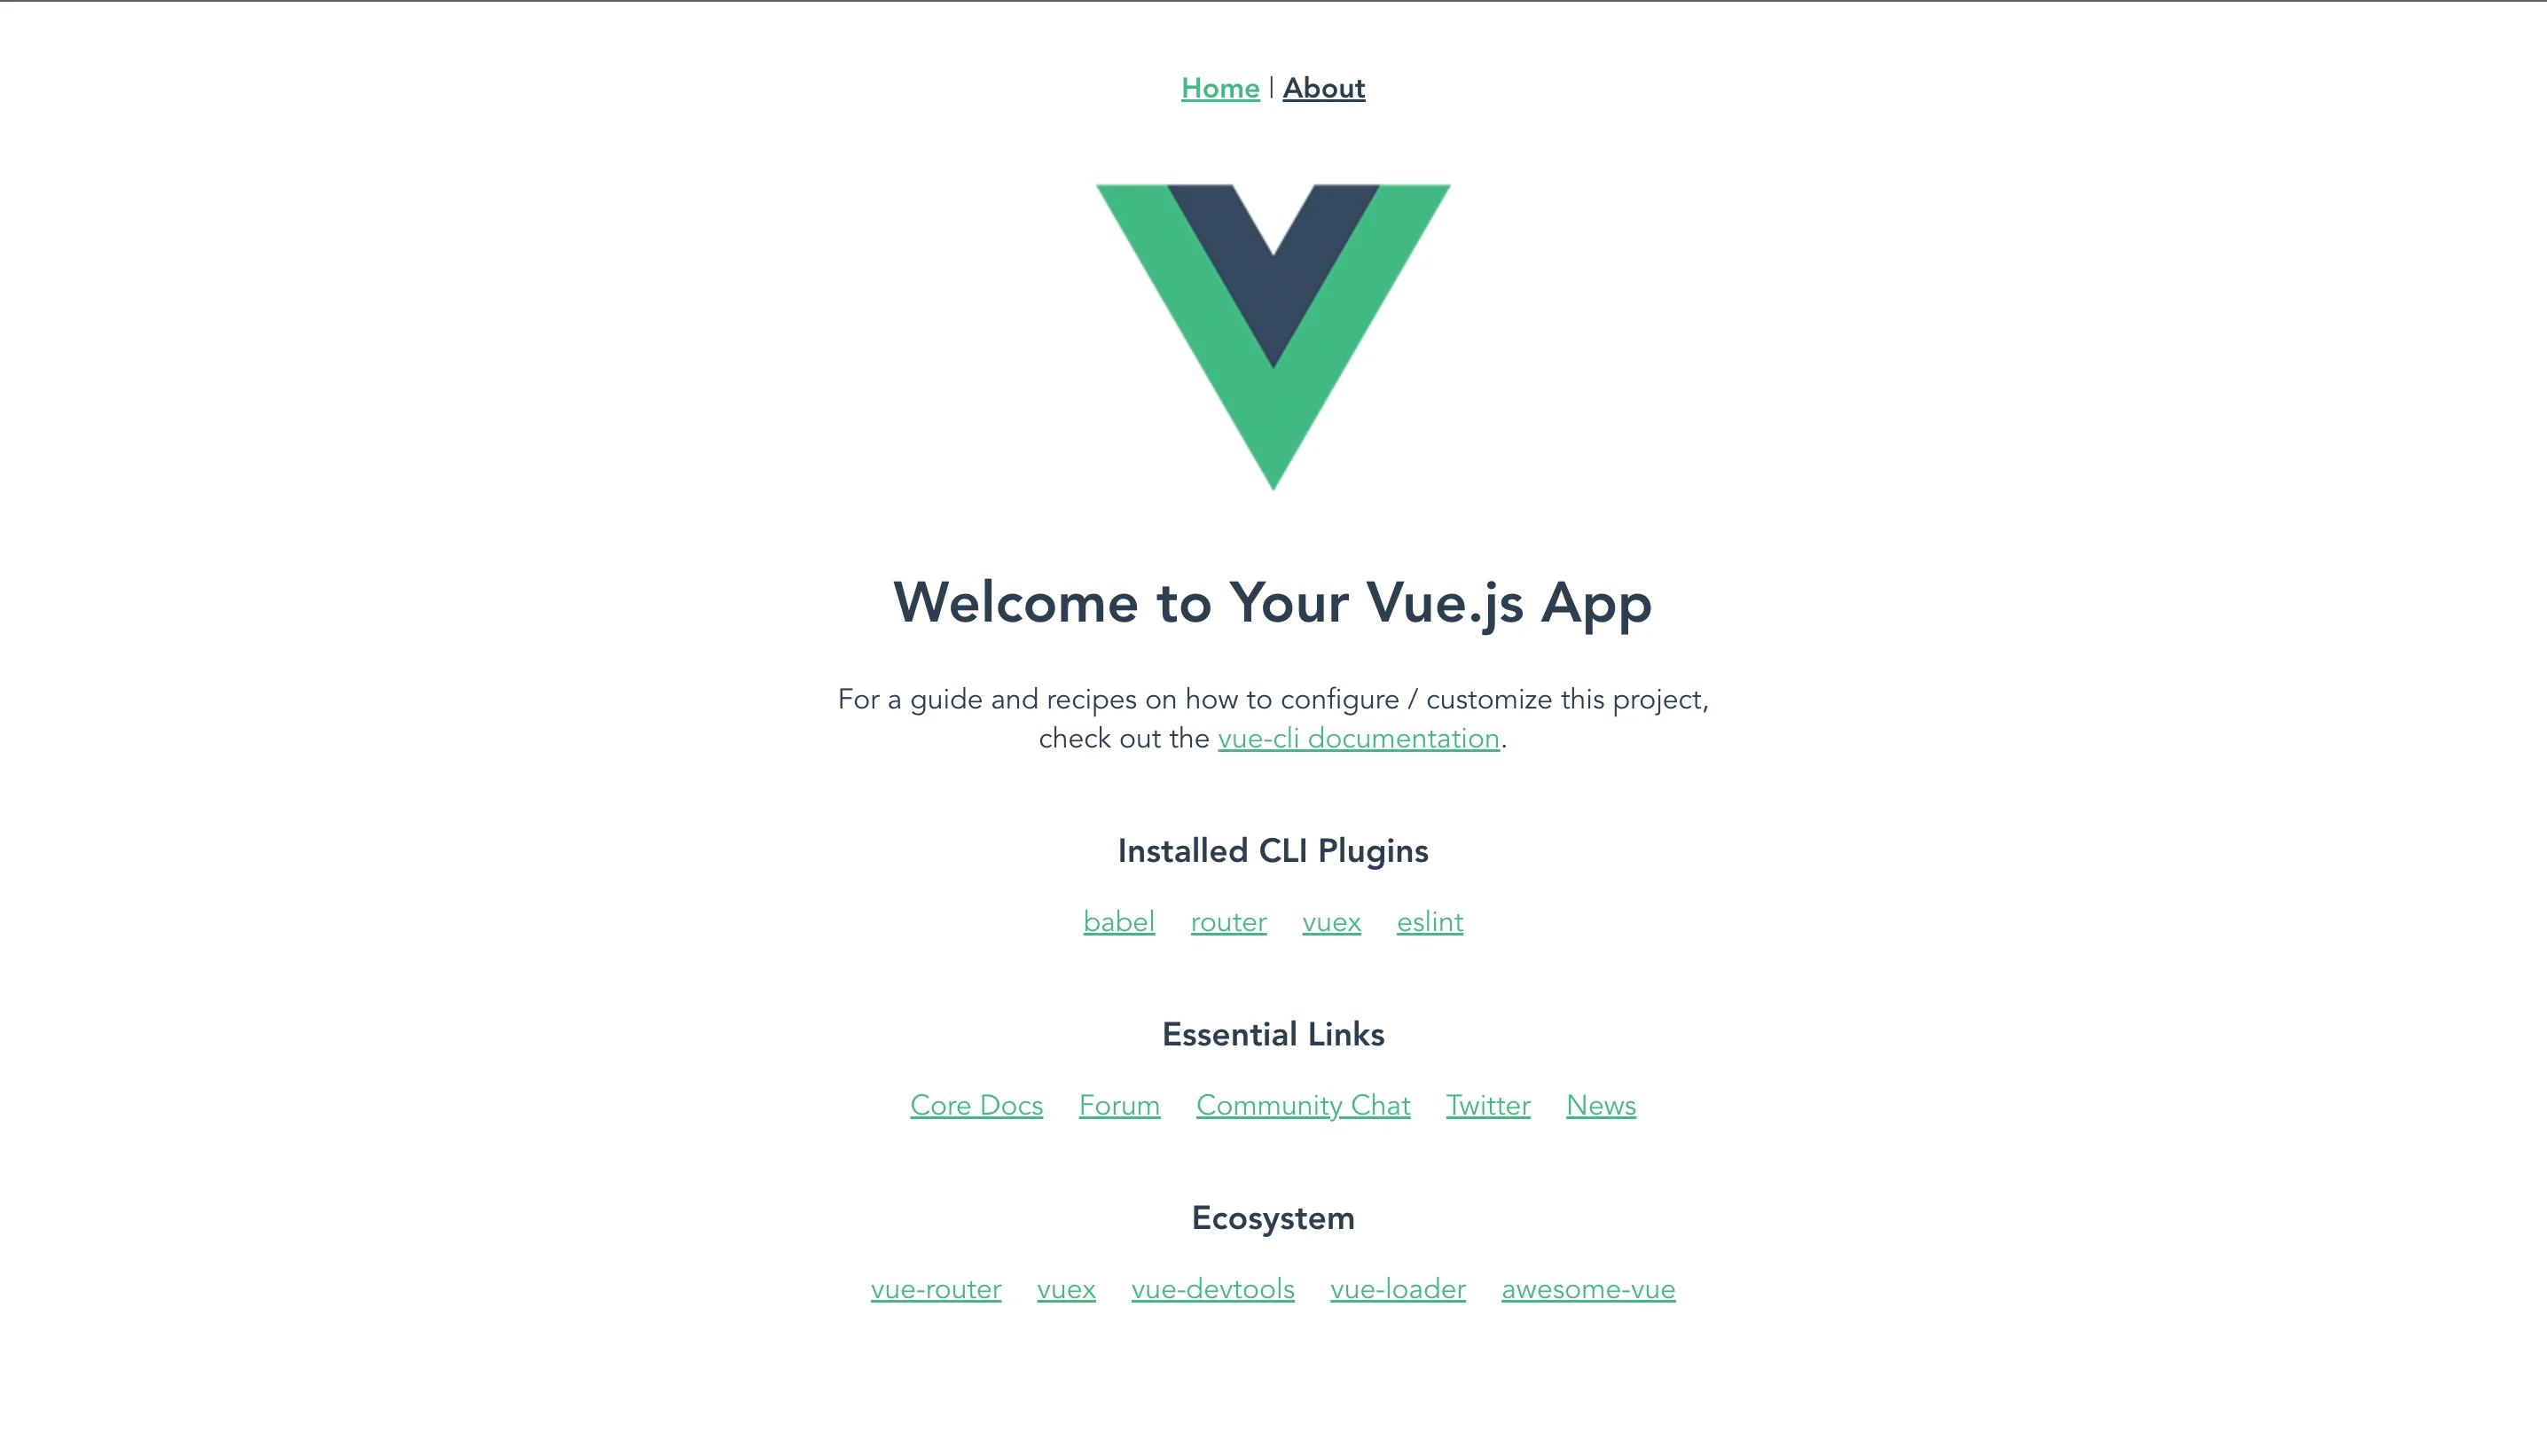
The URL http://localhost:8080/ should open your Vue.js application in your browser.
Dependency Installation
Usually, when creating a new project, you will need to install some dependencies that will help you with efficient development. At this stage, we need only Axios, the package dependency that will be used to make the call to the Strapi backend APIs.
npm install axios
Prepare frontend components
Firstly, delete all the files in the components and view folders, as these files are redundant in this project.
Add the following content to the store/index.js . This file handles the API call to the backend using Axios.
import { createStore } from "vuex";
import axios from "axios";
export default createStore({
  state: {
    bookingPlatform: [],
  },
  getters: {
    getBookingPlatform: (state) => state.bookingPlatform,
  },
  mutations: {
    setBookingPlatform: (state, payload) => (state.bookingPlatform = payload),
  },
  actions: {
    getBookingDetails: ({ commit }, locale) => {
      try {i
        axios
          .get(
            `http://localhost:1337/api/ticket-booking-platforms?populate=*&locale=${locale}`
          )
          .then((res) => {
            commit("setBookingPlatform", res.data.data[0].attributes);
          });
      } catch (e) {
        console.log("error", e);
      }
    },
  },
  modules: {},
});
In the views folder, create a BookTicketView.vue file and copy the following content:
<template>
  <div>
    <div class="header" :style="image">
      <div class="nav-bar">
        <select class="form-control" @change="onChange($event)">
          <option selected value="en">English (en)</option>
          <option value="es">Spanish (es)</option>
          <option value="cs">Czech (cs)</option>
          <option value="fr">French (fr)</option>
        </select>
      </div>
      <div class="hero" v-if="getBookingPlatform">
        <h3>`{{ getBookingPlatform.hero_title }}`</h3>
        <p>
          `{{ getBookingPlatform.hero_text }}`
        </p>
      </div>
    </div>
    <div v-if="getBookingPlatform.placeholders" class="form">
      <input
        type="text"
        :placeholder="getBookingPlatform.placeholders[0].name_of_passenger"
      />
      <input
        type="text"
        :placeholder="getBookingPlatform.placeholders[0].ticket_class"
      />
      <input
        type="number"
        :placeholder="getBookingPlatform.placeholders[0].number_of_travellers"
      />
      <input
        type="text"
        :placeholder="getBookingPlatform.placeholders[0].destination"
      />
      <input
        type="text"
        :placeholder="getBookingPlatform.placeholders[0].origin"
      />
      <input
        type="date"
        :placeholder="getBookingPlatform.placeholders[0].departure_date"
      />
      <button id="button">BOOK NOW</button>
    </div>
  </div>
</template>
<script>
import { mapGetters } from "vuex";
export default {
  name: "BookTicketView",
  data() {
    return {
      image: {
        backgroundImage:
          "url(https://d2rdhxfof4qmbb.cloudfront.net/wp-content/uploads/20190711165133/iStock-498556541.jpg)",
      },
      bookingPlatform: [],
      locale: "en",
    };
  },
  computed: {
    ...mapGetters(["getBookingPlatform"]),
  },
  methods: {
    onChange(event) {
      this.locale = event.target.value;
      this.$store.dispatch("getBookingDetails", this.locale);
    },
  },
  mounted() {
    this.$store.dispatch("getBookingDetails", this.locale);
  },
};
</script>
<style scoped>
.header {
  background-size: cover;
  background-repeat: no-repeat;
  padding: 50px;
  height: 529px;
}
.hero {
  margin-top: 100px;
  width: 500px;
  font-size: 30px;
}
.container {
  margin: 50px auto;
  width: 768px;
}
.form {
  display: flex;
  padding: 40px;
  height: 100%;
  background: #007ac5;
  justify-content: space-evenly;
  align-items: center;
}
input {
  margin: 27px 3px;
  padding: 20px;
  border: none;
  border-radius: 3px;
}
.nav-bar {
  display: flex;
  align-items: center;
  justify-content: flex-end;
}
select {
  border: none;
  height: 27px;
  width: 94px;
  border-radius: 6px;
}
#button {
  height: 65px;
  width: 150px;
  background: #e1a584;
  color: #000000;
  border: none;
}
</style>
Refactor the router/index.js file to suit the changes done so far. It should be similar to the following:
import { createRouter, createWebHistory } from "vue-router";
import BookTicketView from "../views/BookTicketView";
const routes = [
  {
    path: "/",
    name: "BookTicketView",
    component: BookTicketView,
  },
];
const router = createRouter({
  history: createWebHistory(process.env.BASE_URL),
  routes,
});
export default router;
Testing the Application
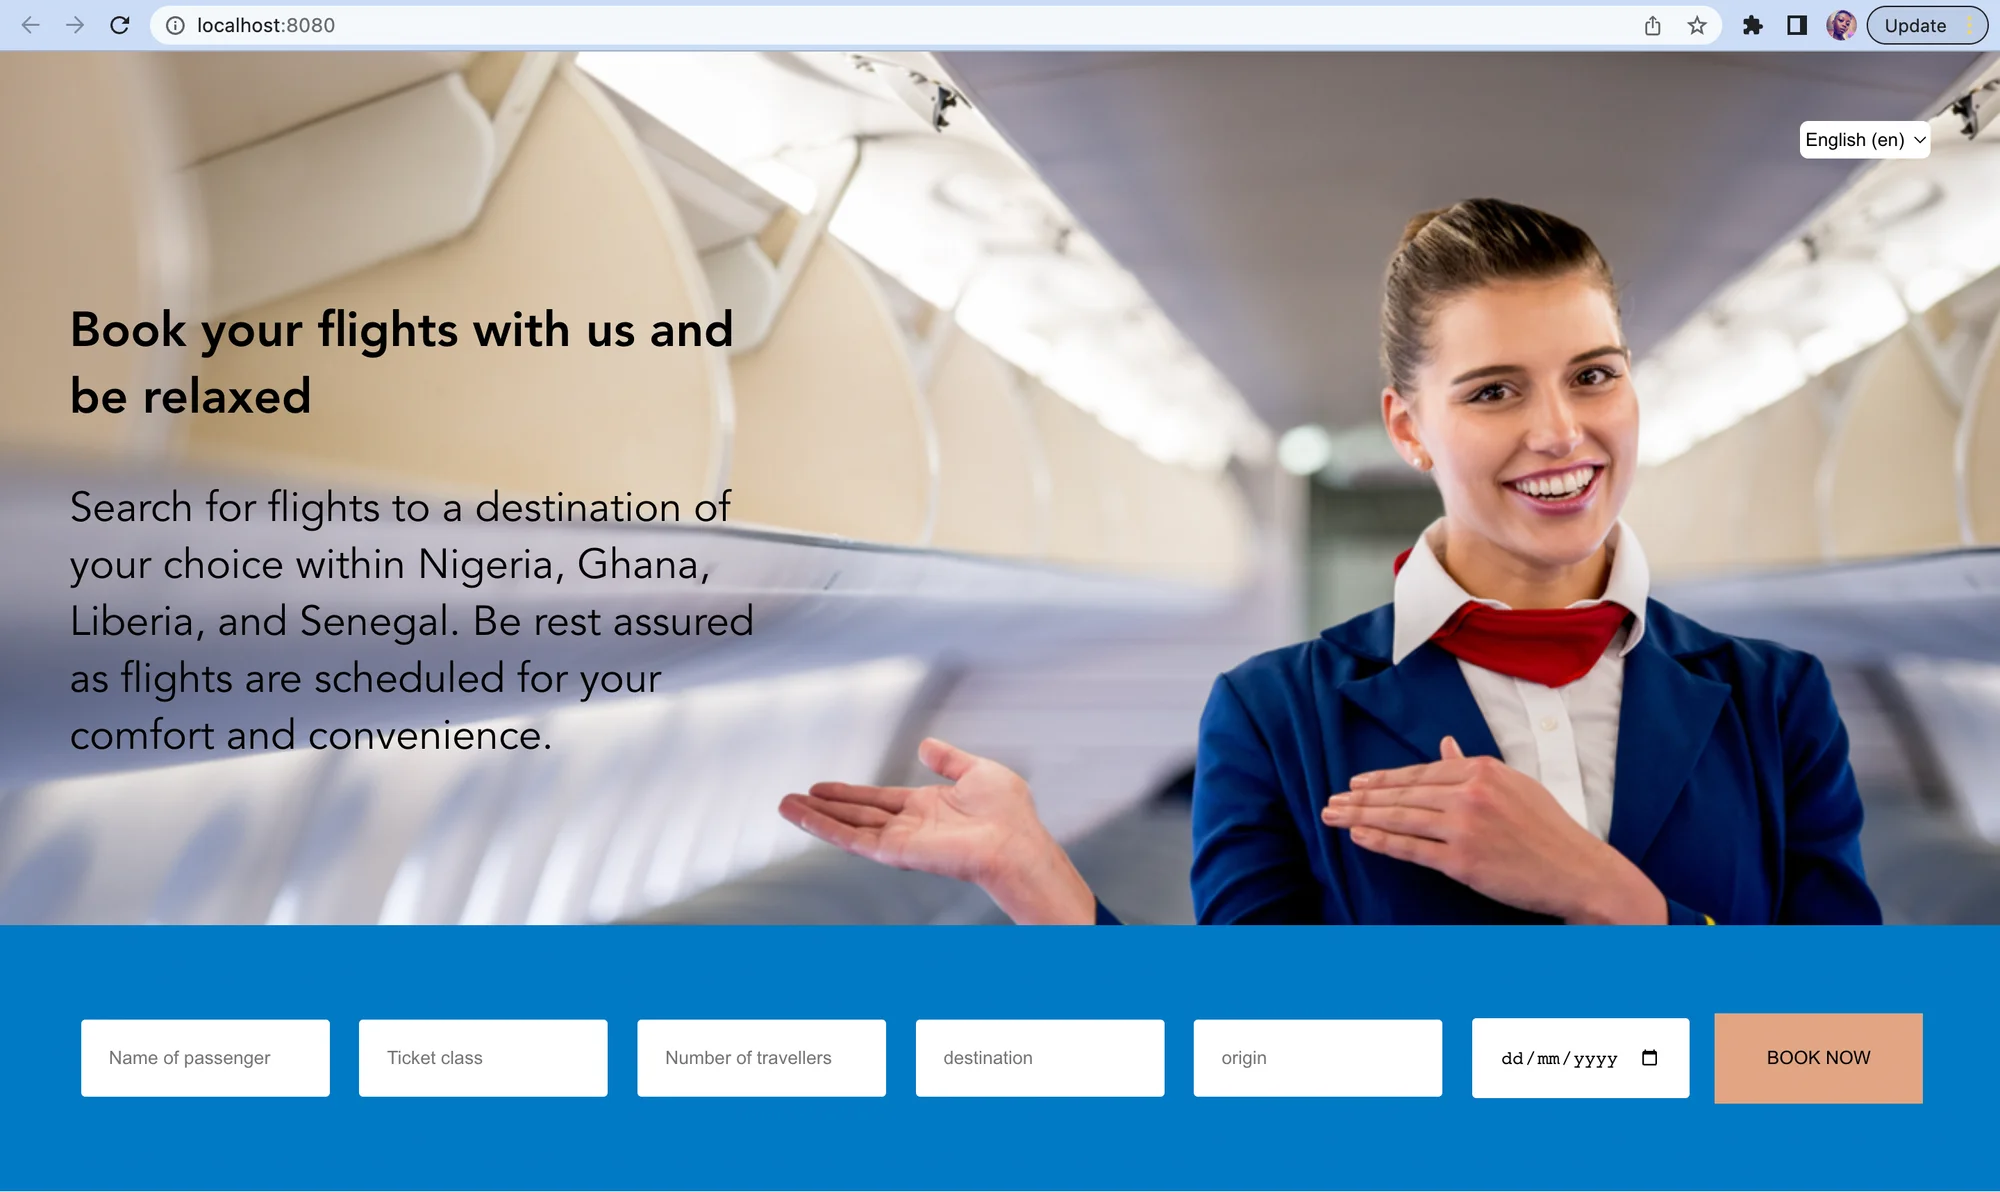
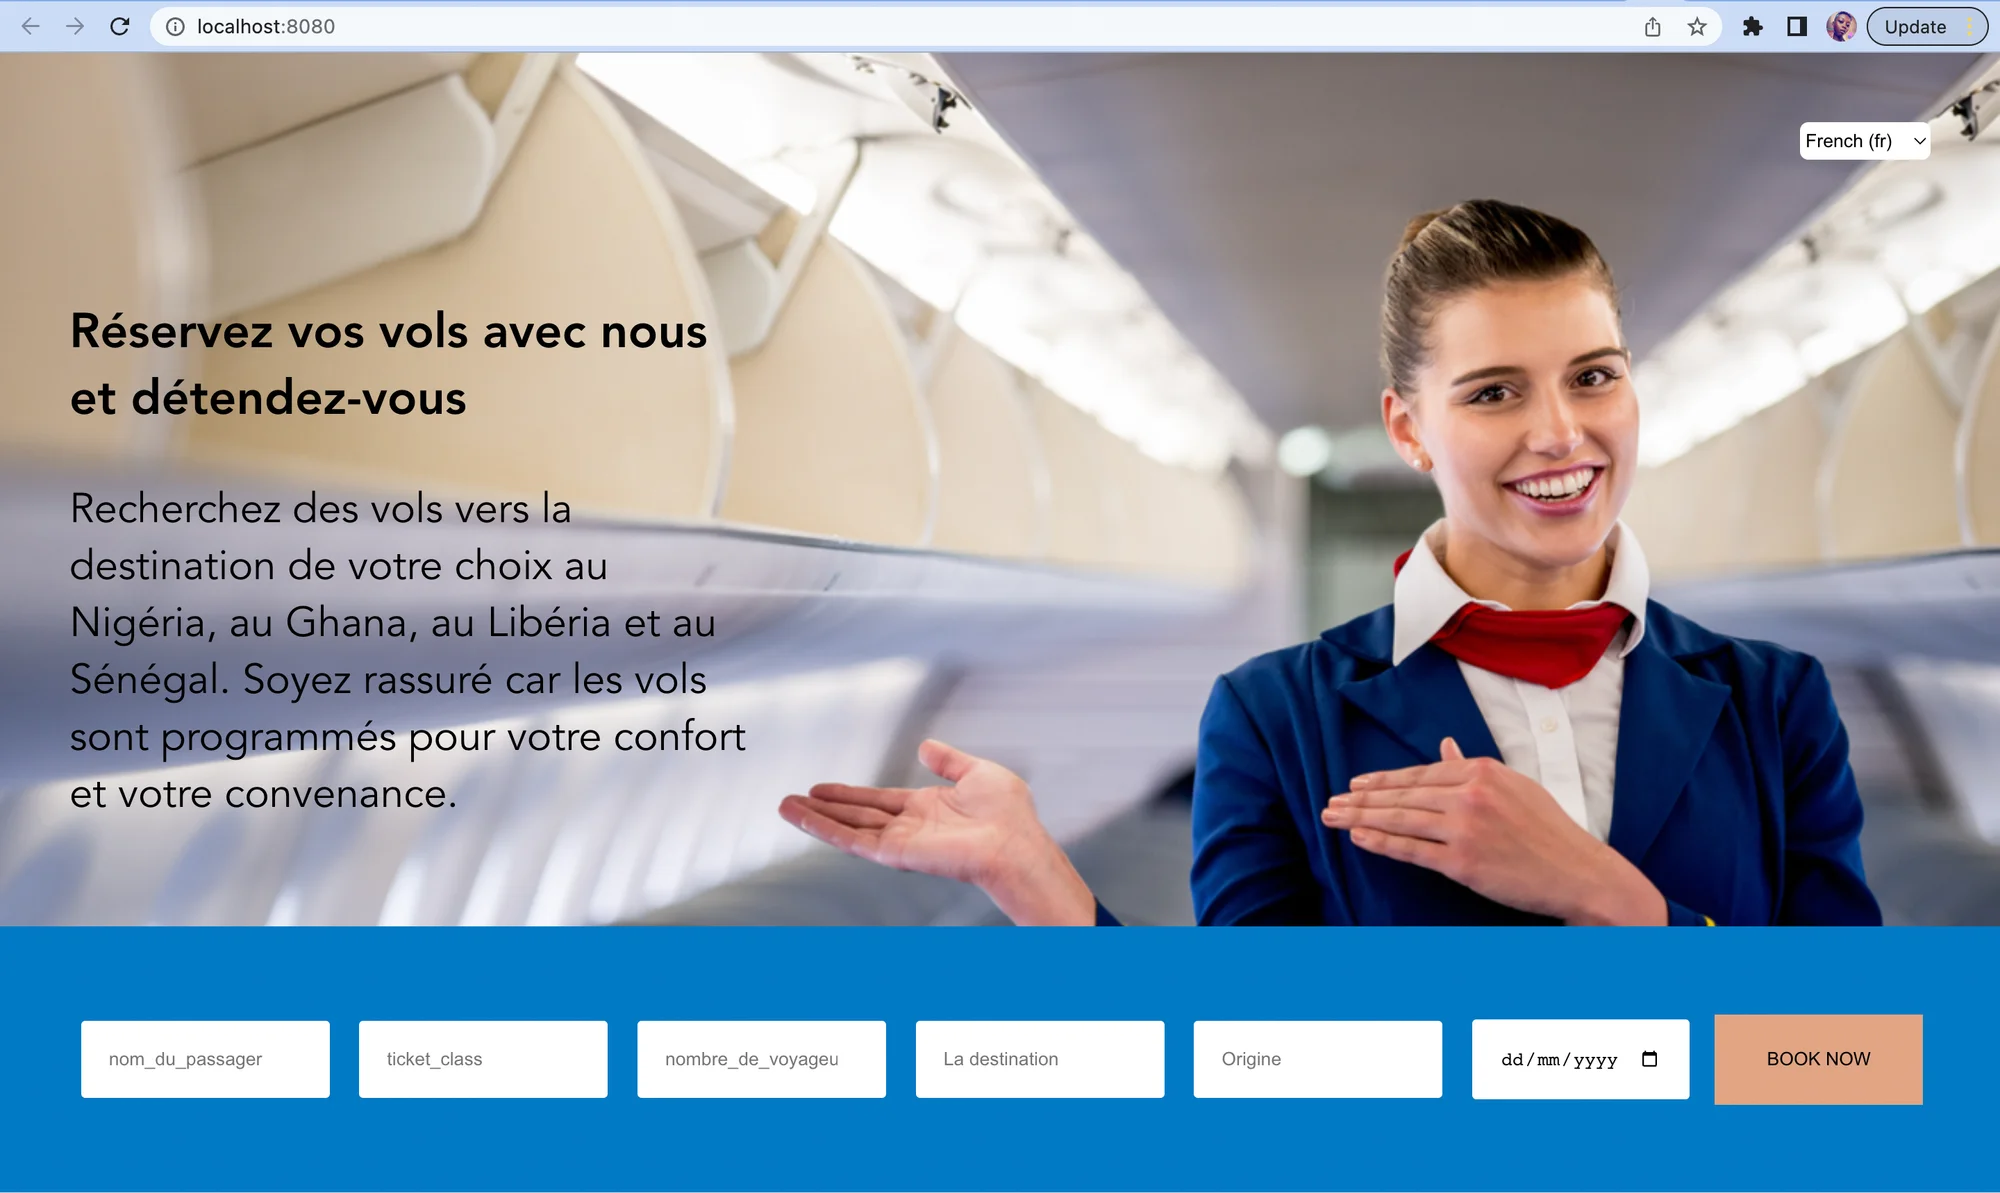
You can refresh the URL http://localhost:8080/ and you can see the frontend application, and from the drop-down, you can select the language you want to render. Examples of English and French are in the pictures below.
✔️ Conclusion
In this tutorial, we learned how to use the Strapi localization plugin by Localazy and how it can handle multilingual content interaction. We also built a use case of a ticket booking platform with Vue.js as the frontend framework and Strapi as the Backend, with the content localization handled by Localazy.
We demonstrated how the localization plugin could handle the upload and download of contents from Localazy to Strapi and vice-versa. Our project case study shows how multilingual content was easily created for Strapi with the Localazy plugin.
You can check out more about this awesome plugin in the official documentation.
You can also download the example repository with the complete source code for the tutorial from our GitHub.


